All Hallows’ Eve

Sometimes self-care means taking the time to celebrate. To let go of the day-to-day monotony, to listen to the inner child, and to welcome mystery and spontaneity into life. Samhain, All Hallows’ Eve, reminds us to celebrate, to direct our attention to the darkening days and colder nights, and to welcome the wintery weather with a fresh perspective. This night invites us to look out into the dark sky with wonder rather than fear.

It’s no secret that Halloween is my favorite time of year, and I’ve been celebrating all month with vampiric literature, costume designs, and (finally) carving the pumpkins from our garden.

Carving and Photo: Luke Cord

Here’s a recipe from one of my favorite Halloween traditions:

Happy Halloween!

How are you celebrating?

Handmade Herbal Soap Bars

The herb garden is still flourishing, and I’ve been using and saving as much as I can. Today I’m making a bunch of herbal soaps.  They’re great to have around for guests, and perfect for little homemade gifts. I just use a basic soap base and add essential oils, herbs, and moisturizers. Each recipe makes 1 bar.

Thymely Rose

  • 1 cup Soap Base
  • 1 tbsp Coconut Oil
  • 10 drops Rose Essential Oil
  • Dried Thyme and Dried Rose Petals

Carefully melt the soap base using a double boiler and stir in oils. Pour into soap mold. Drop in thyme and rose petals as desired, and let cool completely.

Citrus Spice

  • 1 cup Soap Base
  • 1 tbsp Olive Oil
  • 10 drops Tangerine Essential Oil
  • Fresh Rosemary & Cloves

Melt the soap base using a double boiler and stir in oils. Pour into soap mold. Drop in rosemary and cloves (optional… and scratchy) as desired, and let cool completely.

Lavender Oats

  • 1 cup Soap Base
  • 1 tbsp Coconut Oil
  • 10 drops Lavender Essential Oil
  • Dried Lavender and Oats

Melt the soap base using a double boiler and stir in oils. Pour into soap mold. Drop in lavender and oats as desired, and let cool completely.

Mintea Tree

  • 1 cup Soap Base
  • 1 tbsp Olive Oil
  • 10 drops Tea Tree Essential Oil
  • Fresh Mint Leaves

Melt the soap base using a double boiler and stir in oils. Pour into soap mold. Drop in mint leaves as desired, and let cool completely.

Lemon Verbena

  • 1 cup Soap Base
  • 1 tbsp Olive Oil
  • 10 drops Lemon Essential Oil
  • Fresh Lemon Verbena

Melt the soap base using a double boiler and stir in oils. Pour into soap mold. Drop in lemon verbena as desired, and let cool completely.

Happy Herbing!

Harvest

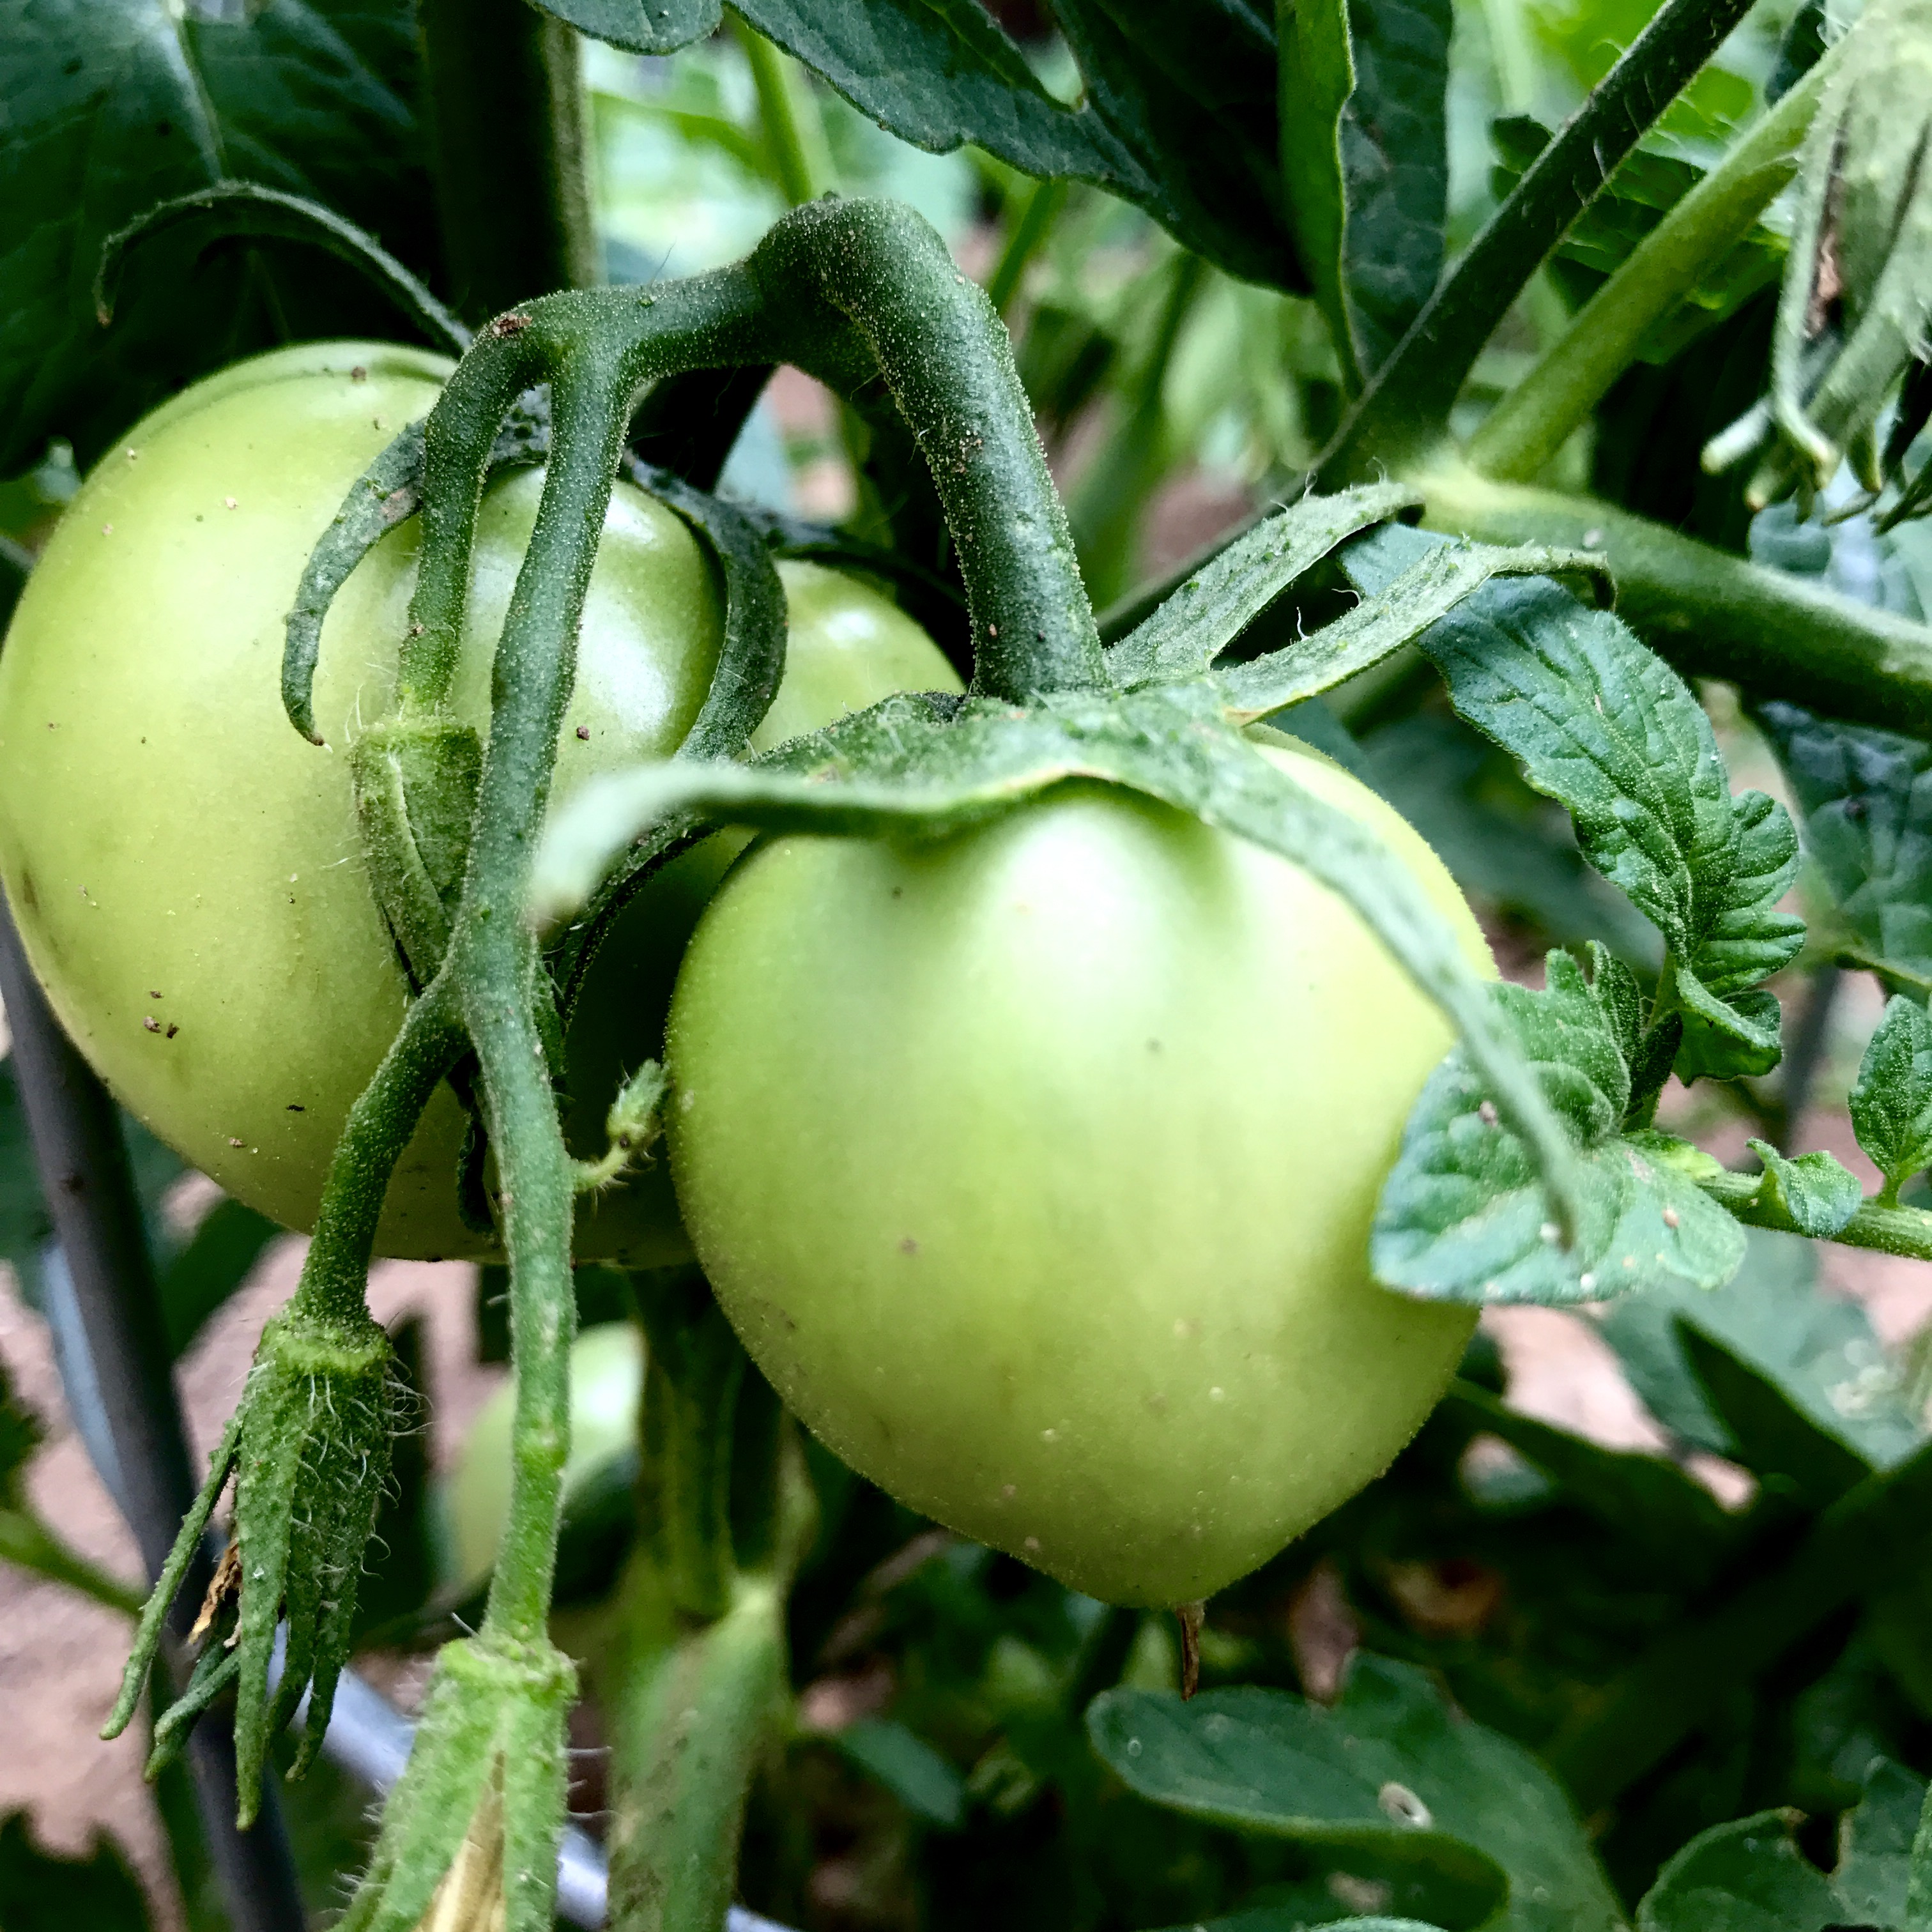
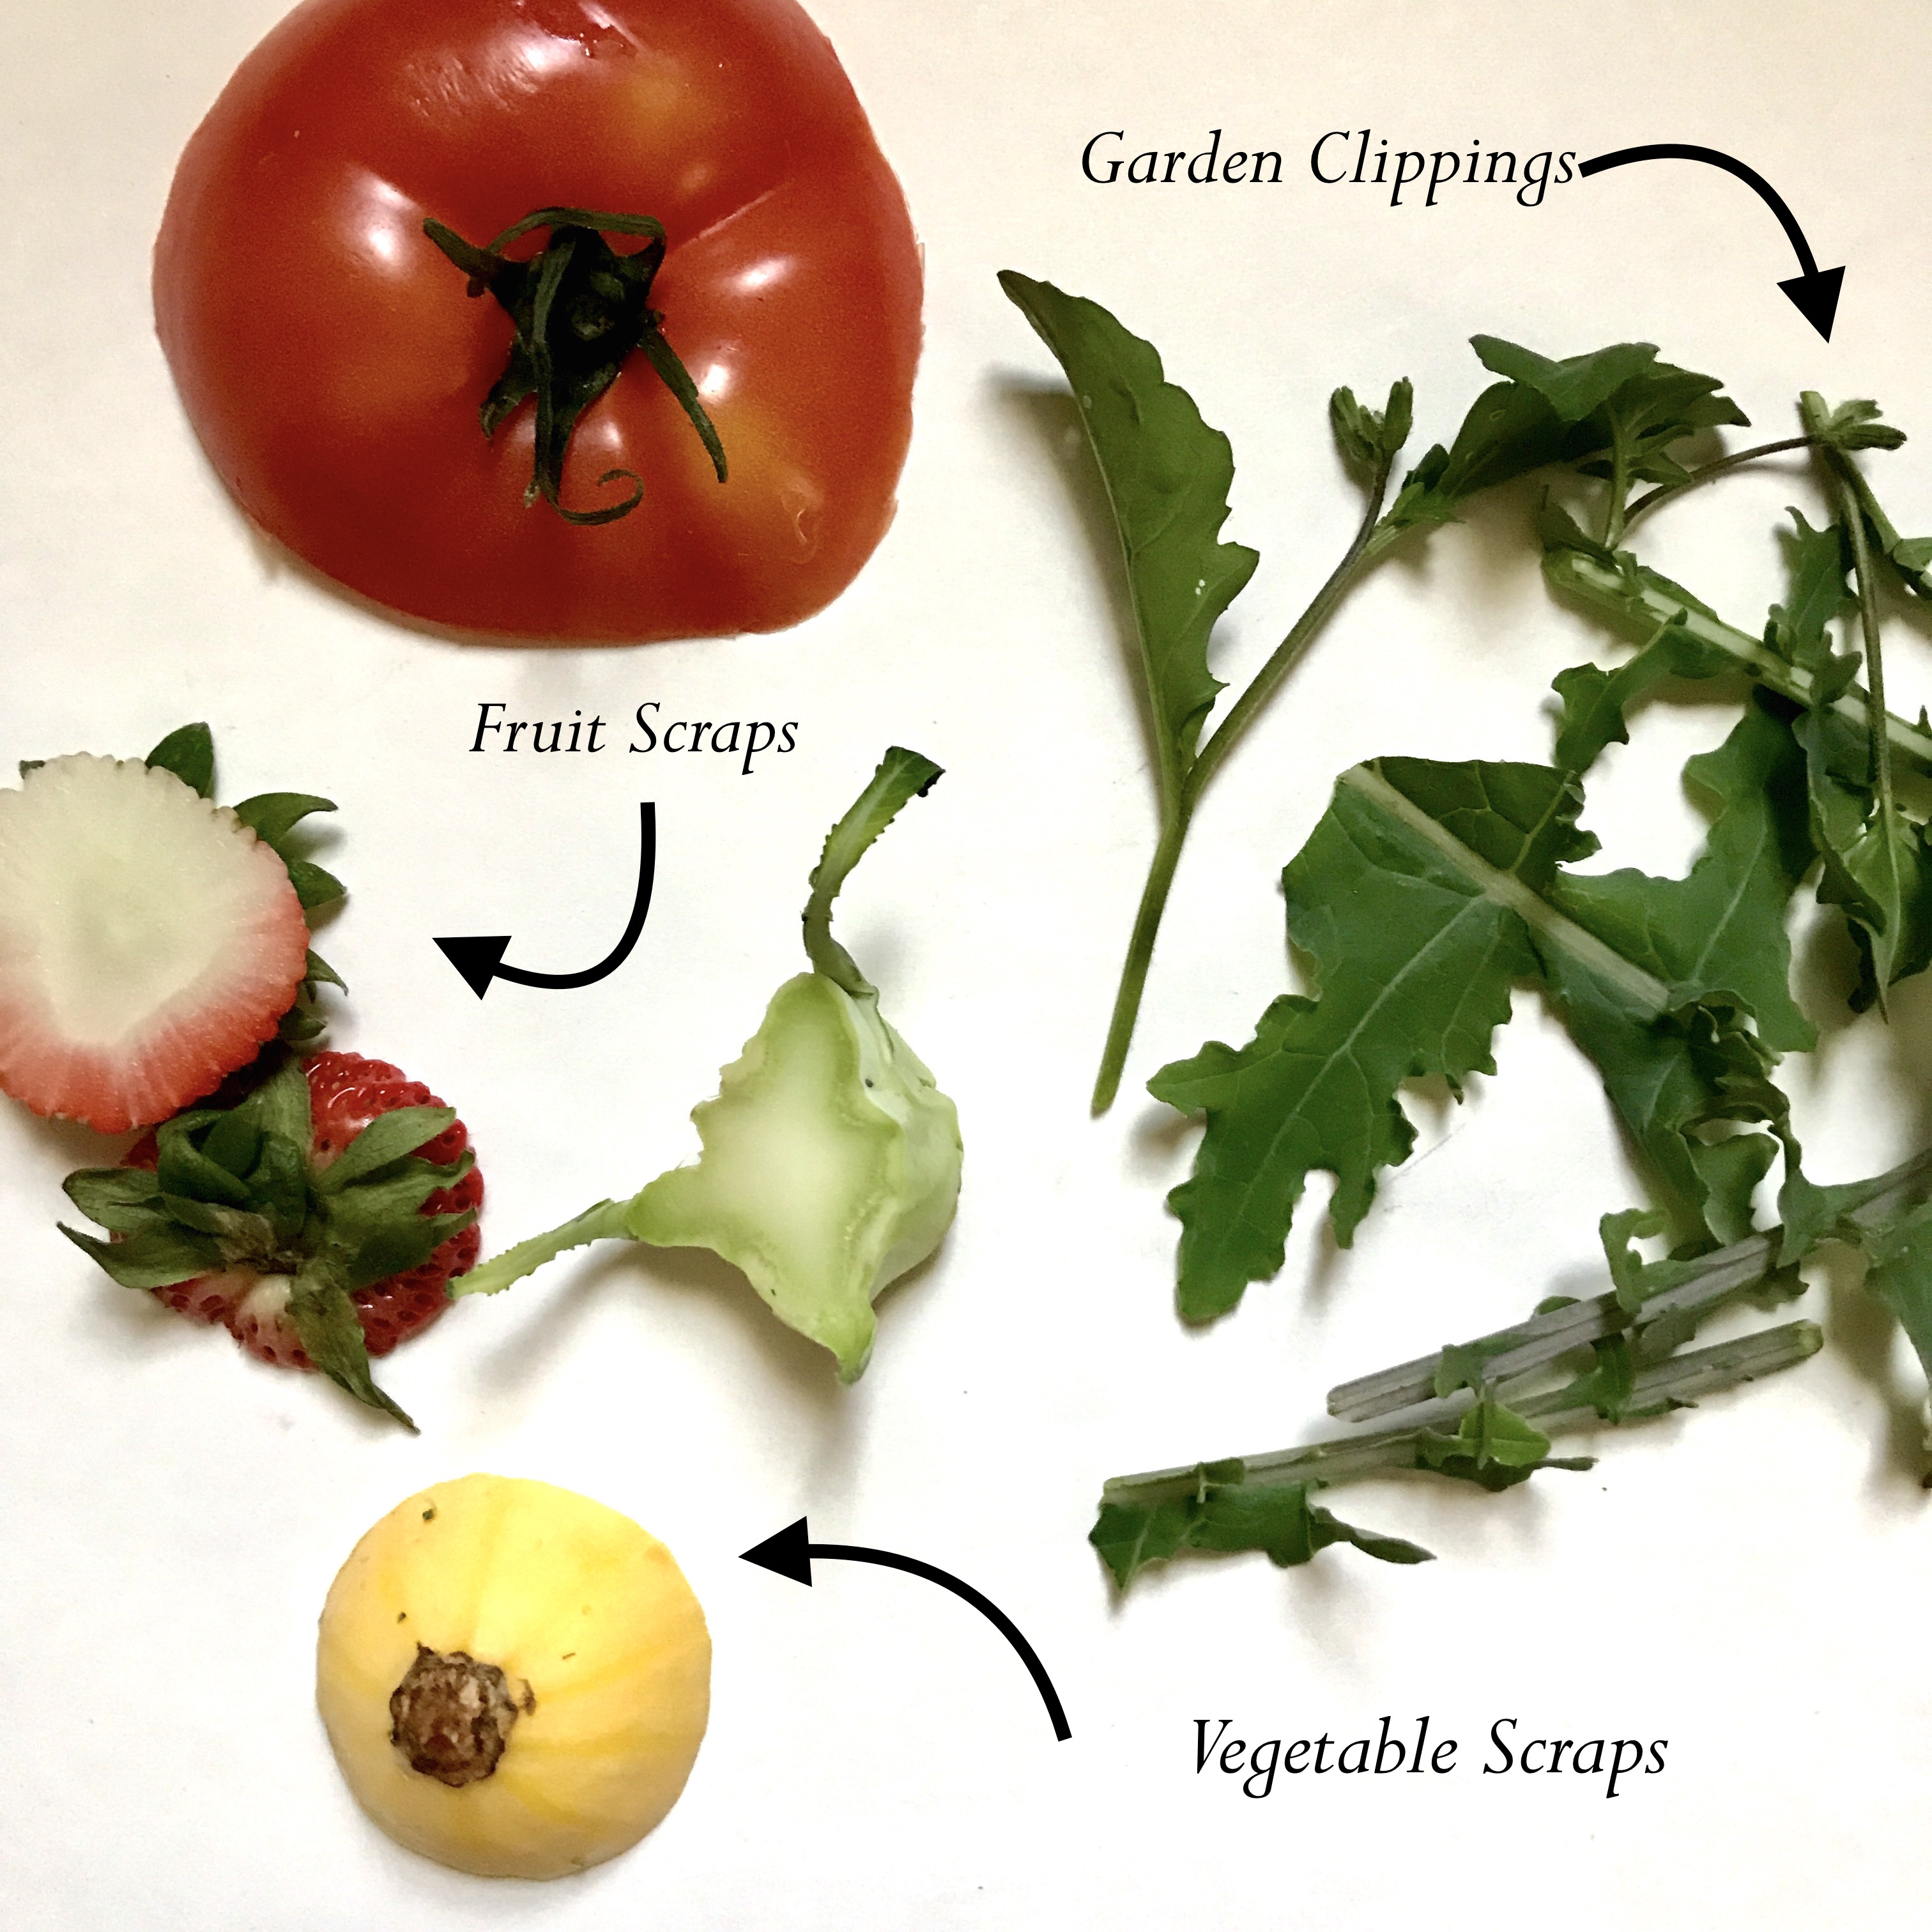
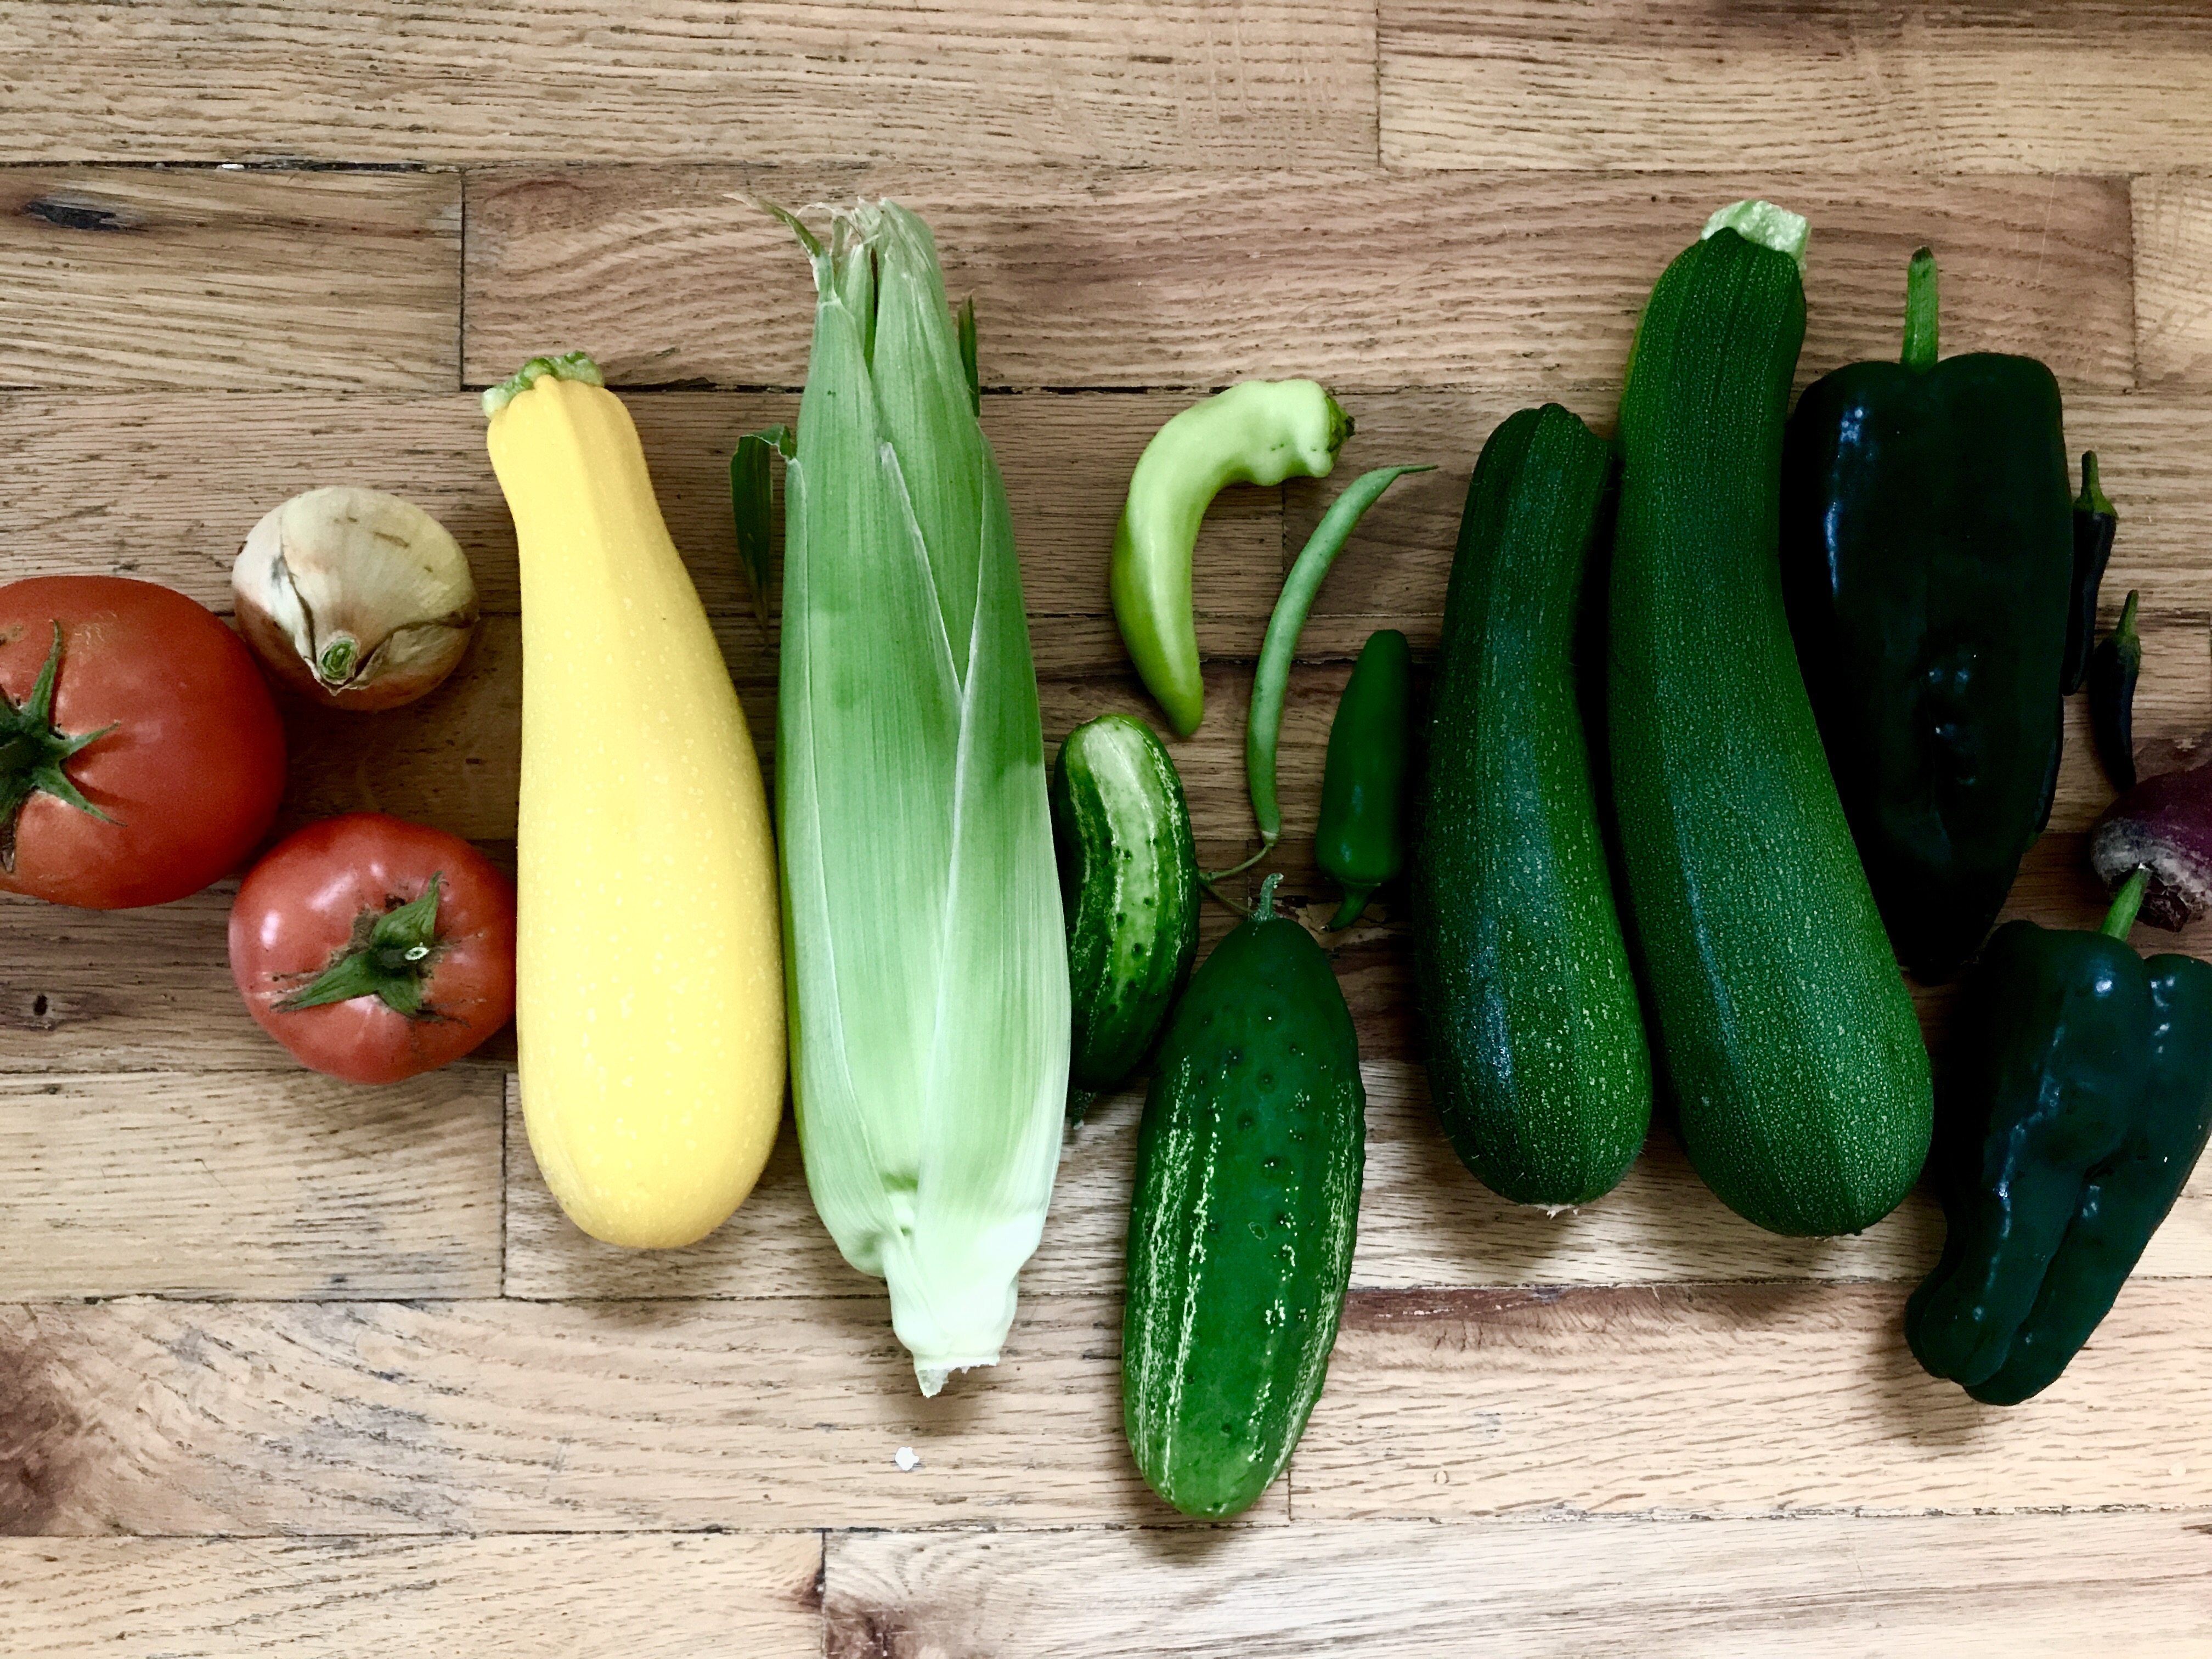
I was awakened by the golden glow from the Harvest Moon early this morning, sleepily gazing at the ghostly orange orb shedding its soft light on our blossoming garden. Along with celebrating the harvest moon, harvest has been our top priority so far this month, picking and eating fresh garden produce daily by the basket full. It’s so rewarding and humbling simultaneously, living off of the land, giving constant attention to our thriving plants, doting on those who prefer rainy days, exclaiming over a newly red tomato or a perfectly ripe zucchini. The nights into morning are beginning to cool off, and we will continue to harvest as much as we possibly can until the first frost kisses our garden. We pick more than we can eat, but what we don’t eat ourselves or give away, well, we have big plans…

Pickling and Canning

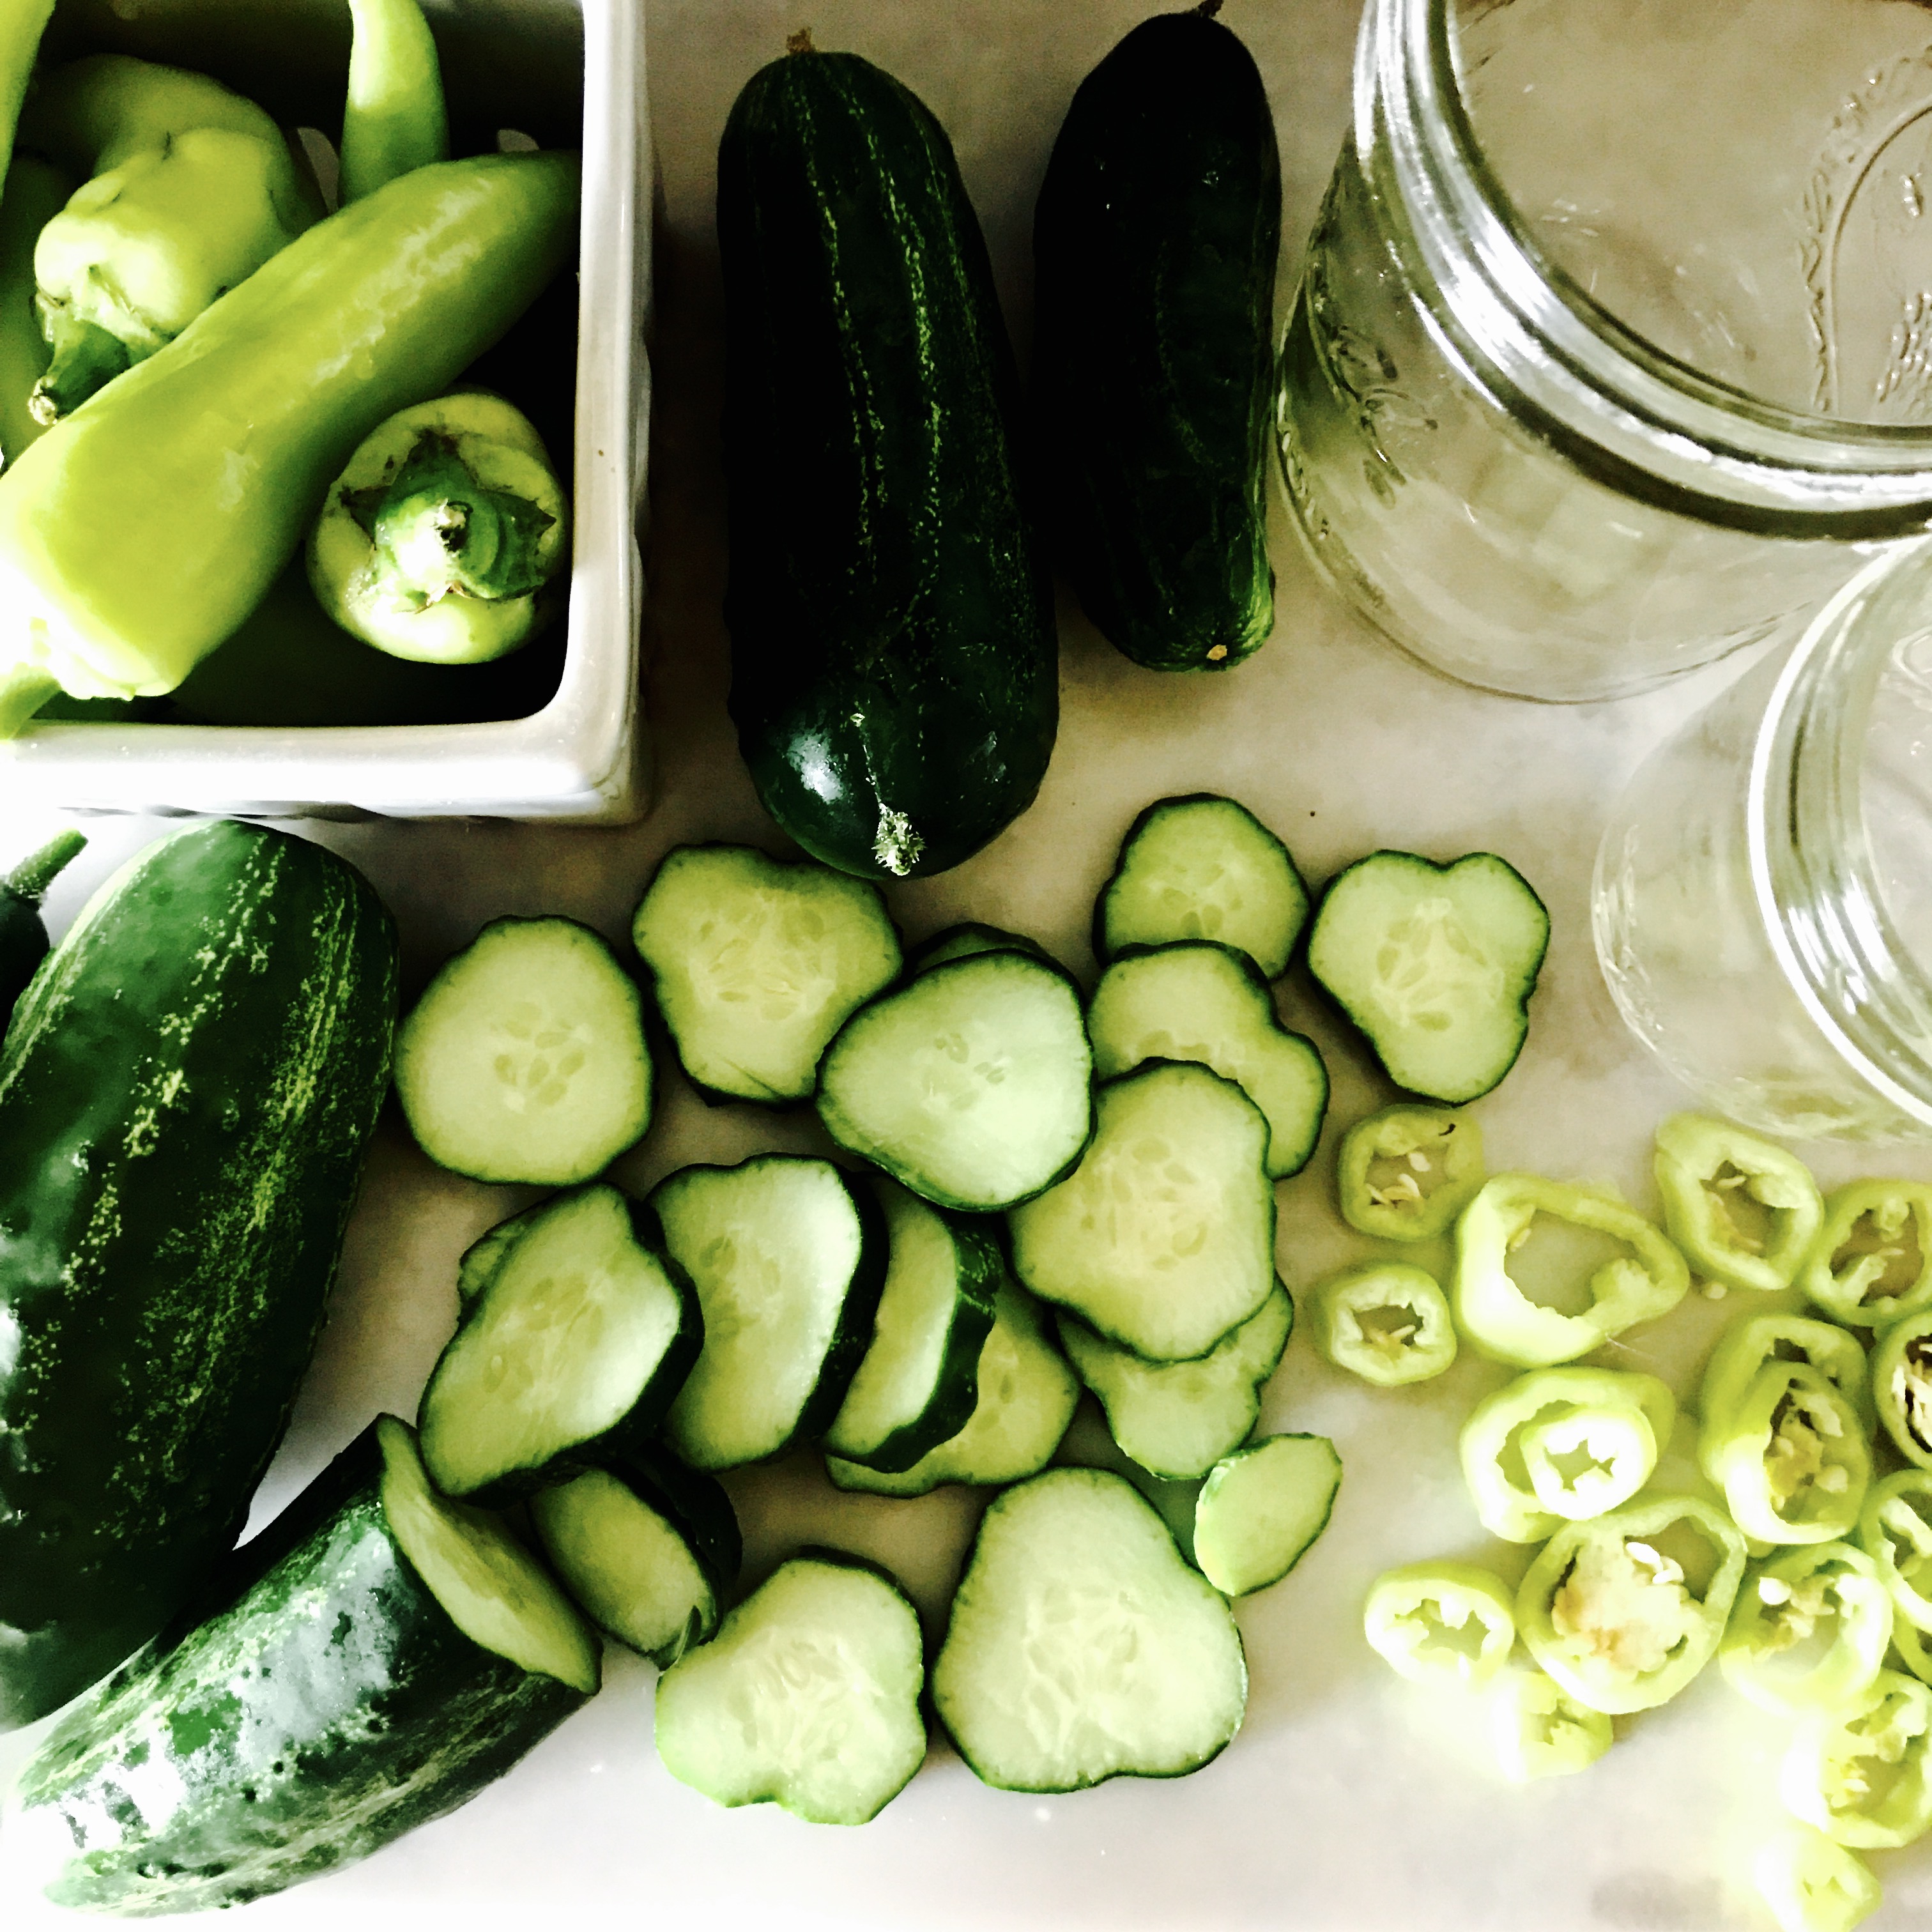
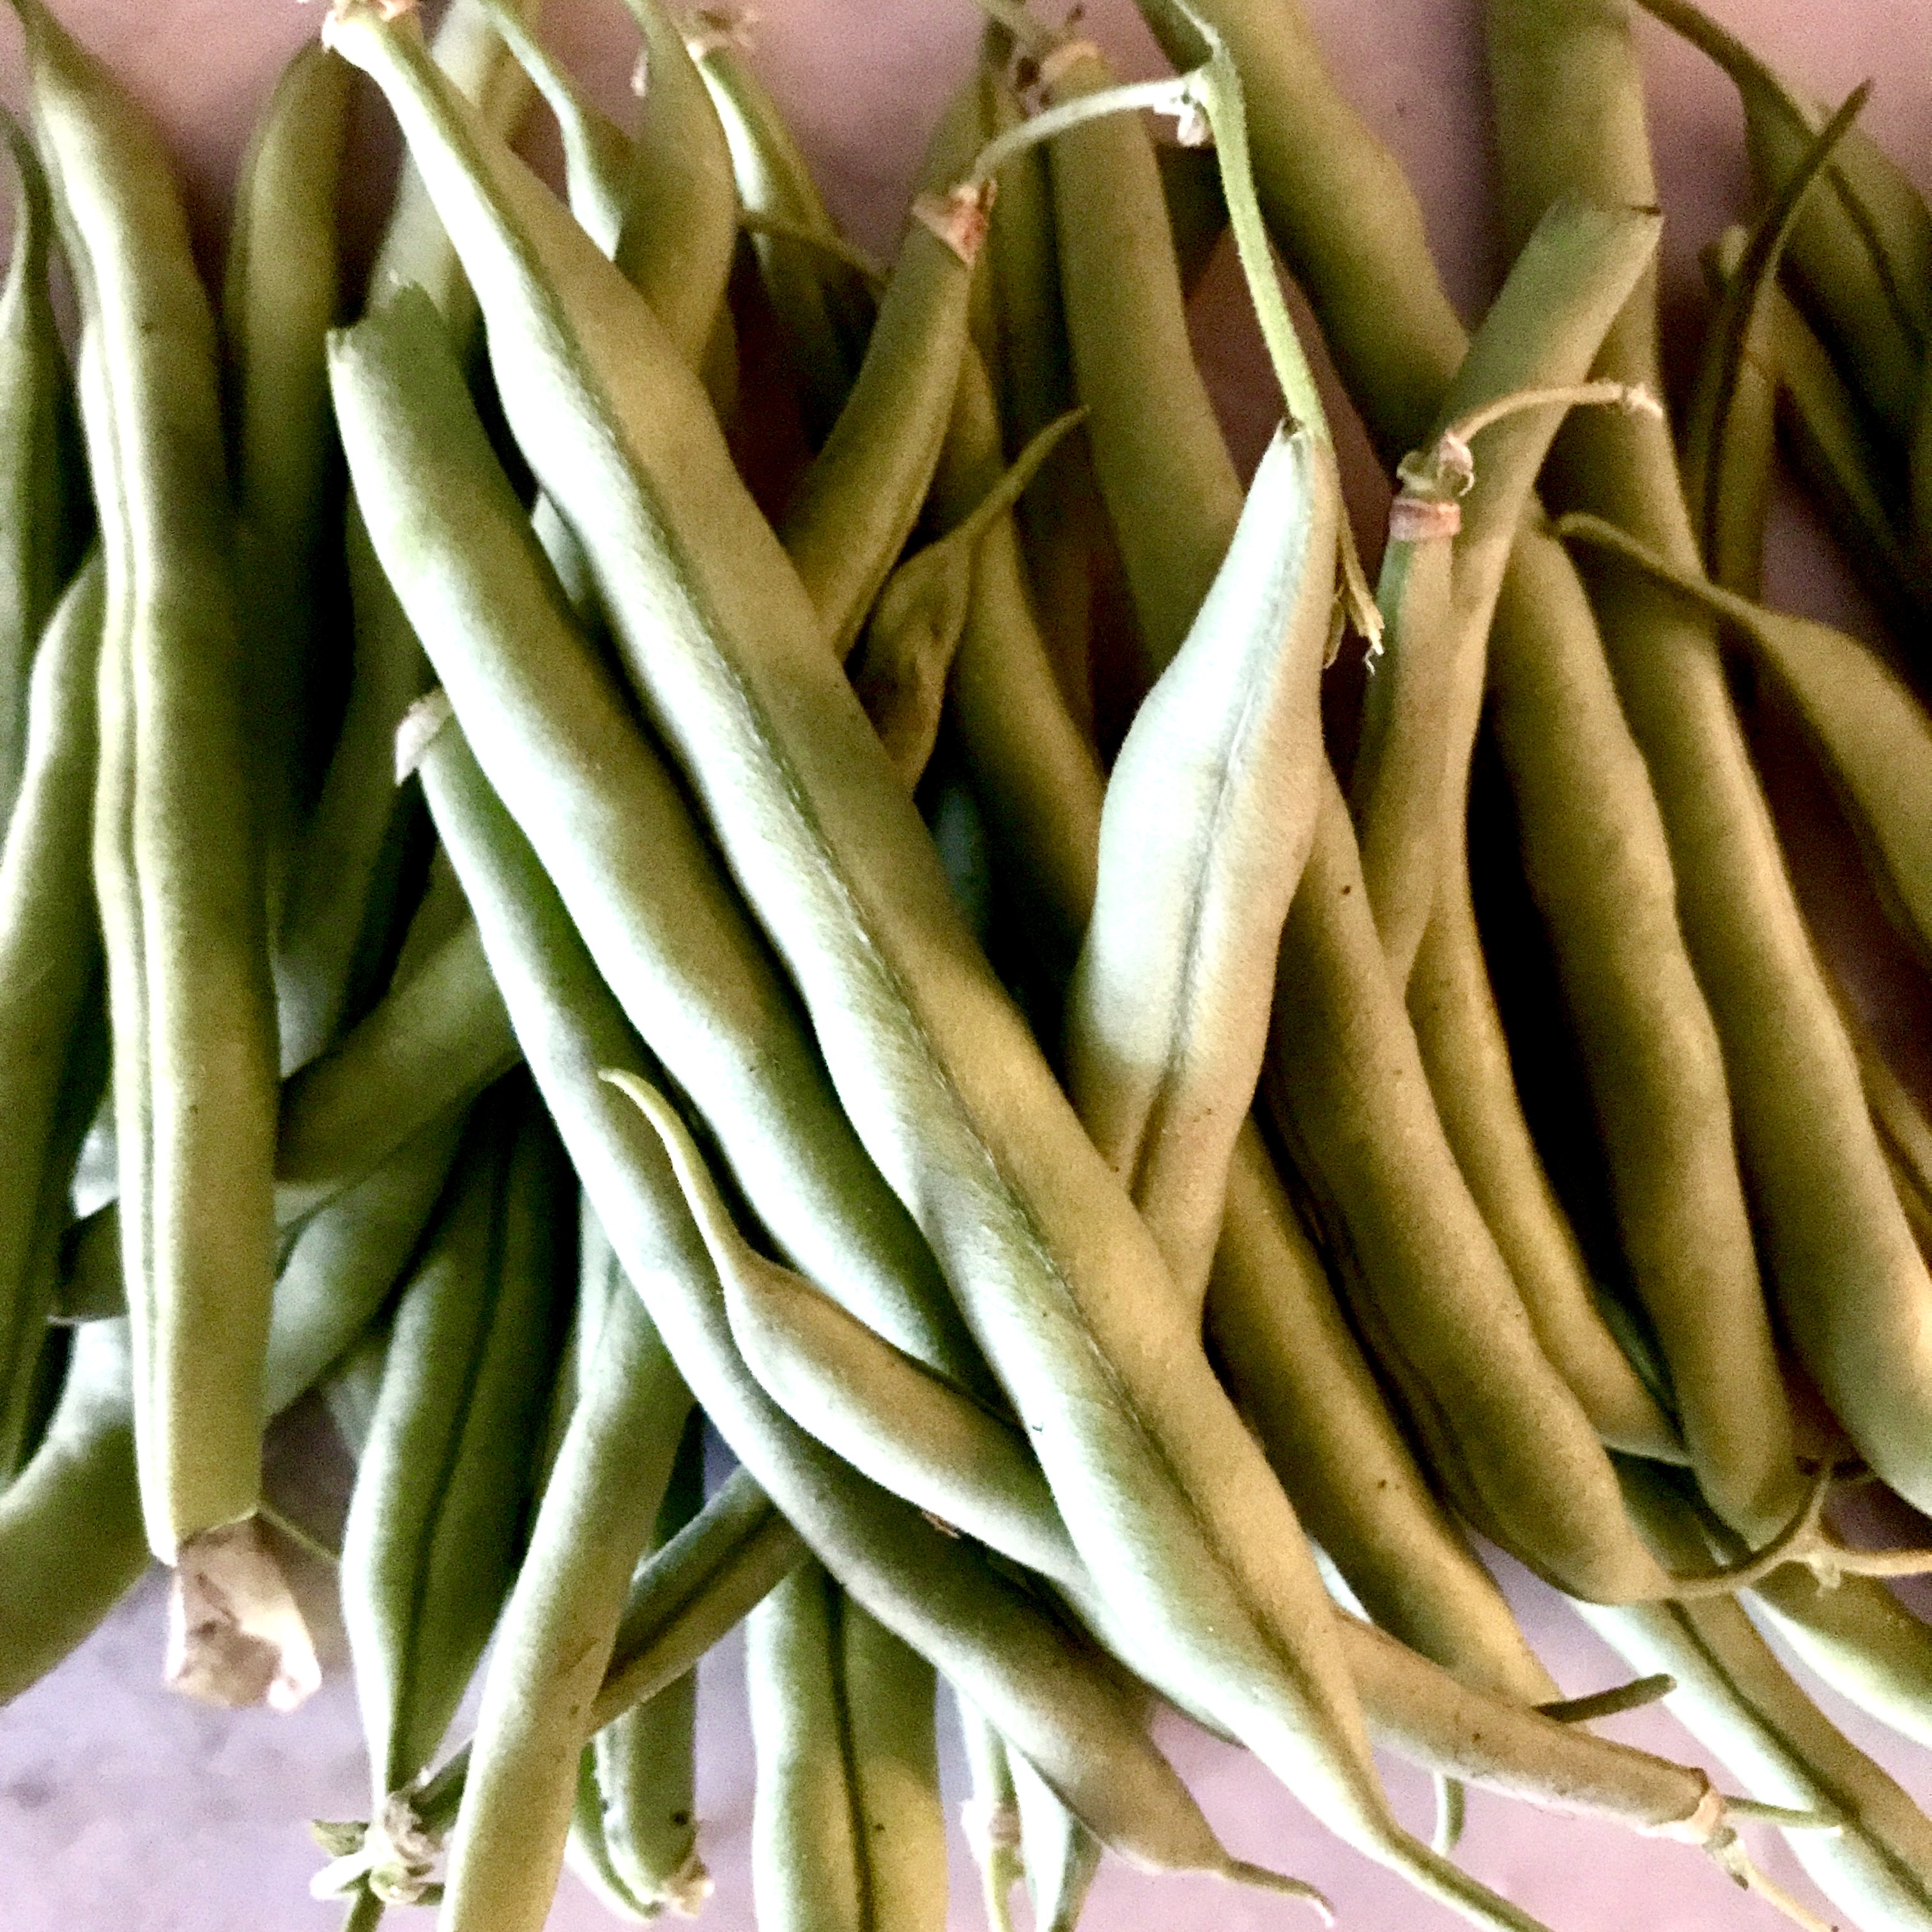
You can get one of my favorite pickle recipes here. I’ve been pickling our cucumbers, banana peppers, and green beans nonstop lately. I toss in garlic, peppers, and spices depending on the taste I’m going for with each batch.

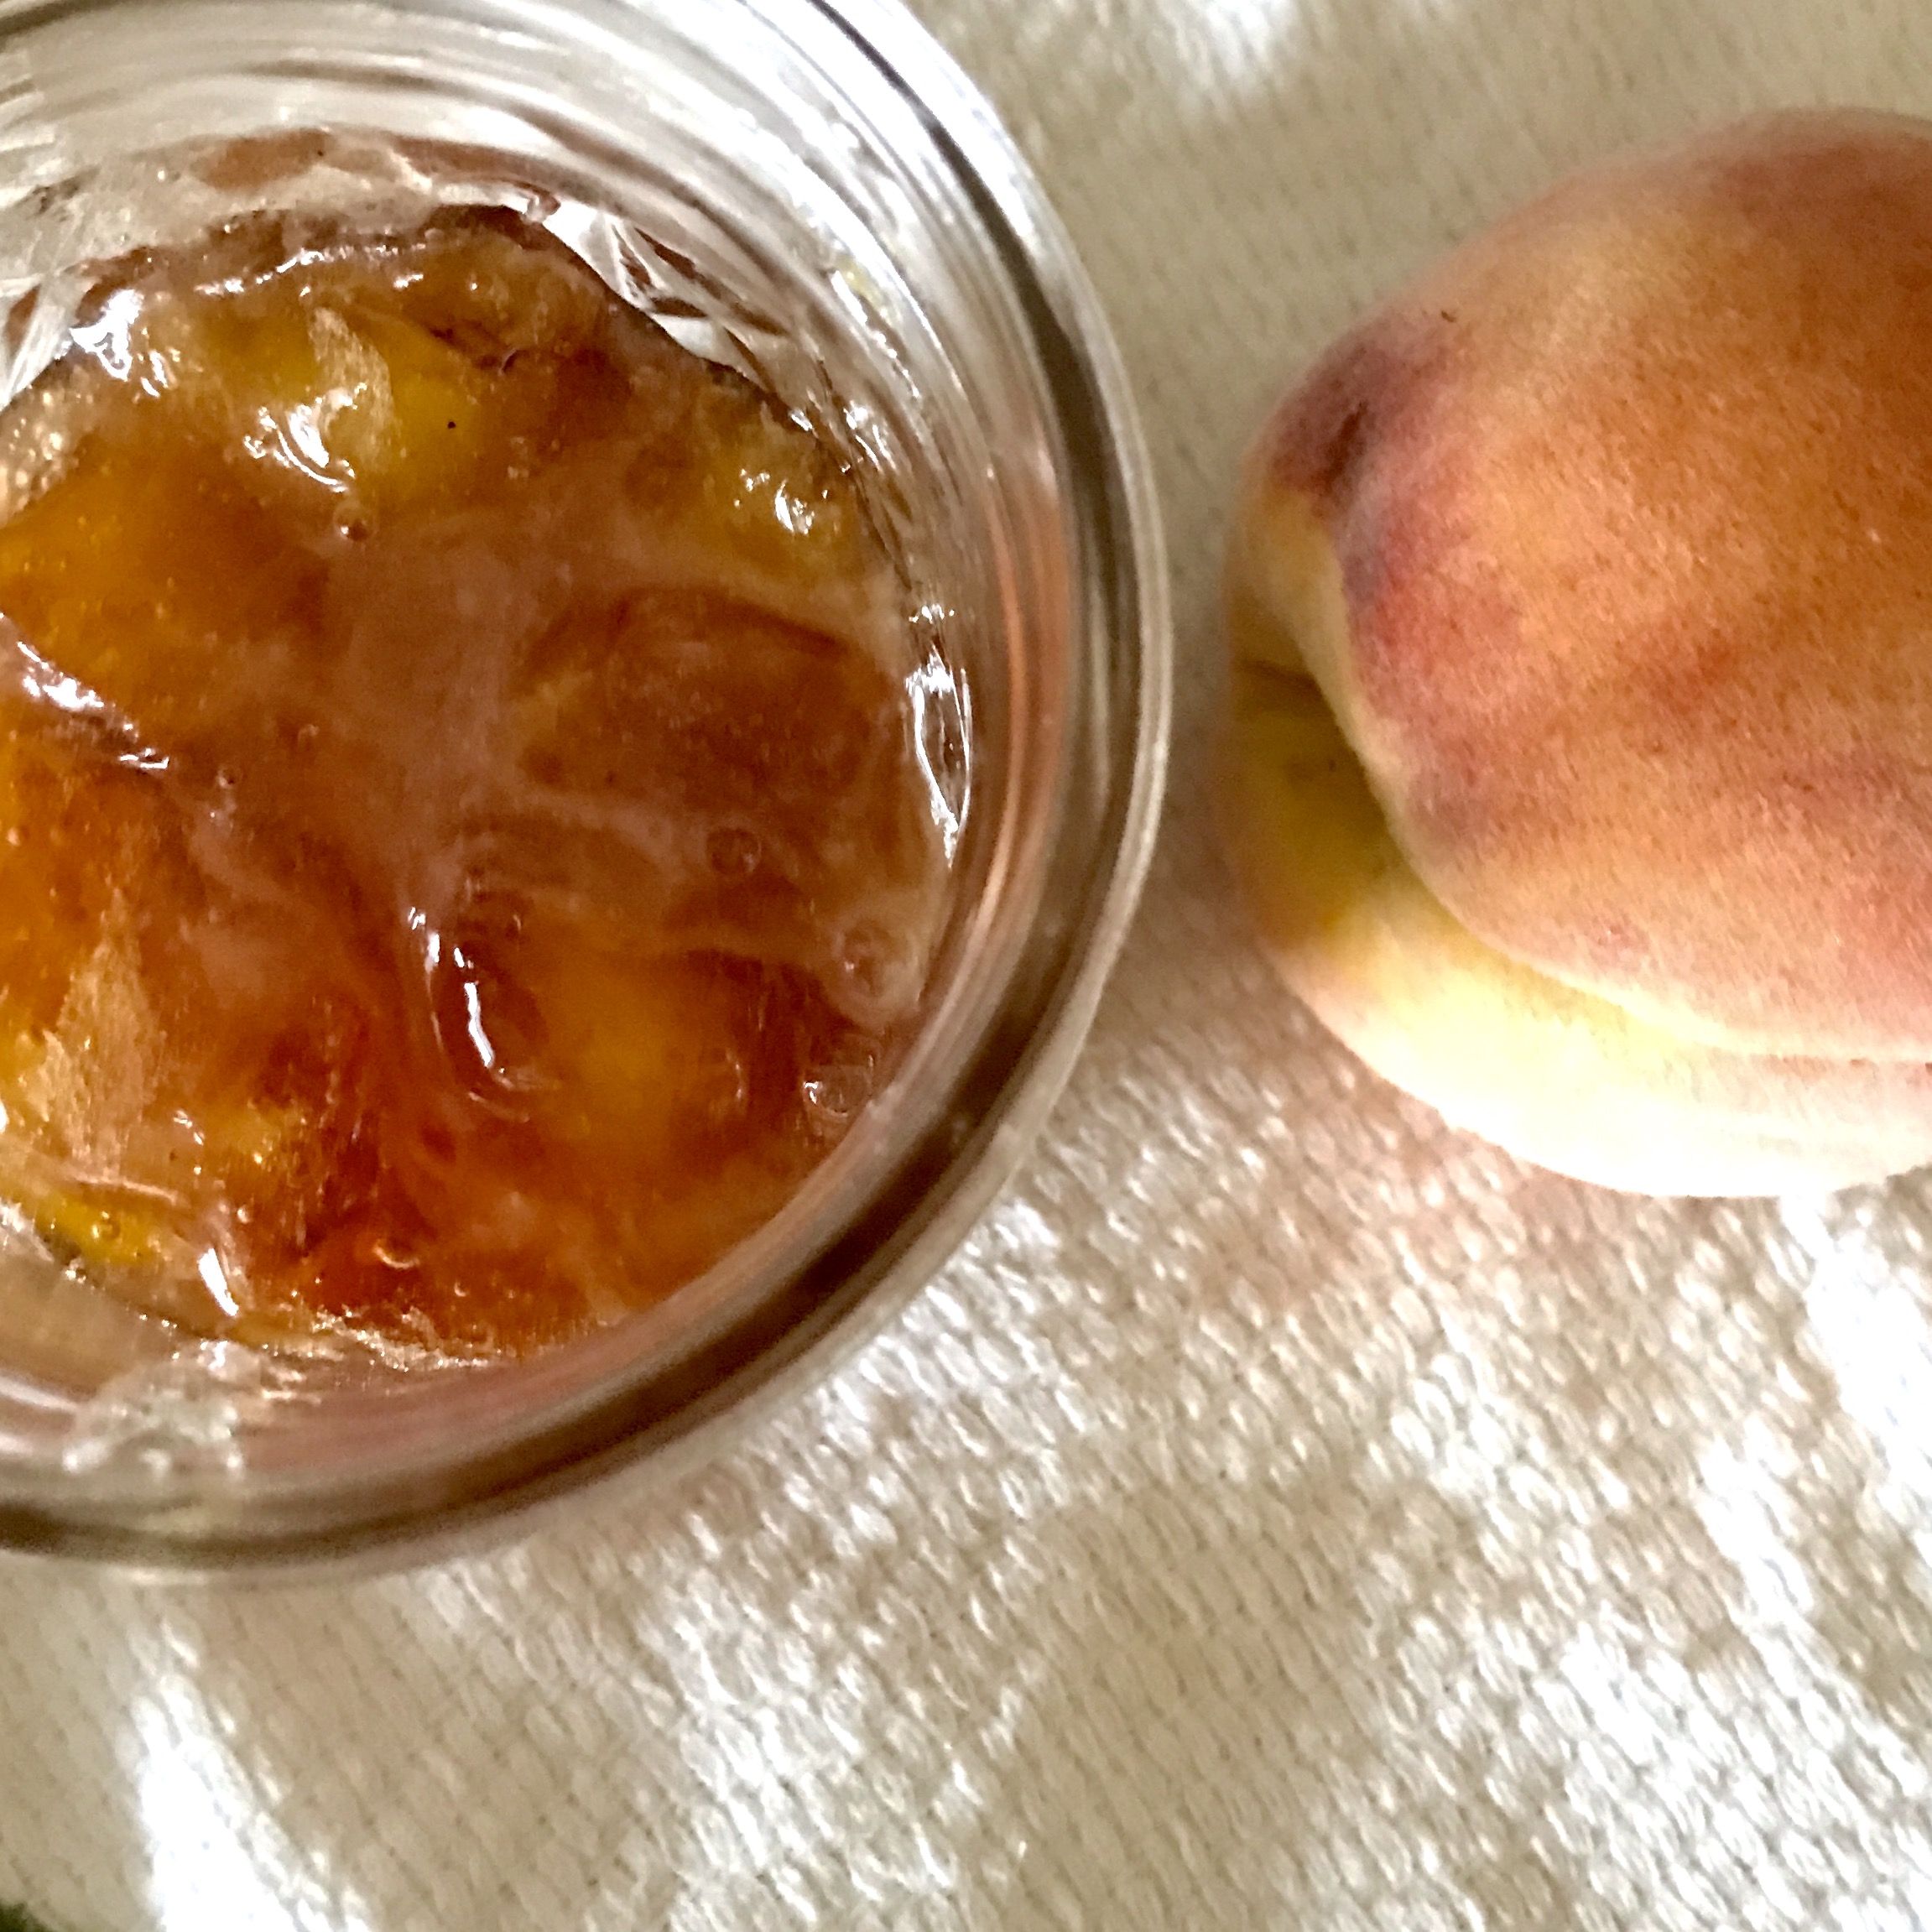
I started using my new canner, a gift from my mom, on our plethora of produce from the garden. I’m still experimenting with it to perfect the technique. By the end of the season, we should be stocked up on homemade canned goods. If you decide you want to try canning, ALWAYS follow directions exactly according to the specific canner and recipes you’re using. Botulism is no joke.

Tomatoes

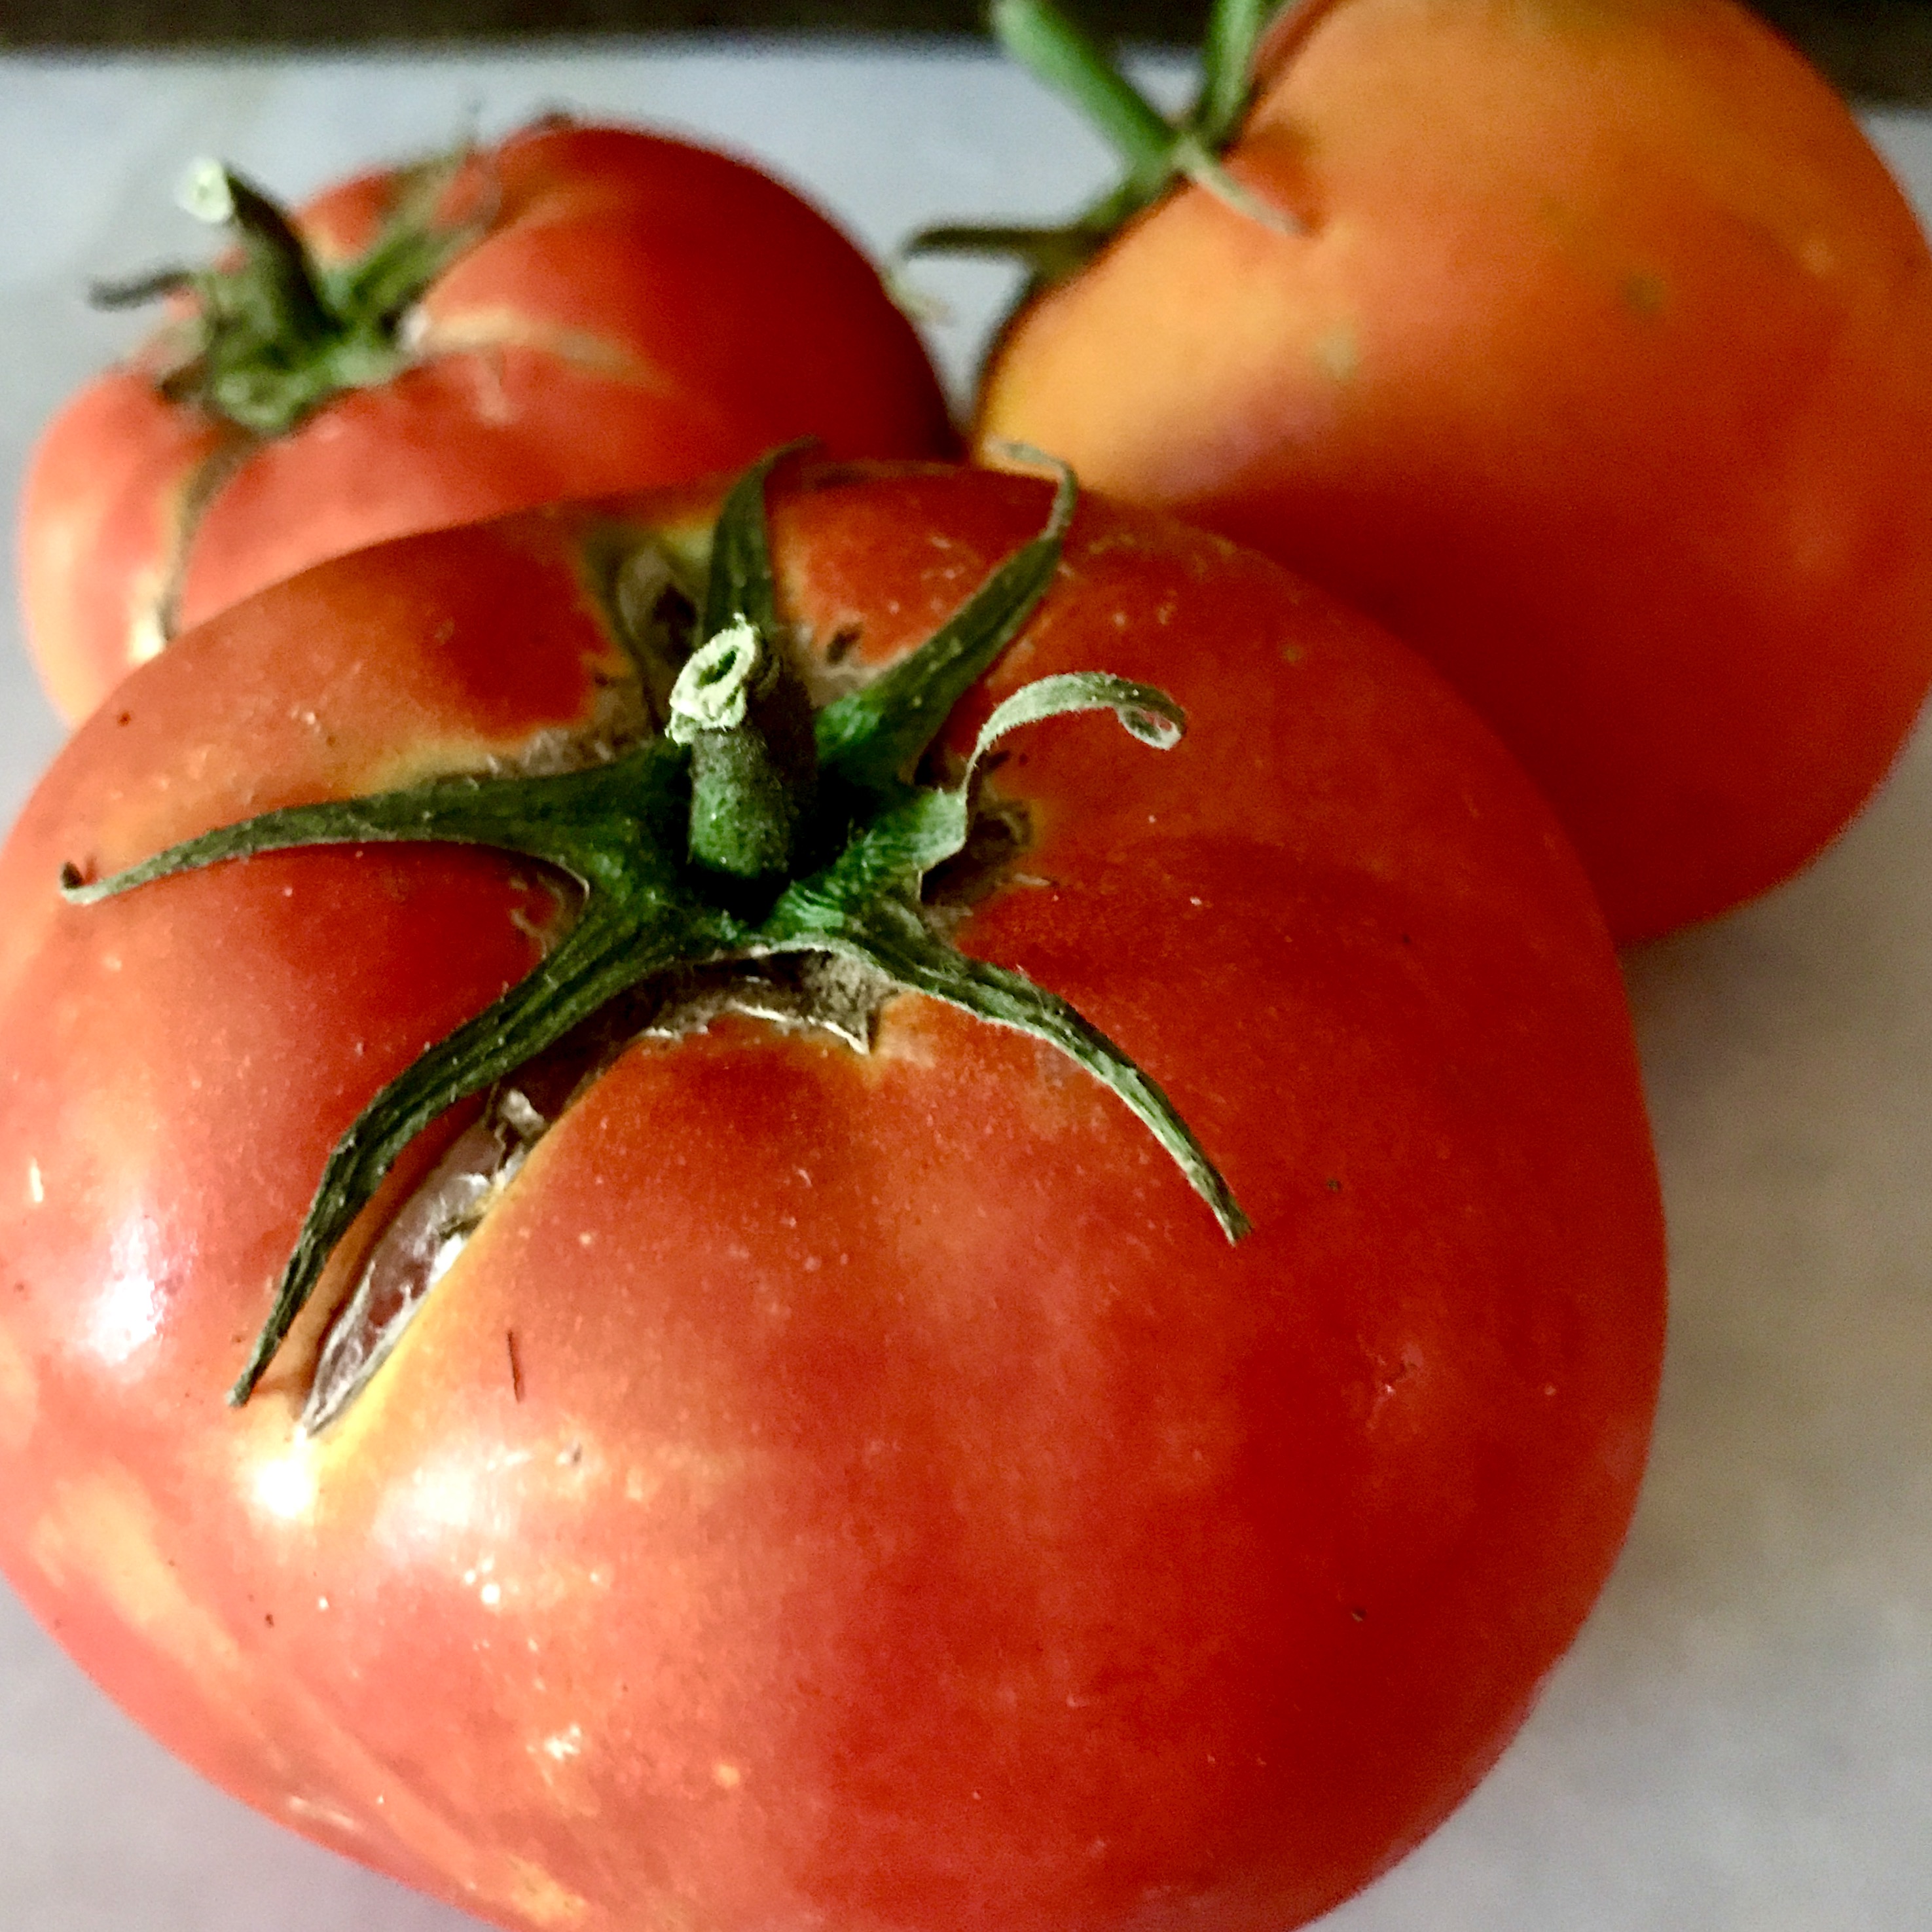
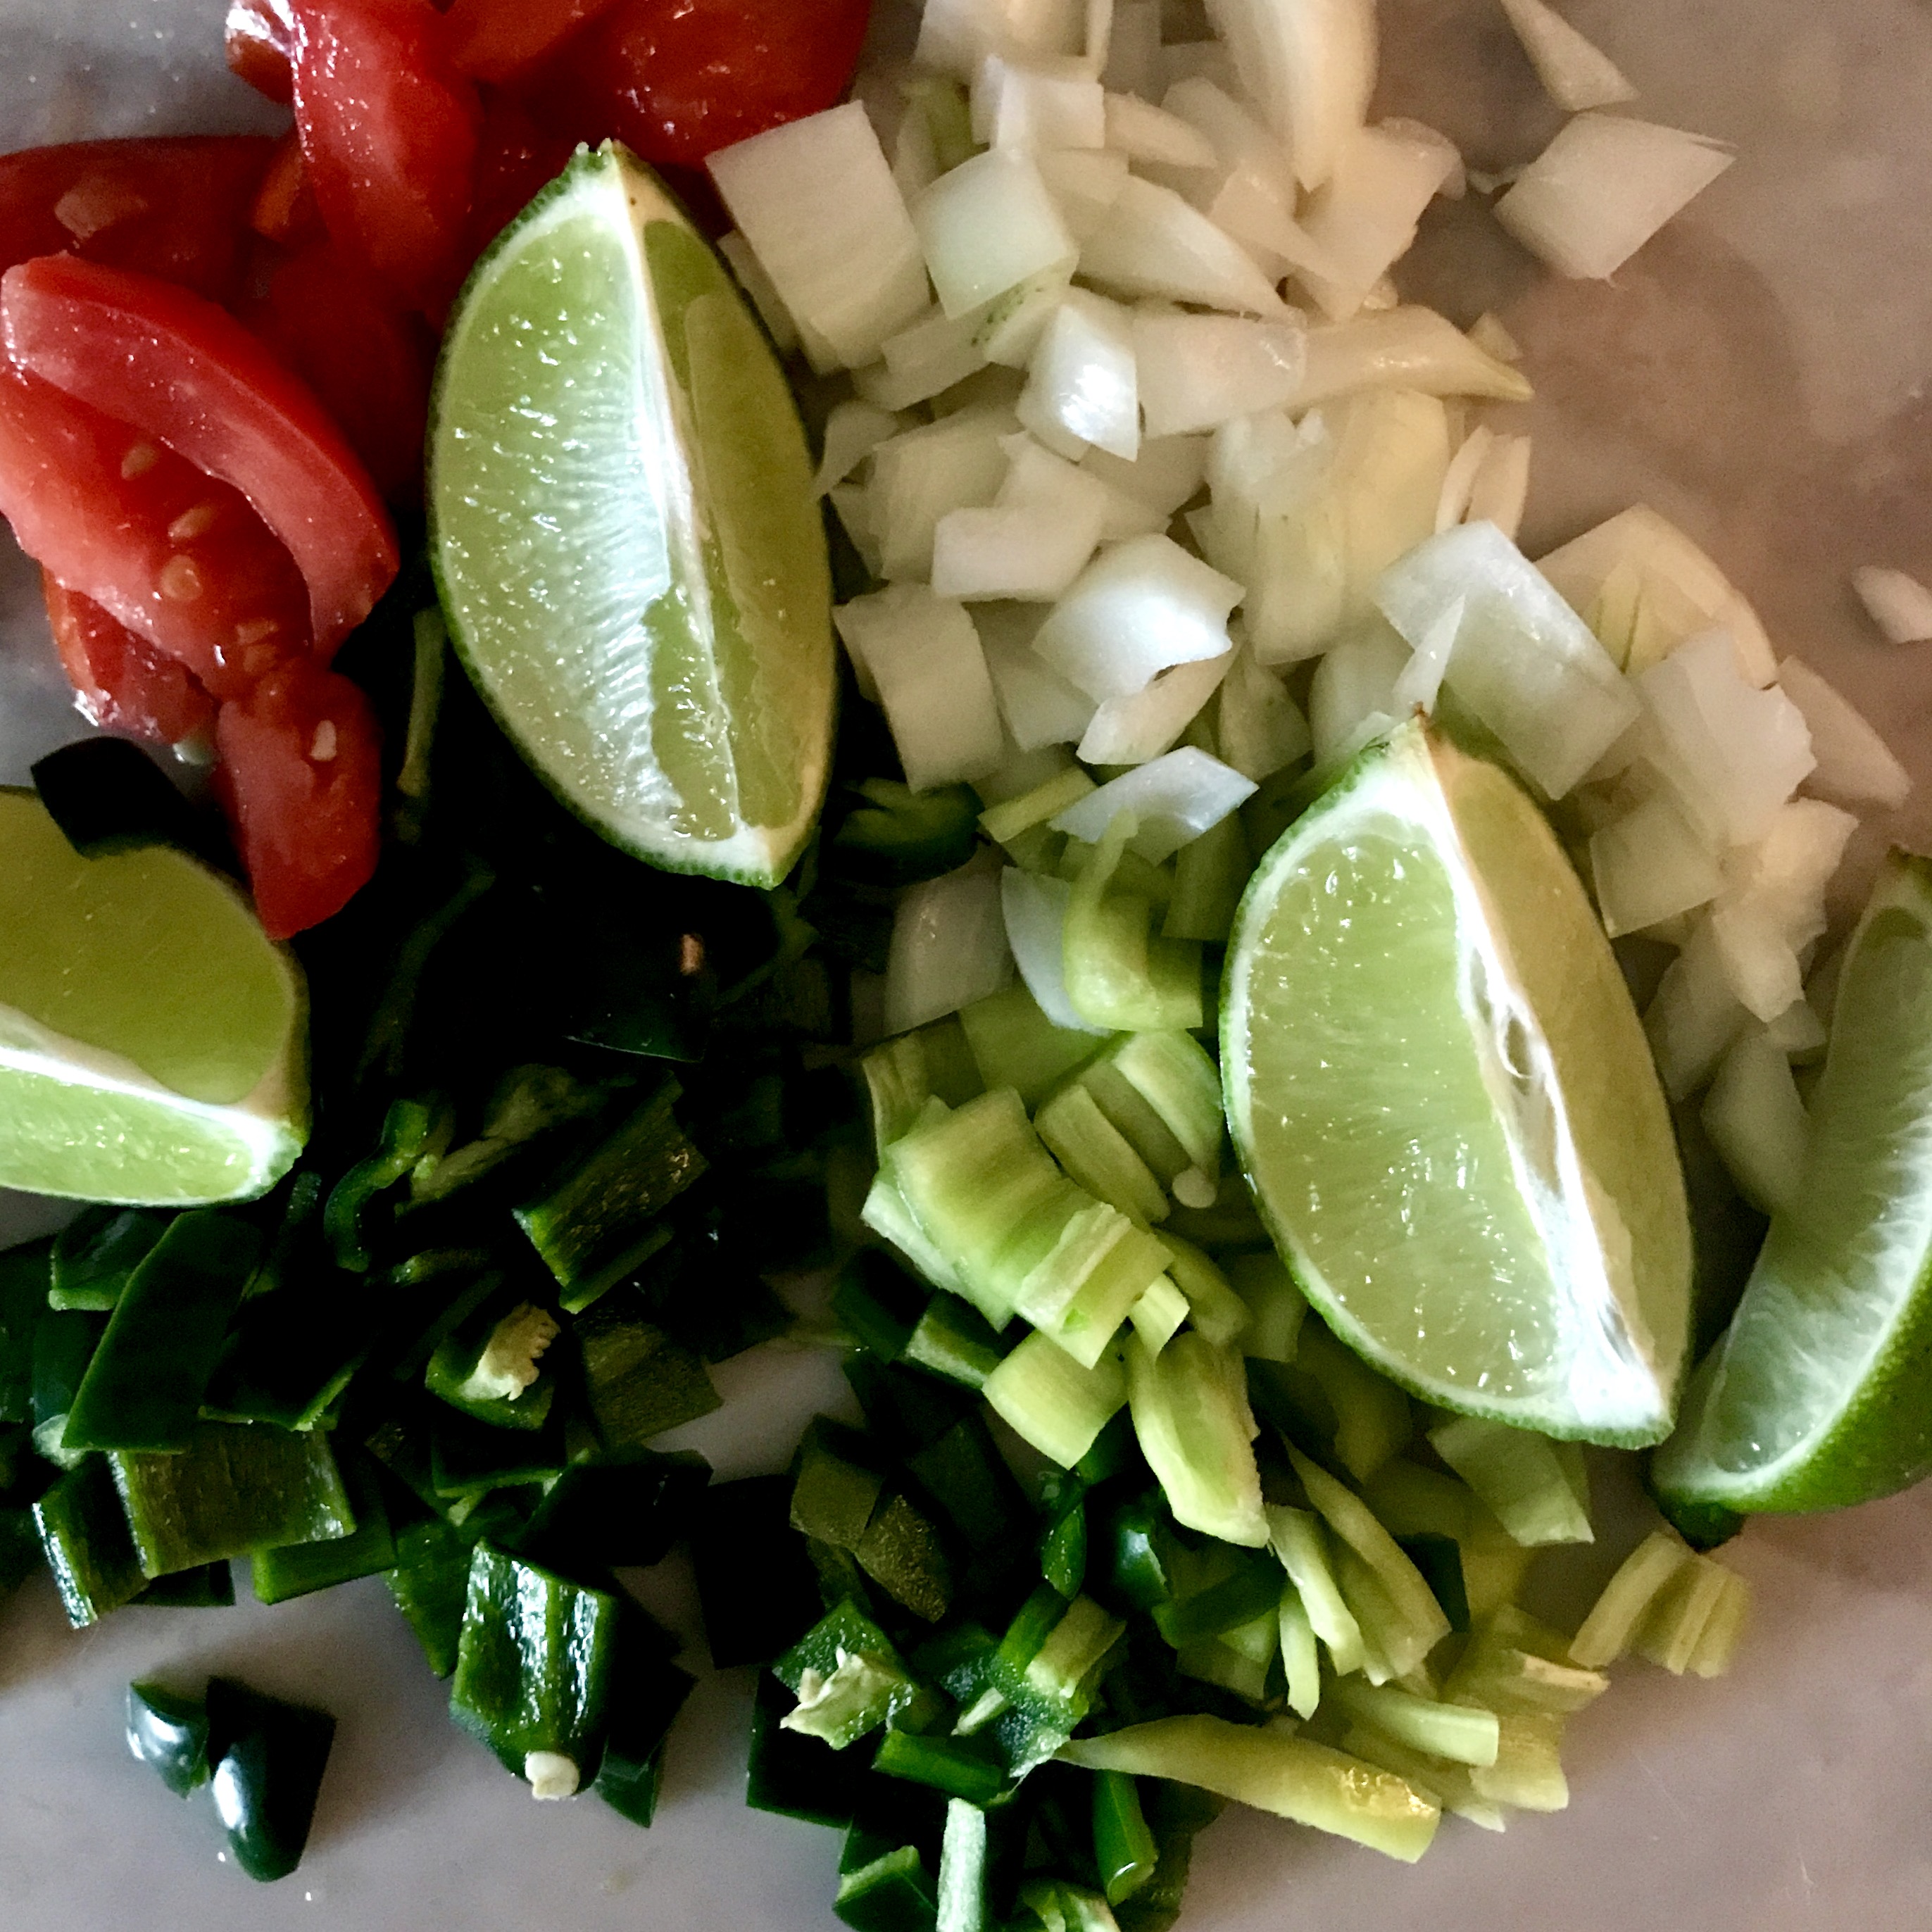
Fresh salsa with tomatoes, onions, and peppers from the garden? Hell yes. Here’s the recipe:

  • 4 Large Tomatoes
  • 1/3 cup Diced Poblano Pepper
  • 1/3 cup Diced Banana Pepper
  • 1/3 cup Diced Jalepeno Pepper
  • 2 Cloves Garlic
  • 1 tbsp Salt
  • Juice of 1 Lime
  • 1/4 cup White Vinegar

Core and dice tomatoes. Add tomatoes to a saucepan and bring to a boil. Boil gently for 10 minutes. Add peppers, garlic, salt, lime juice, and vinegar. Bring back to boil and boil gently for 10 additional minutes. Serve chilled.
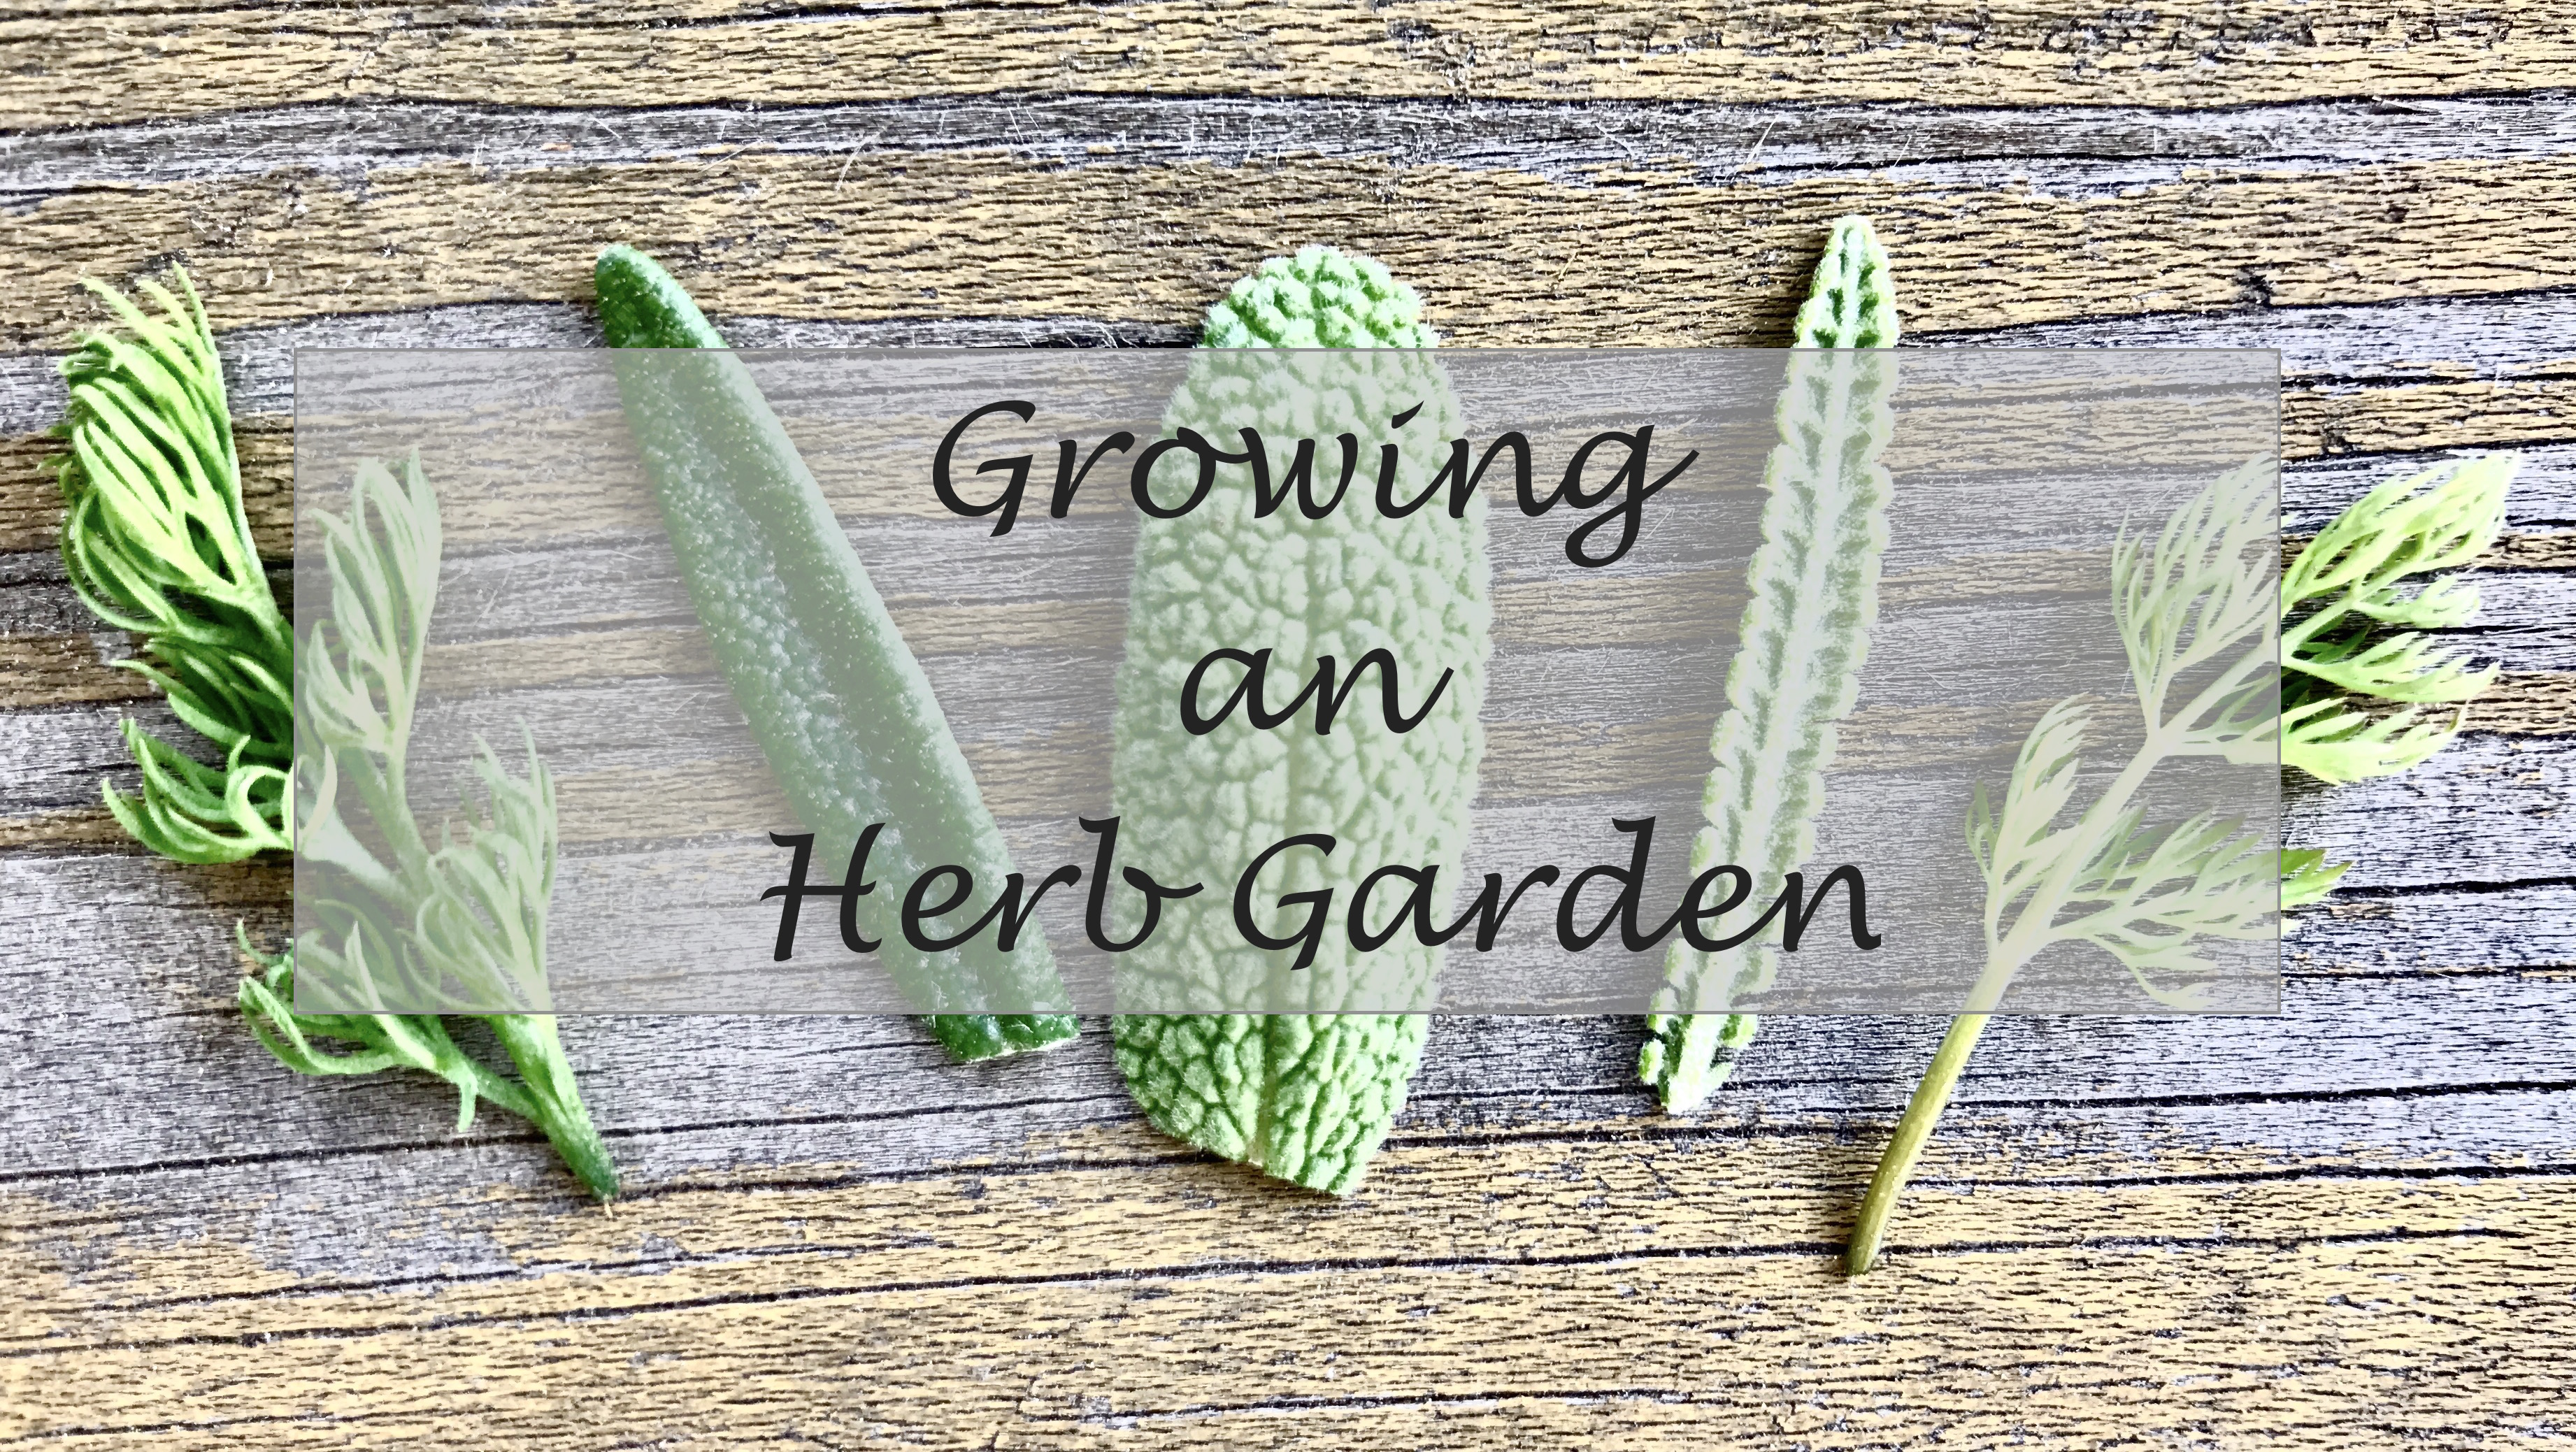
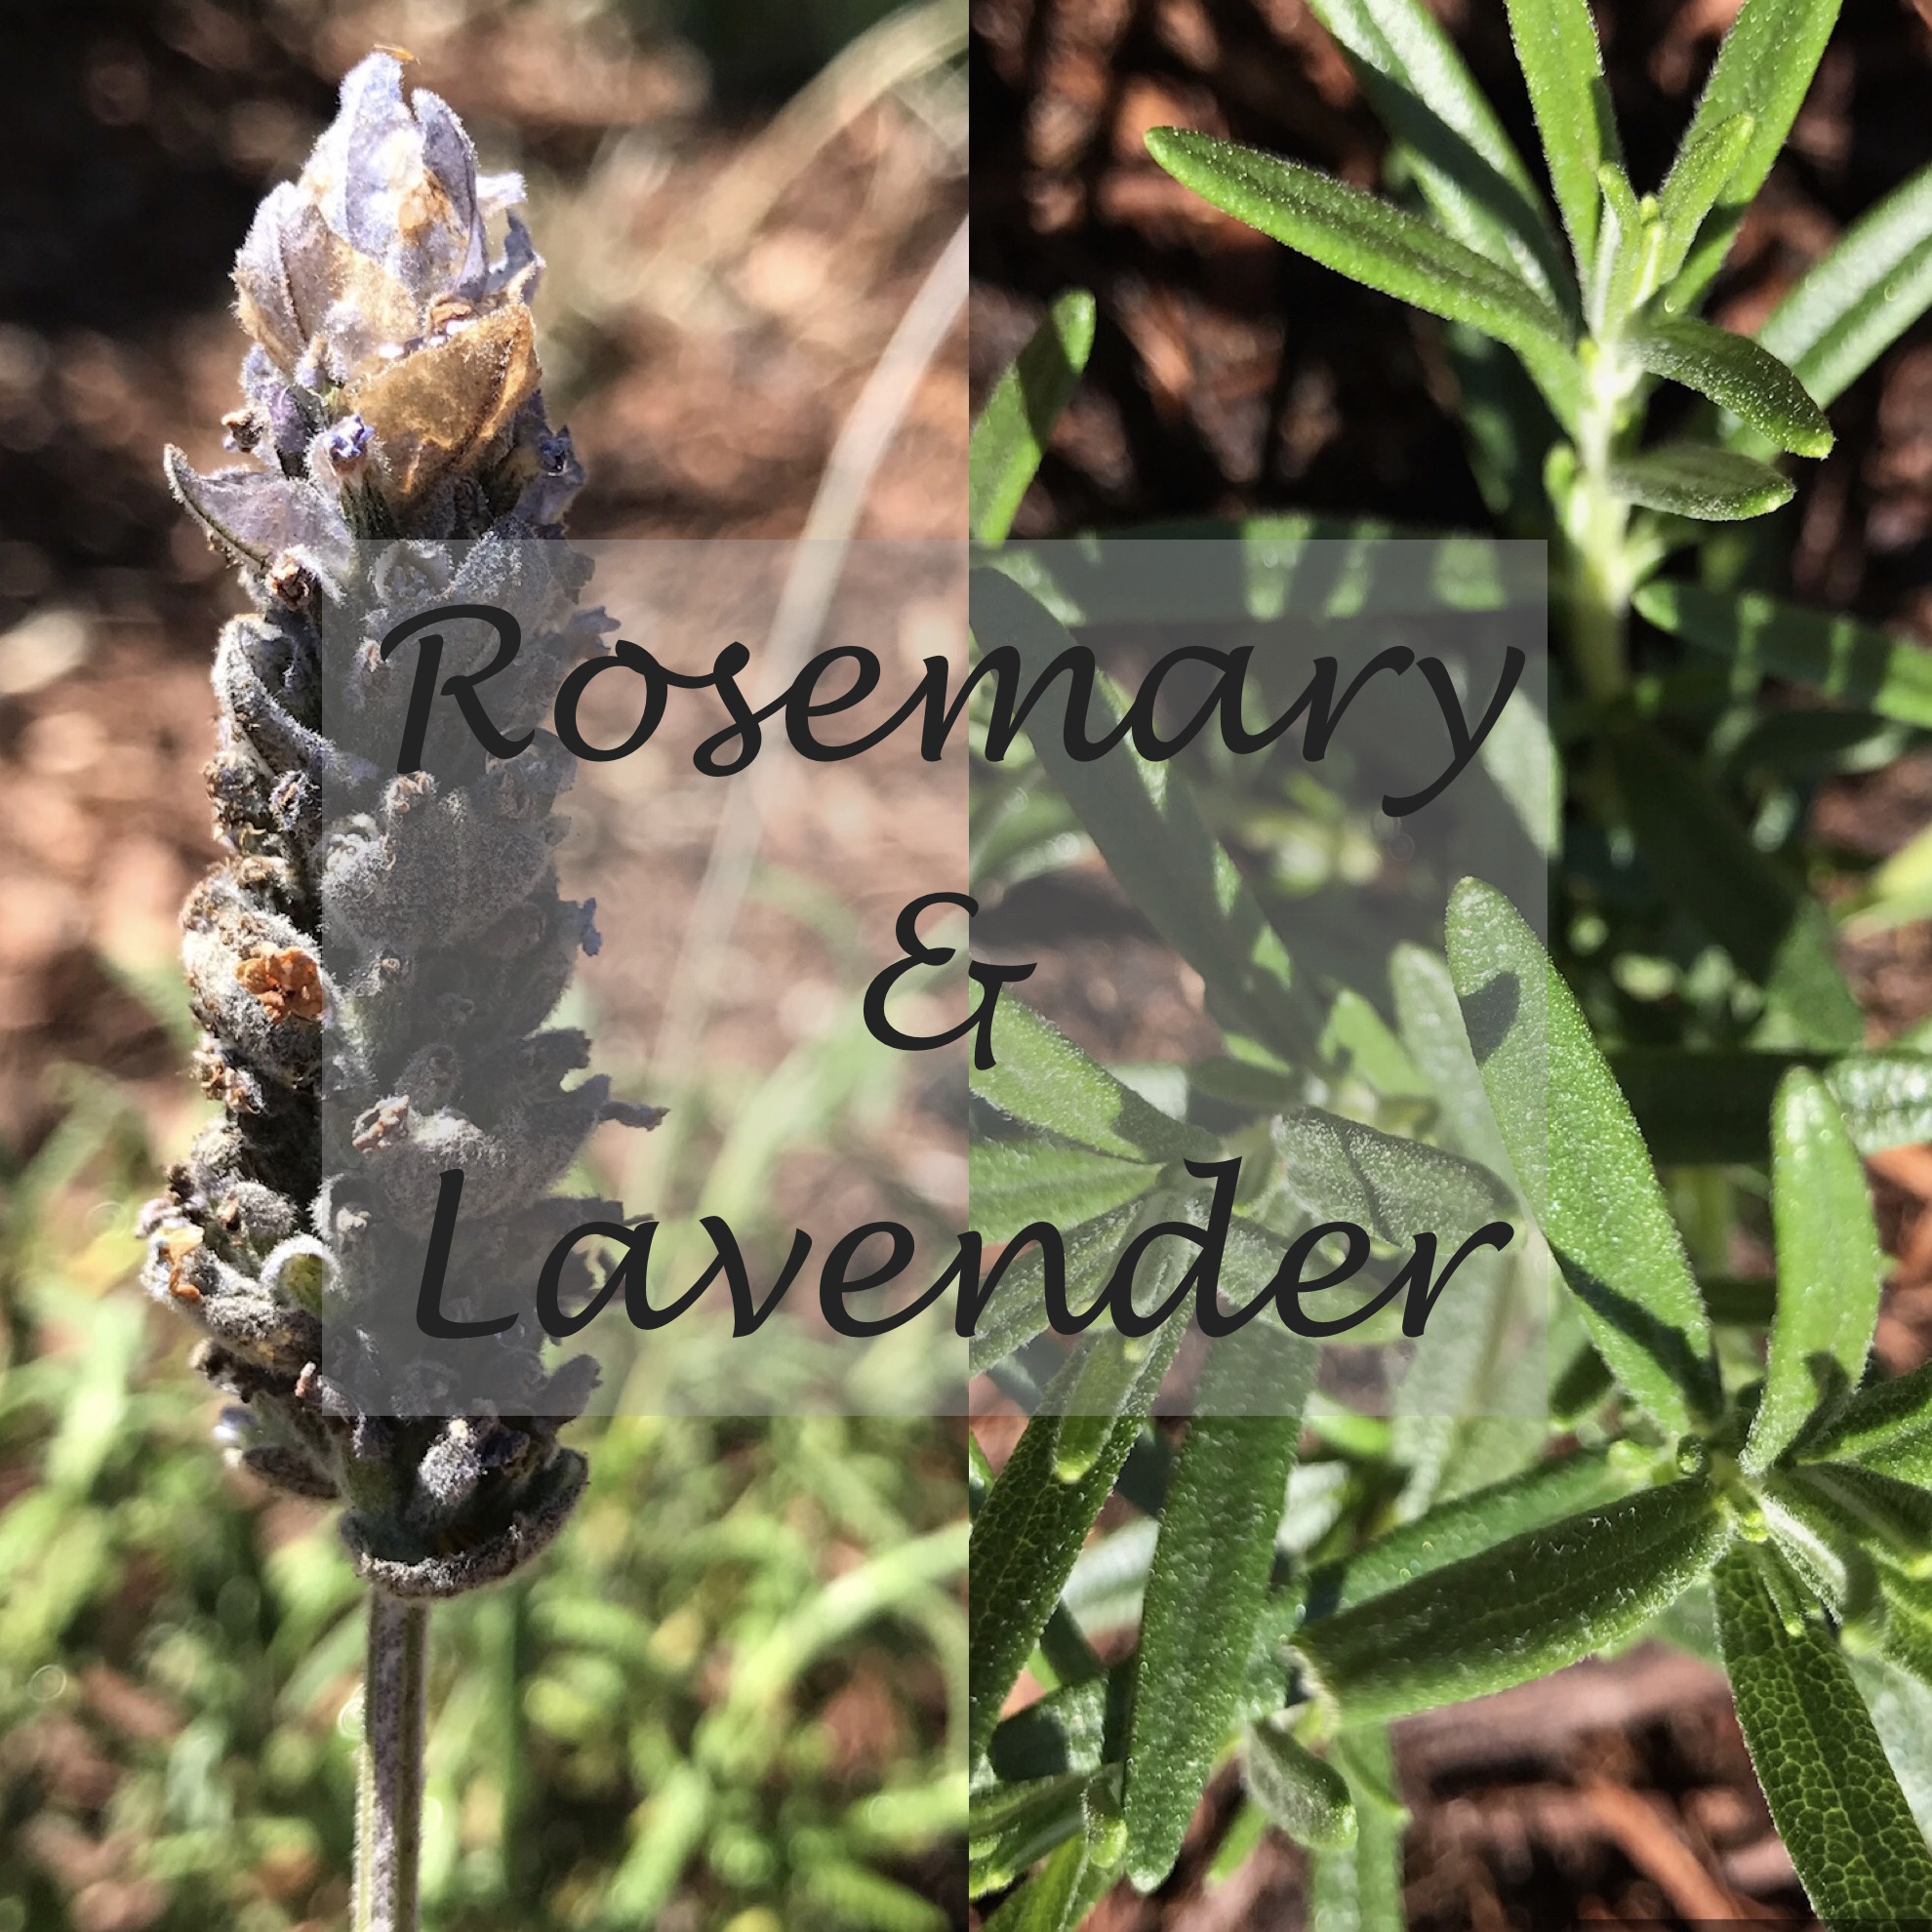
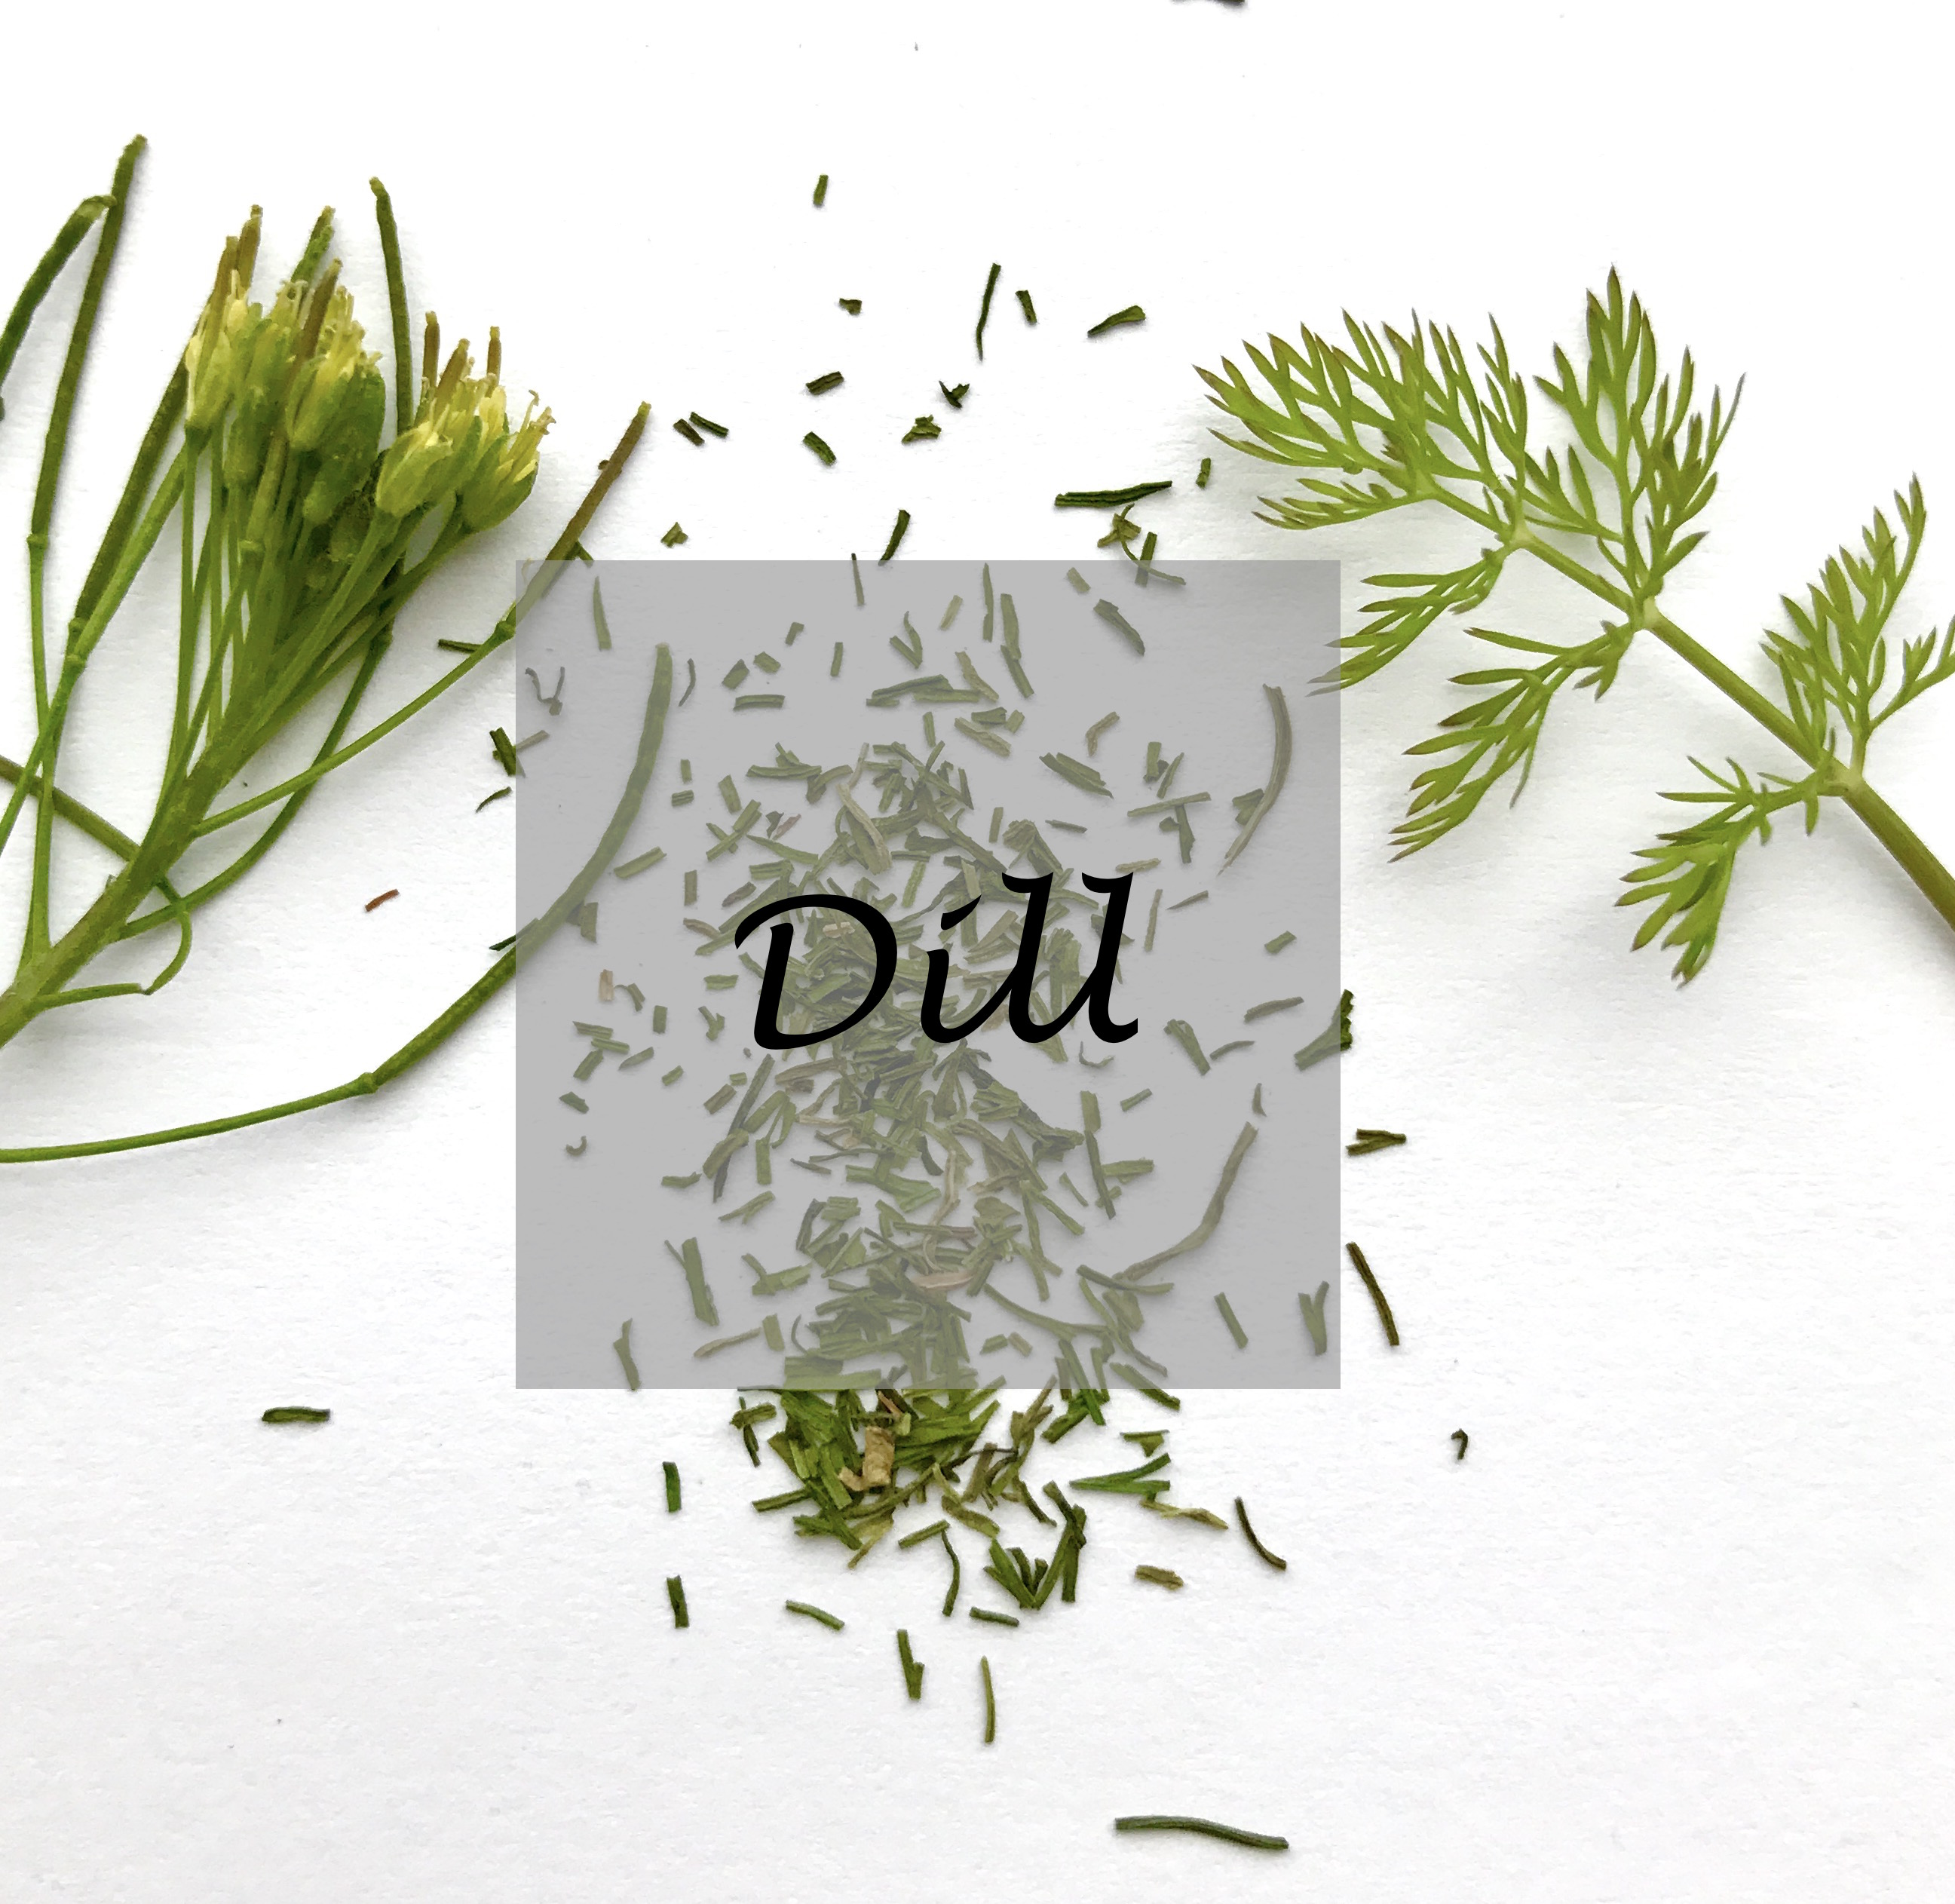
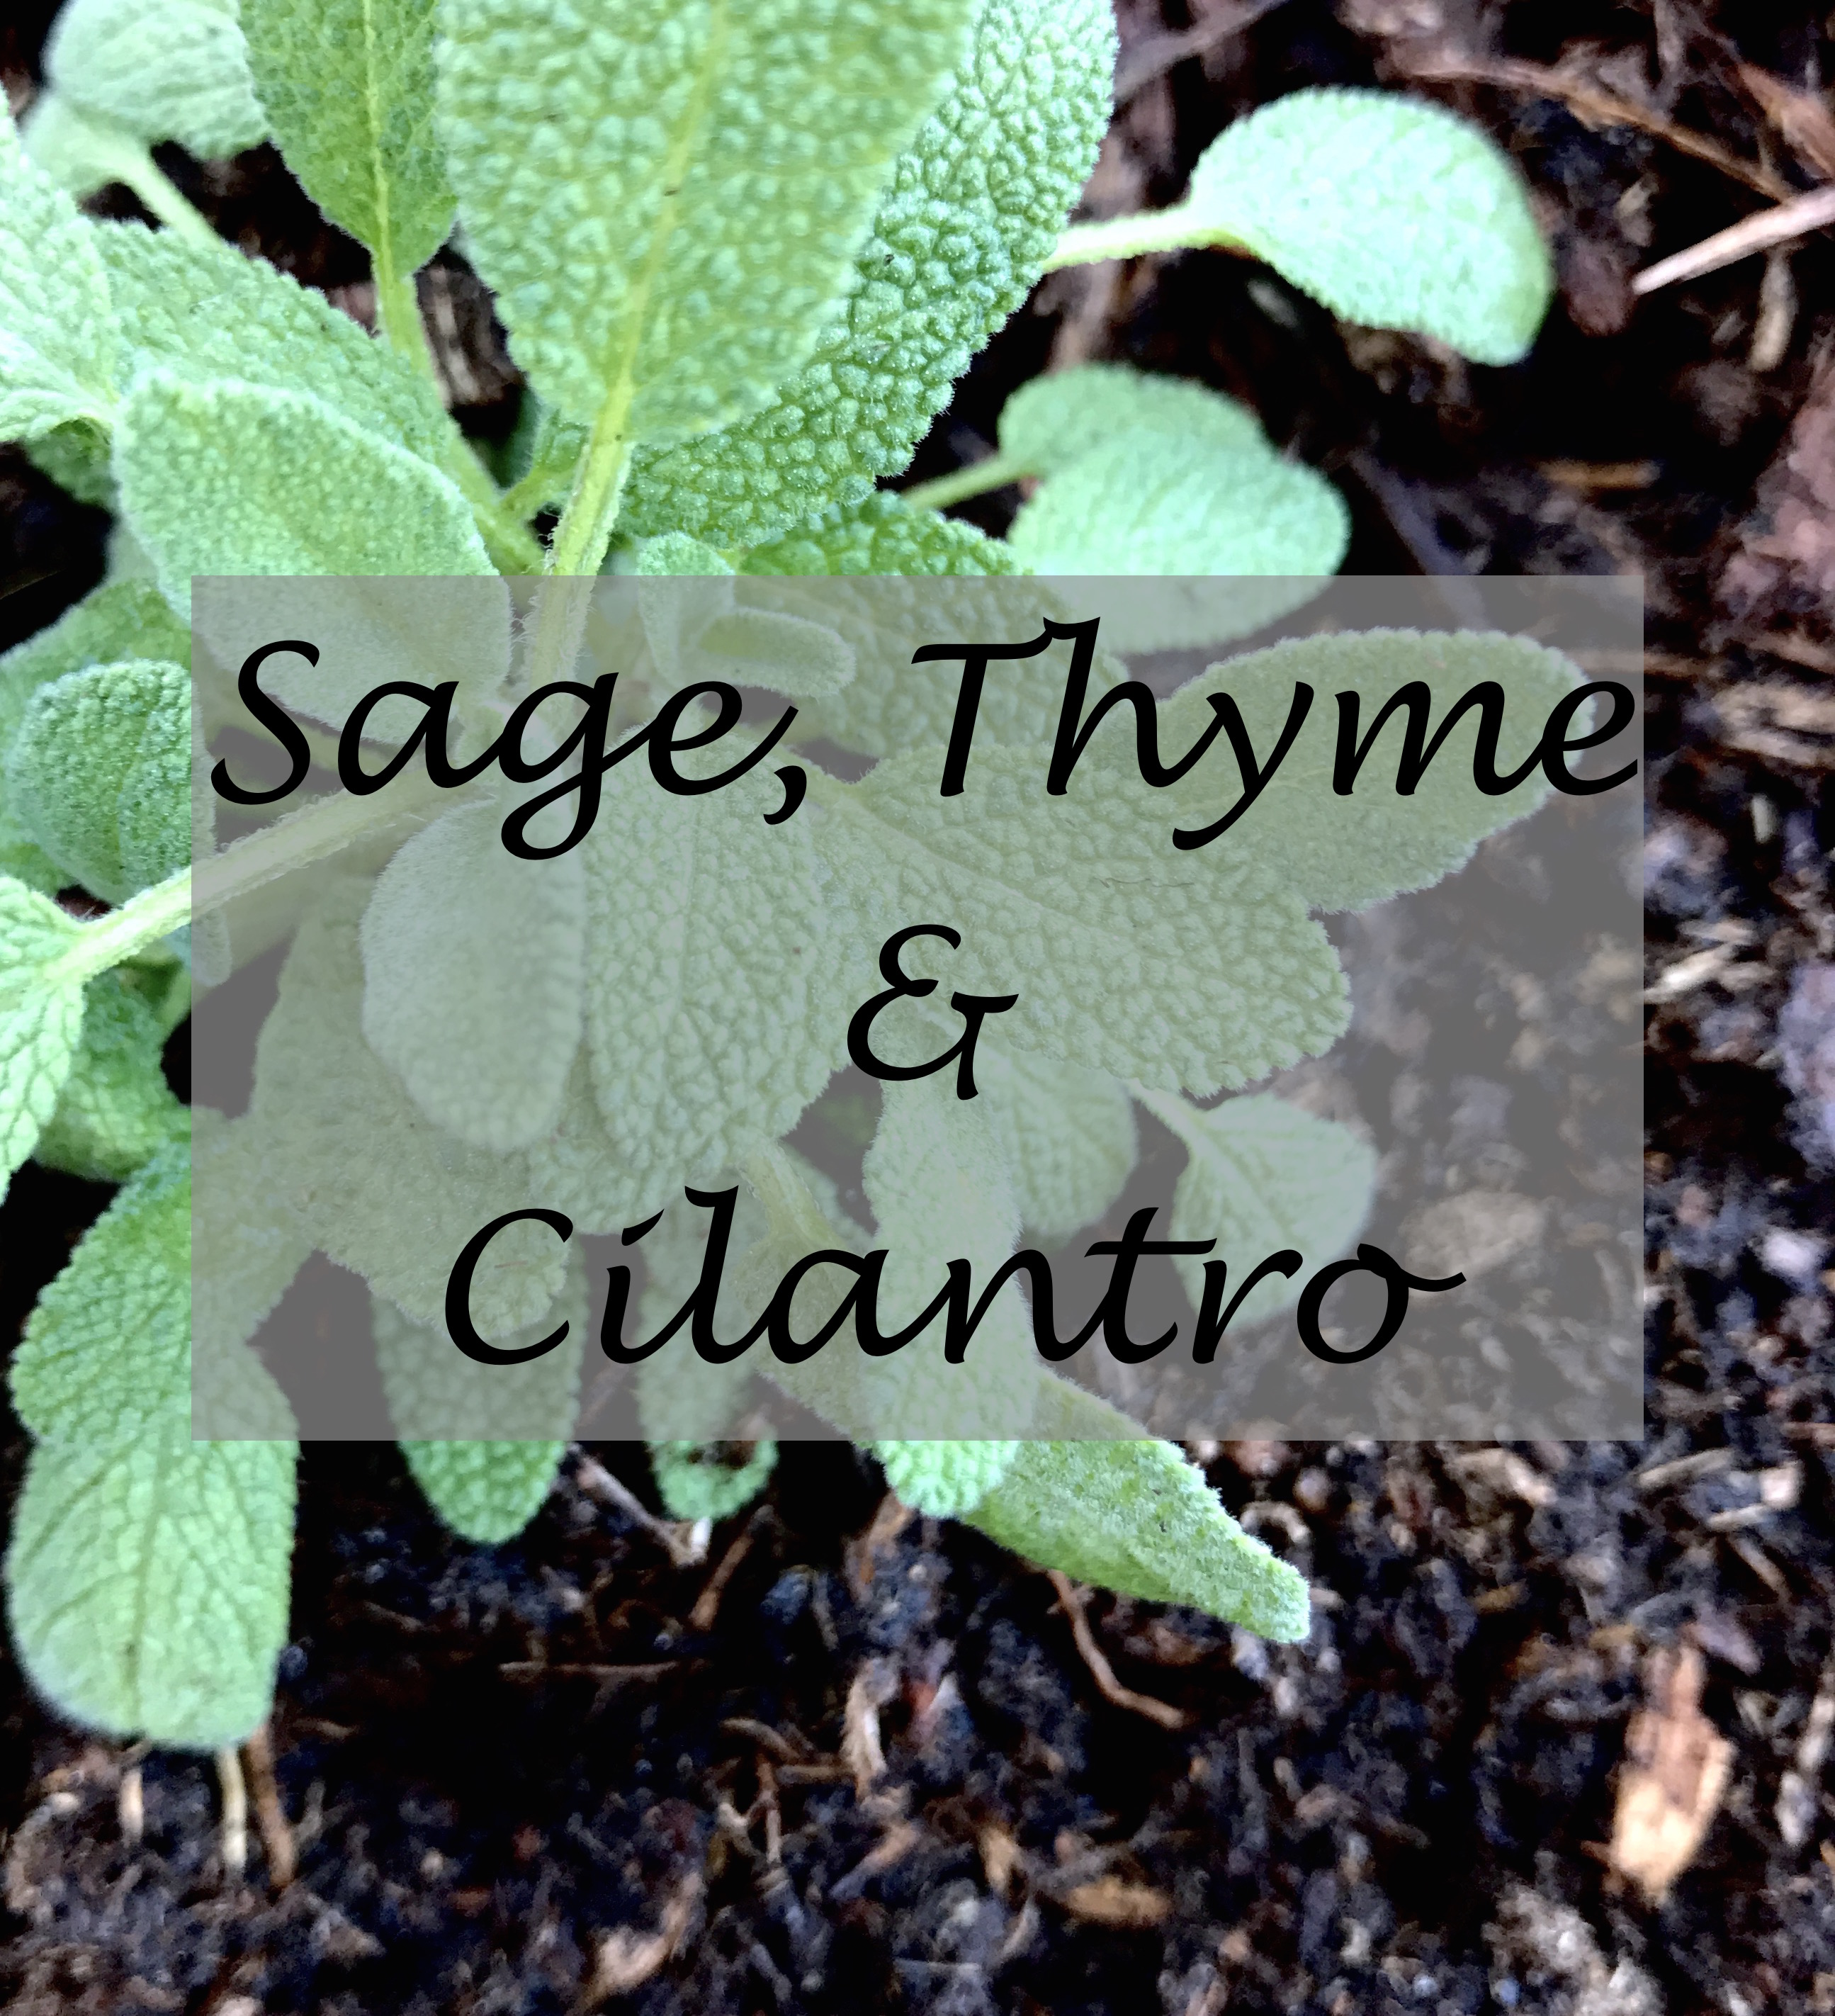
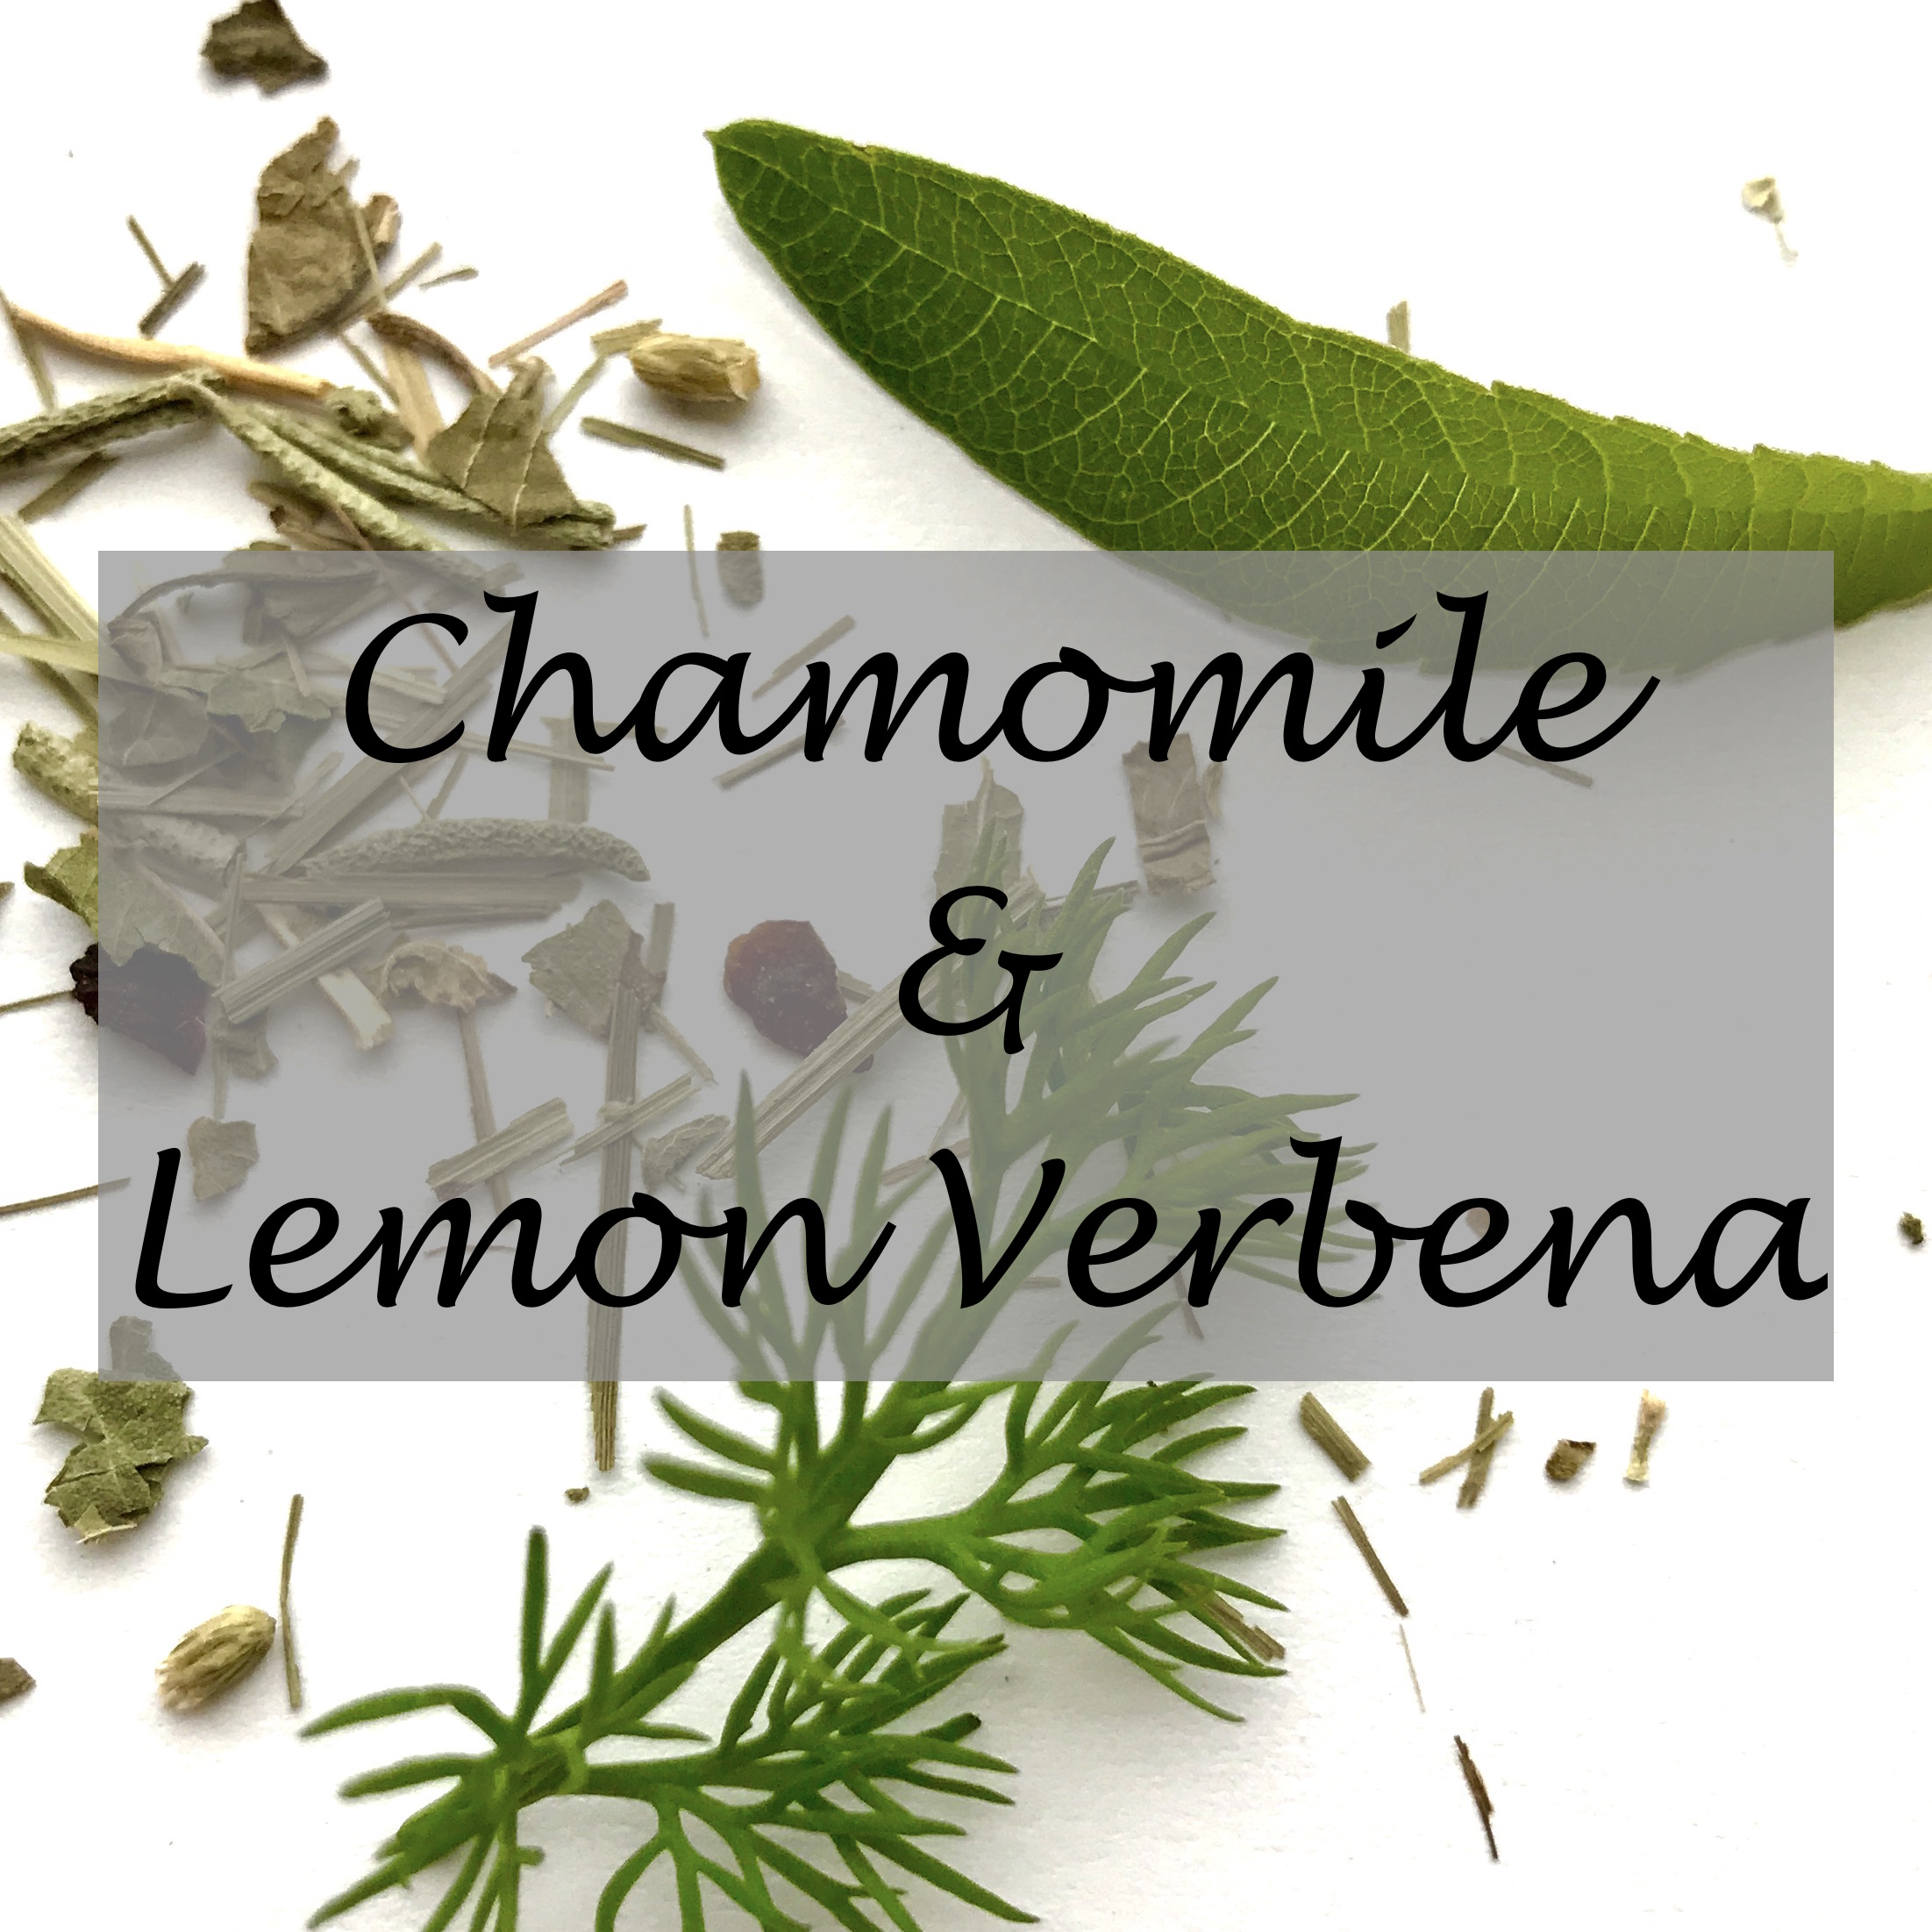
Drying

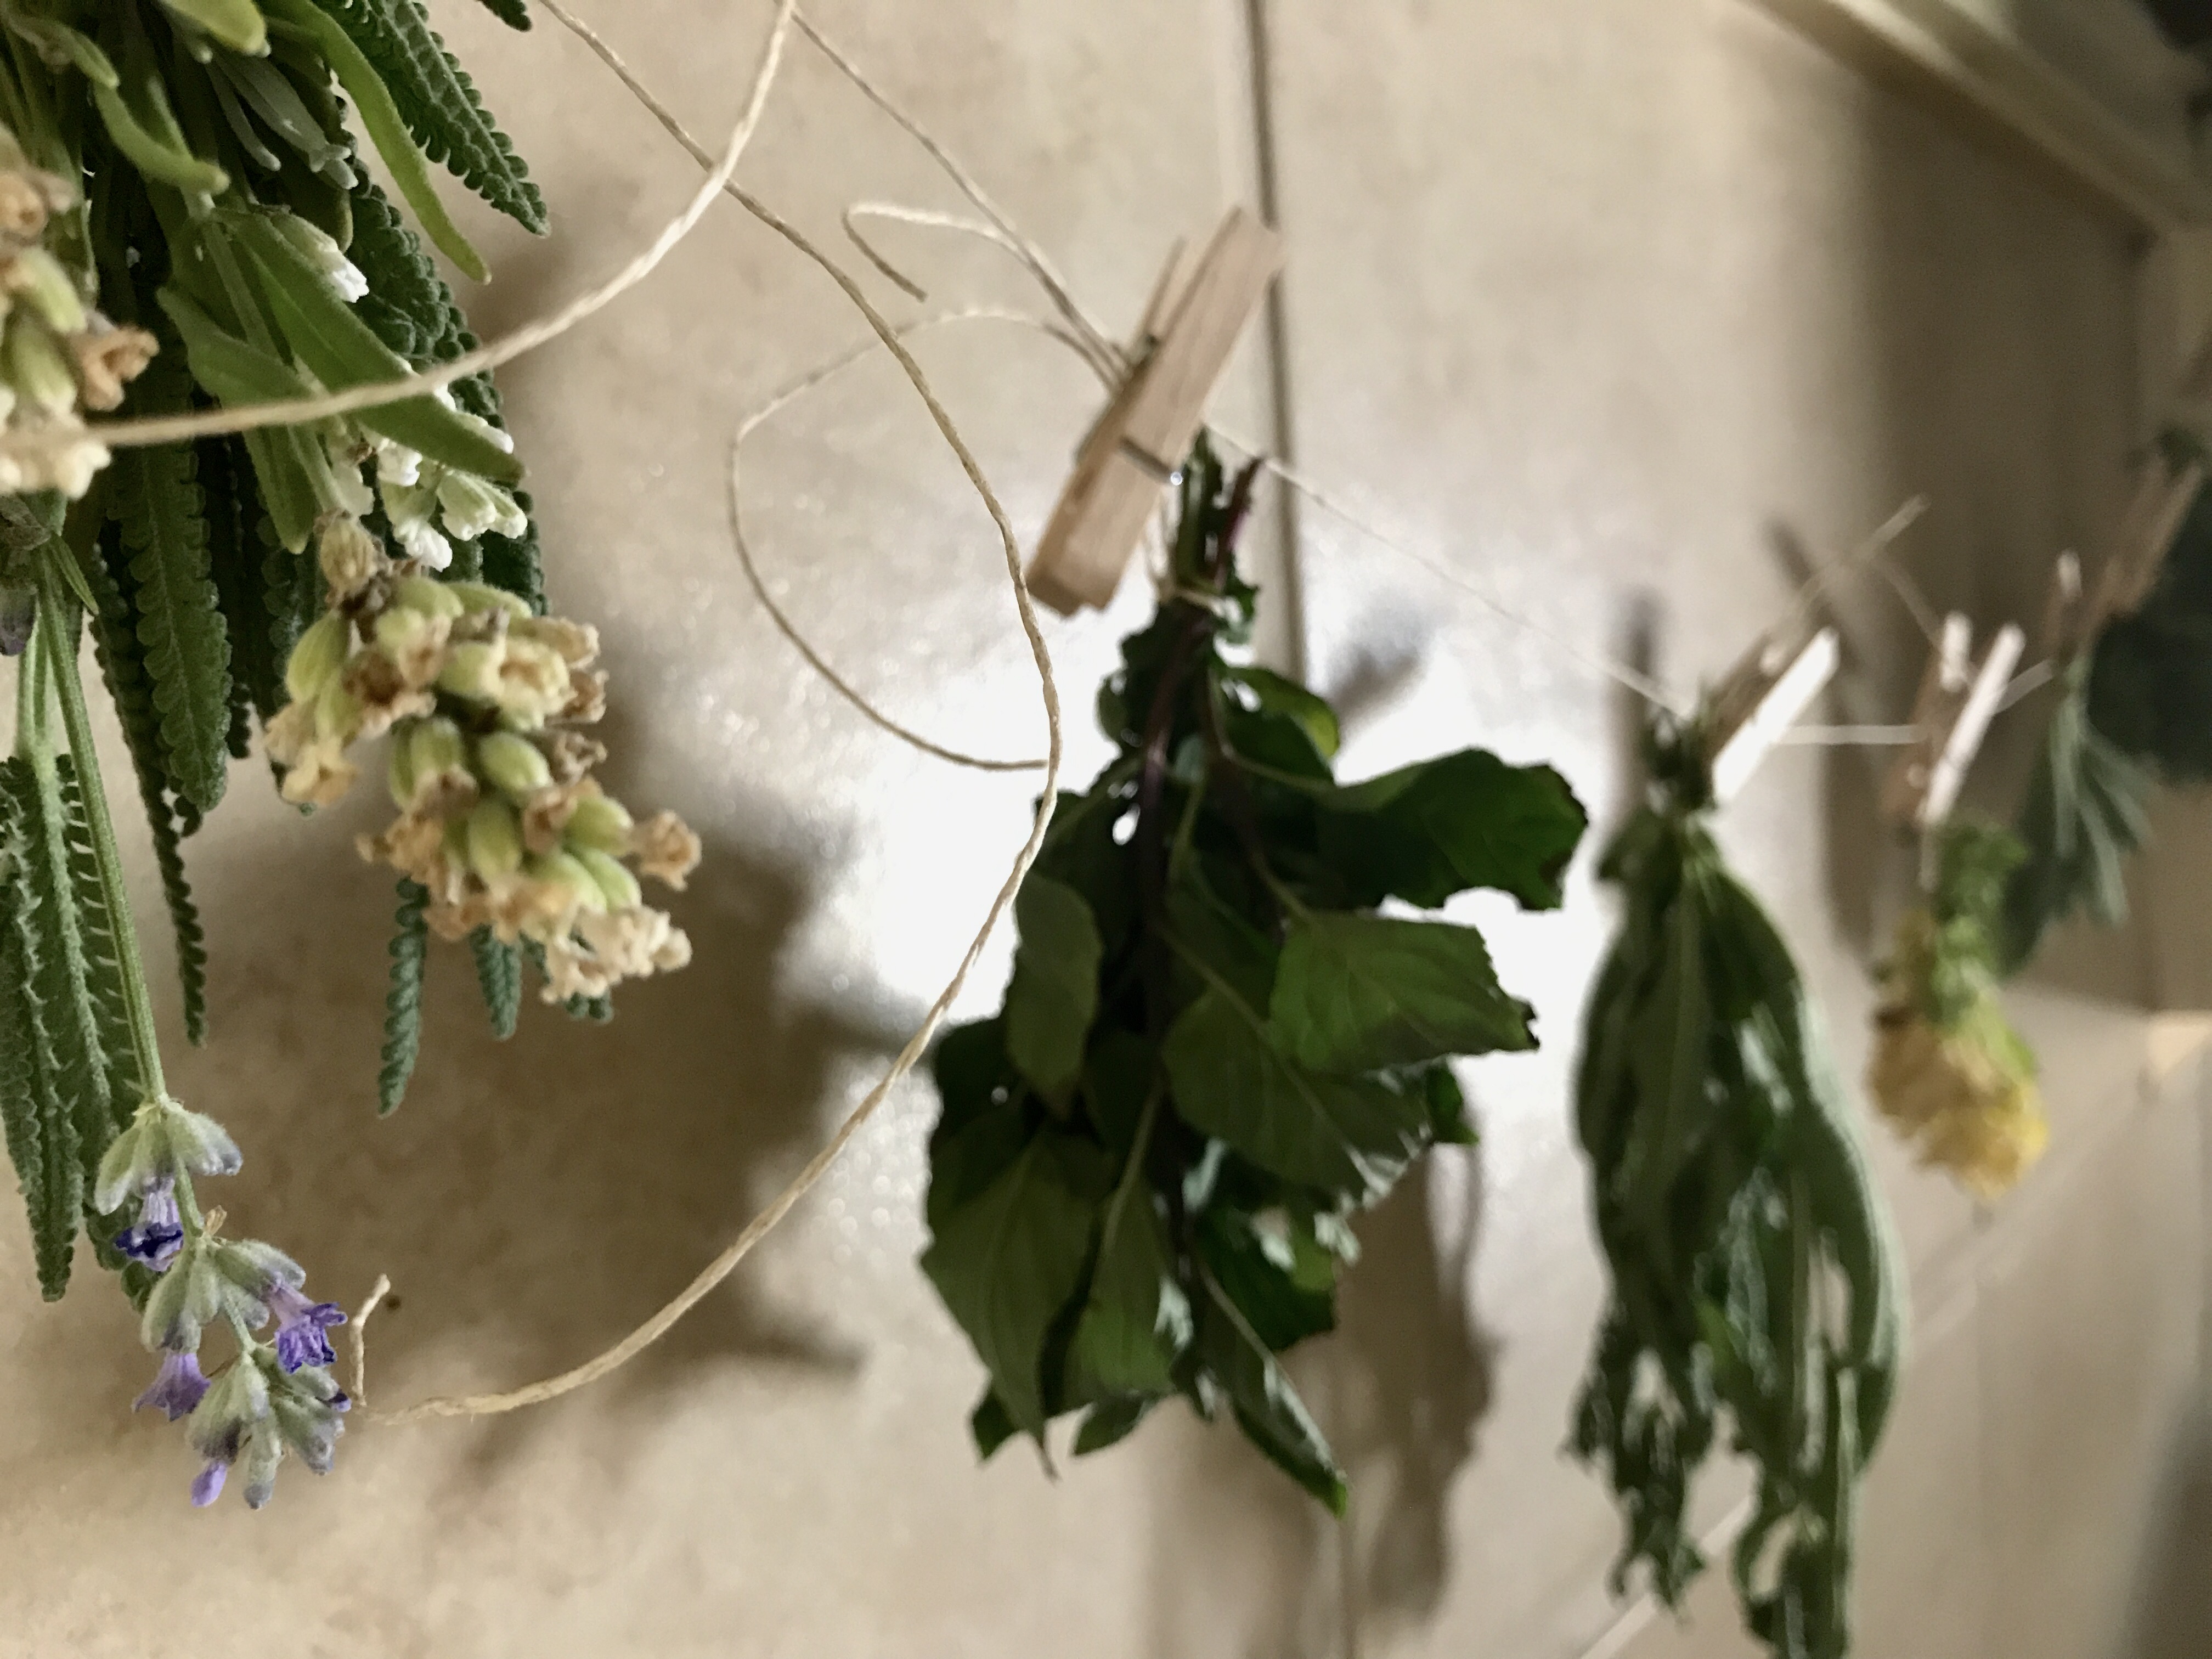
With cooler nights and mornings here in the Springs, I’ve been clipping my herbs and hanging them upside down to dry. We’ve also been drying out a lot of the peppers from the garden. 

As for Everything Else…

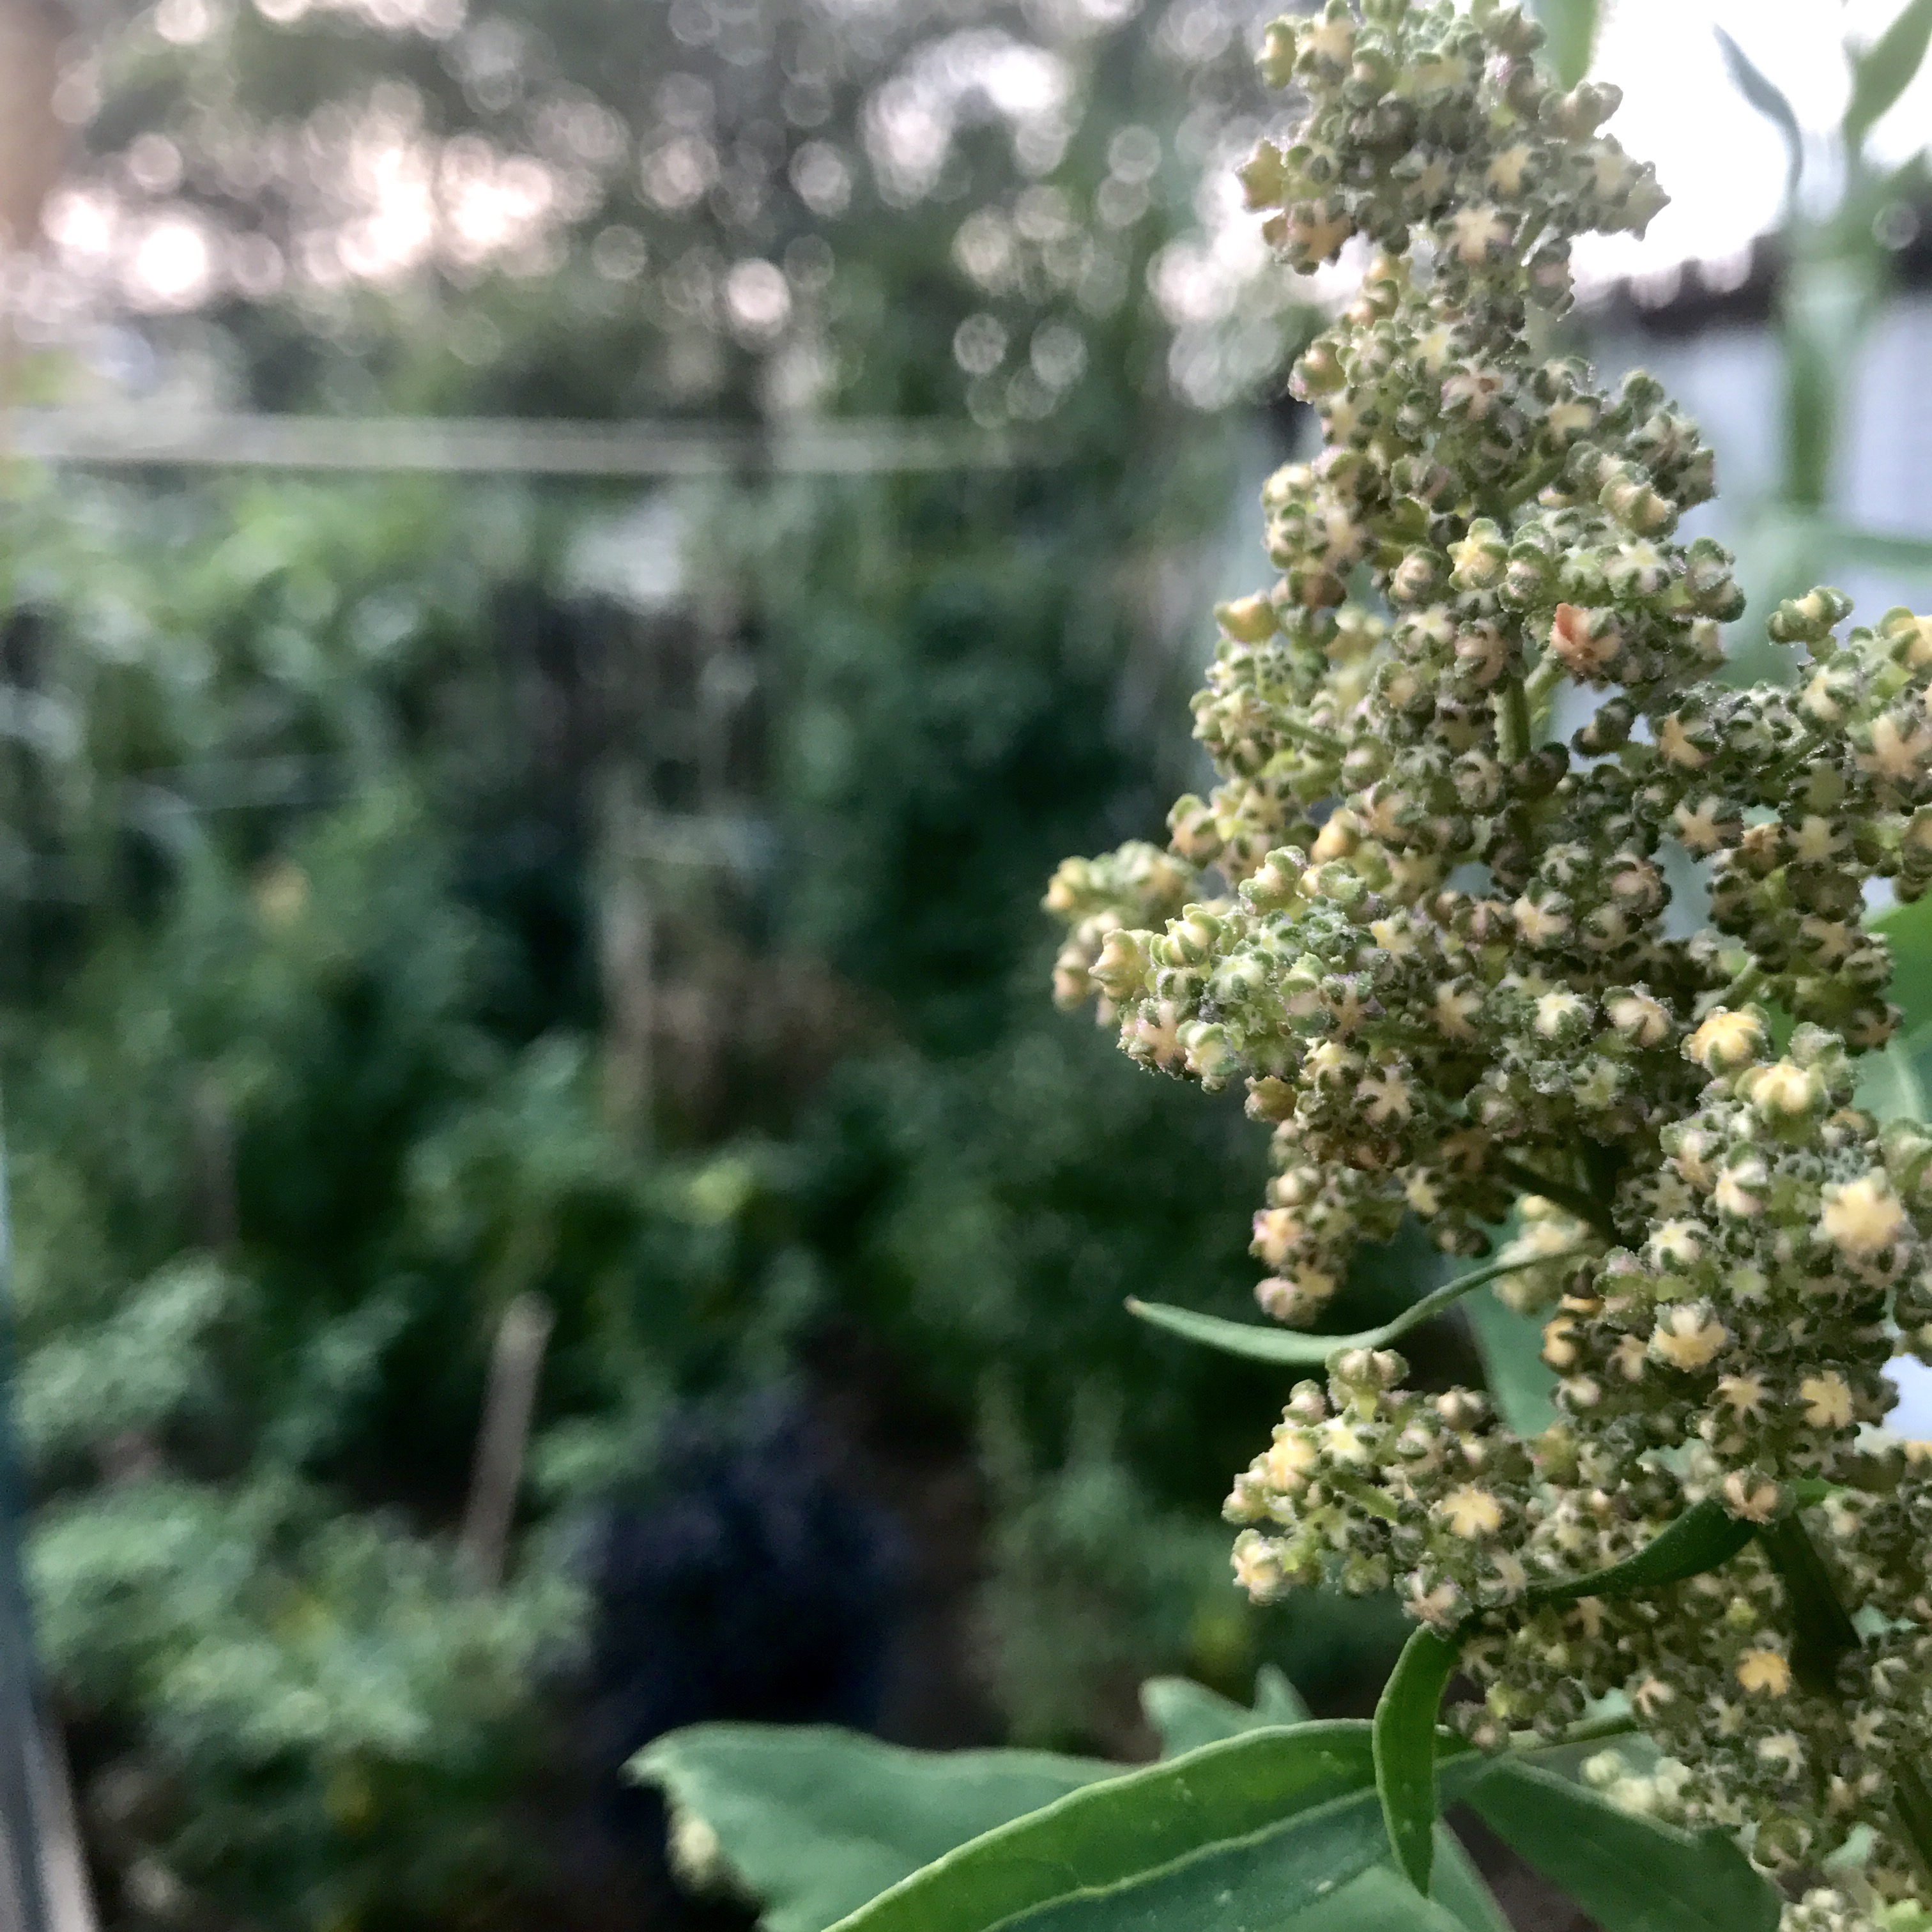
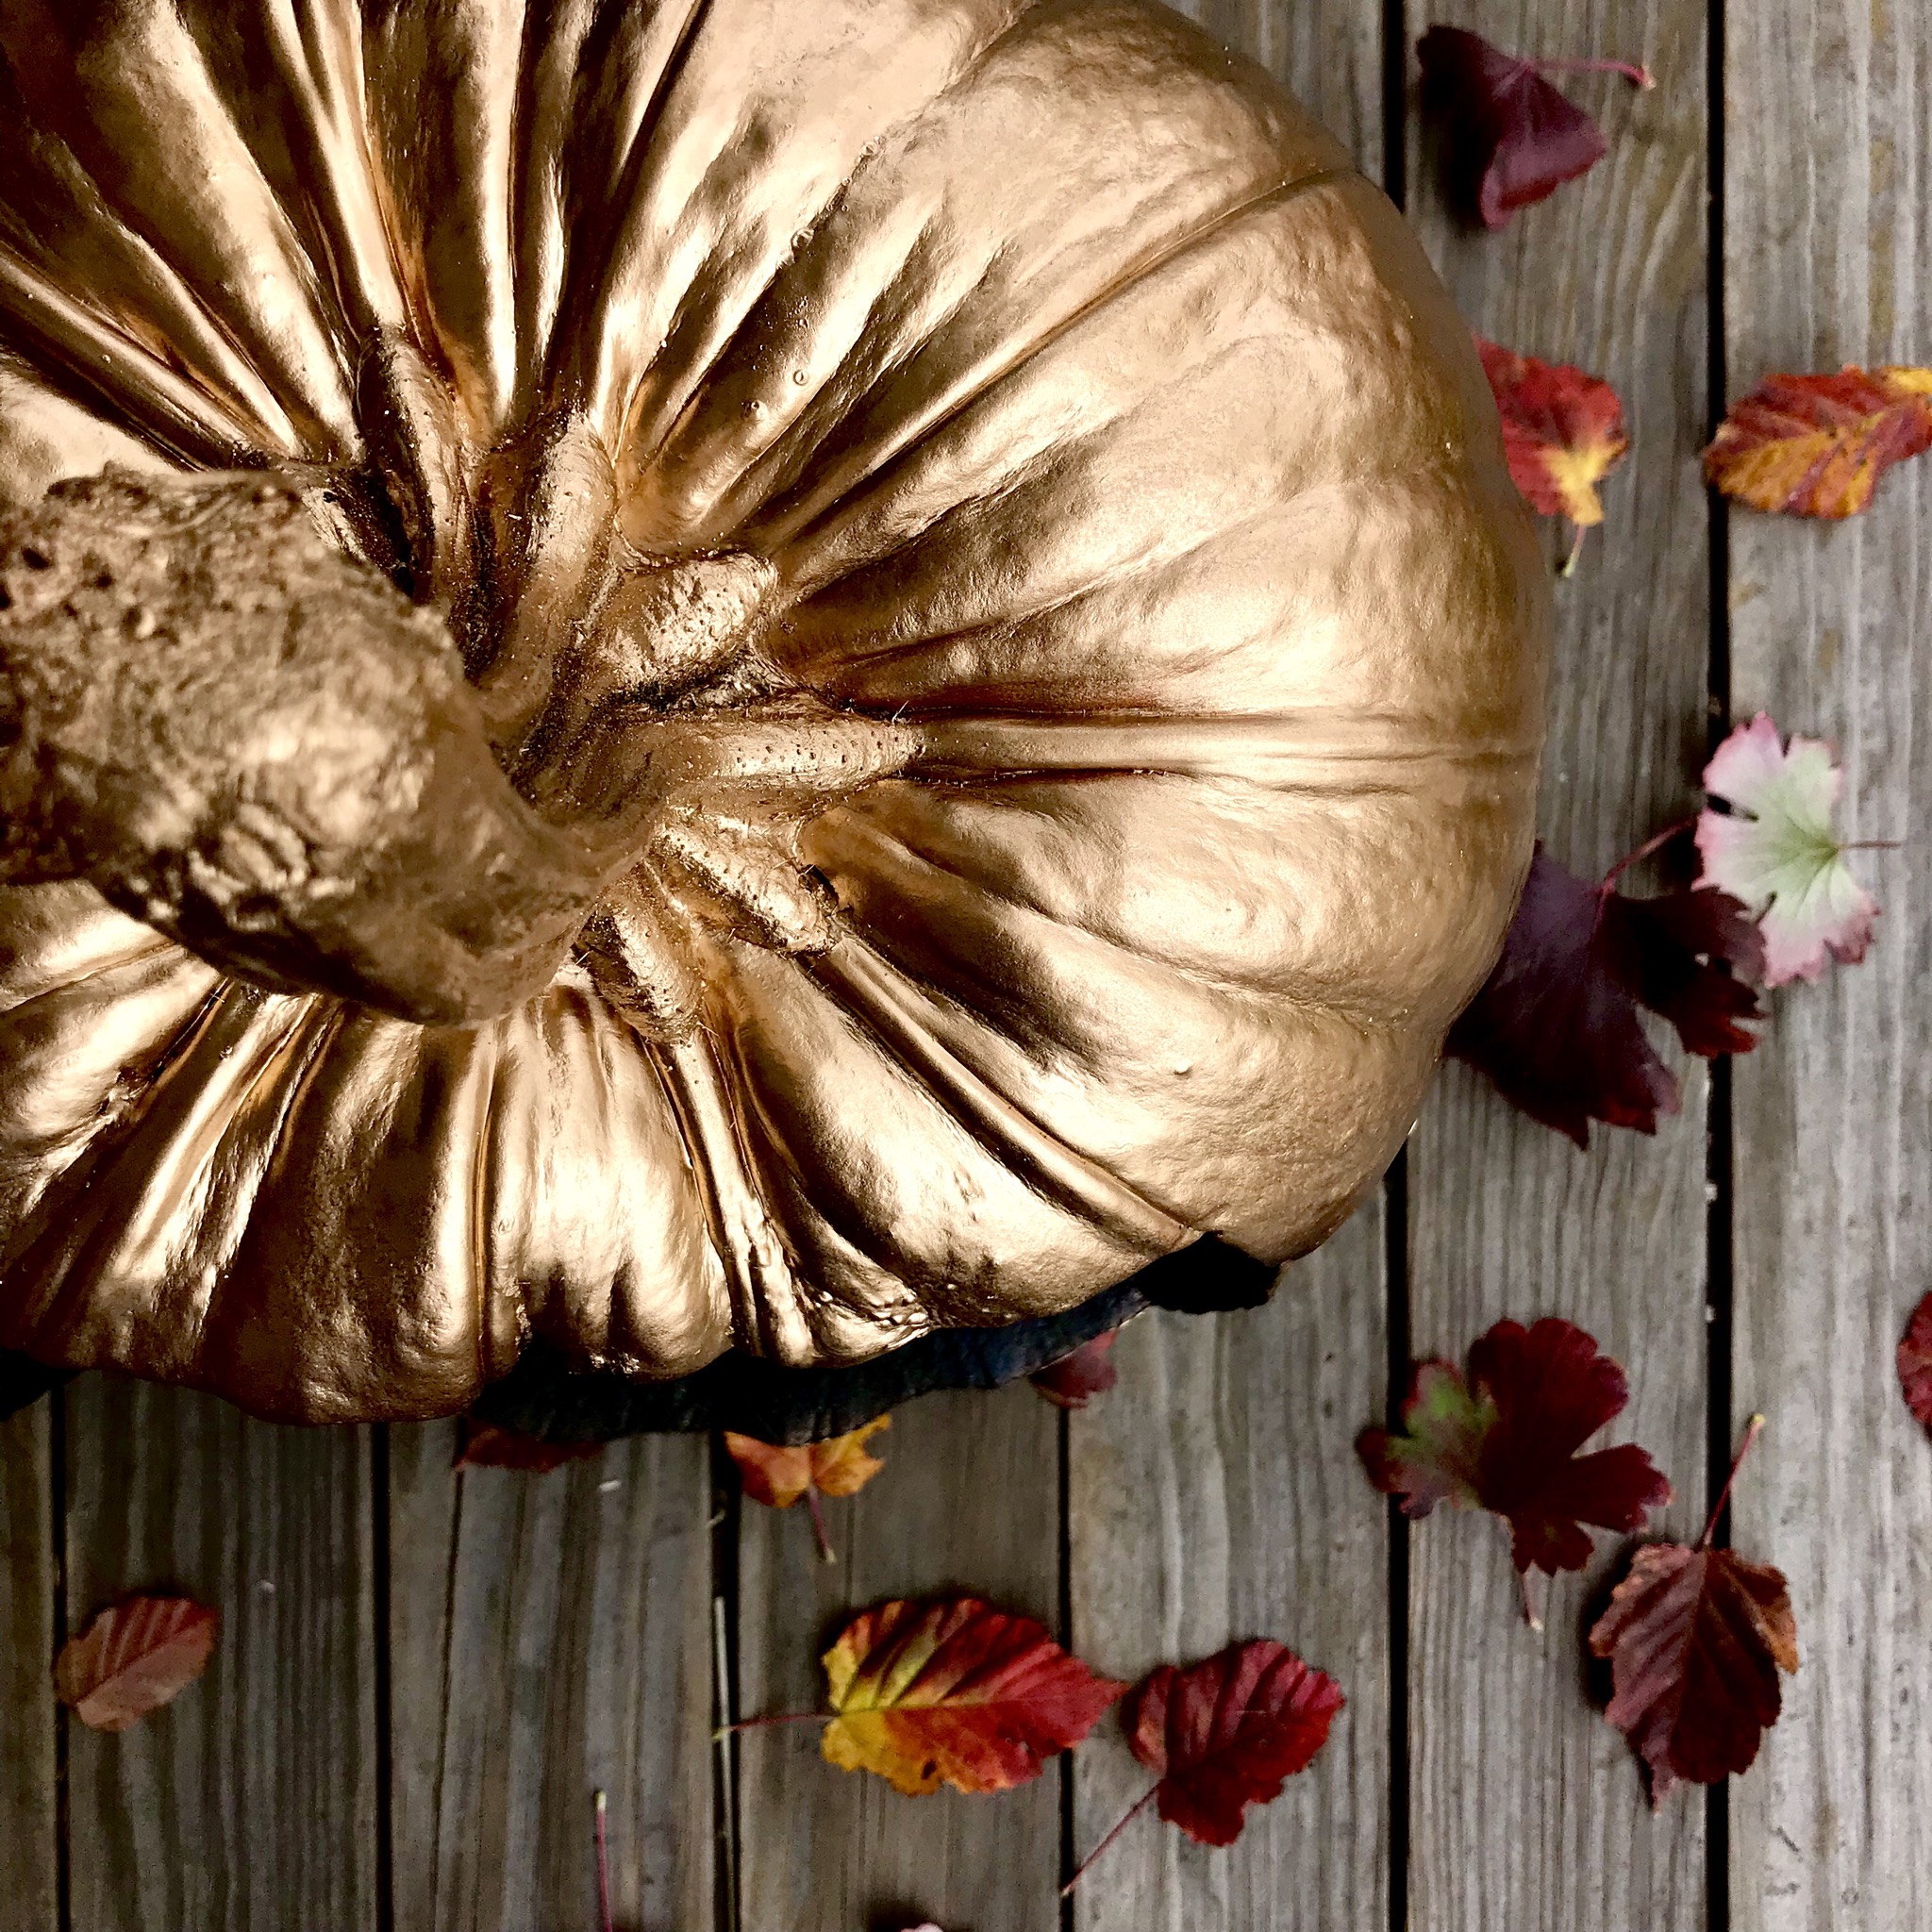
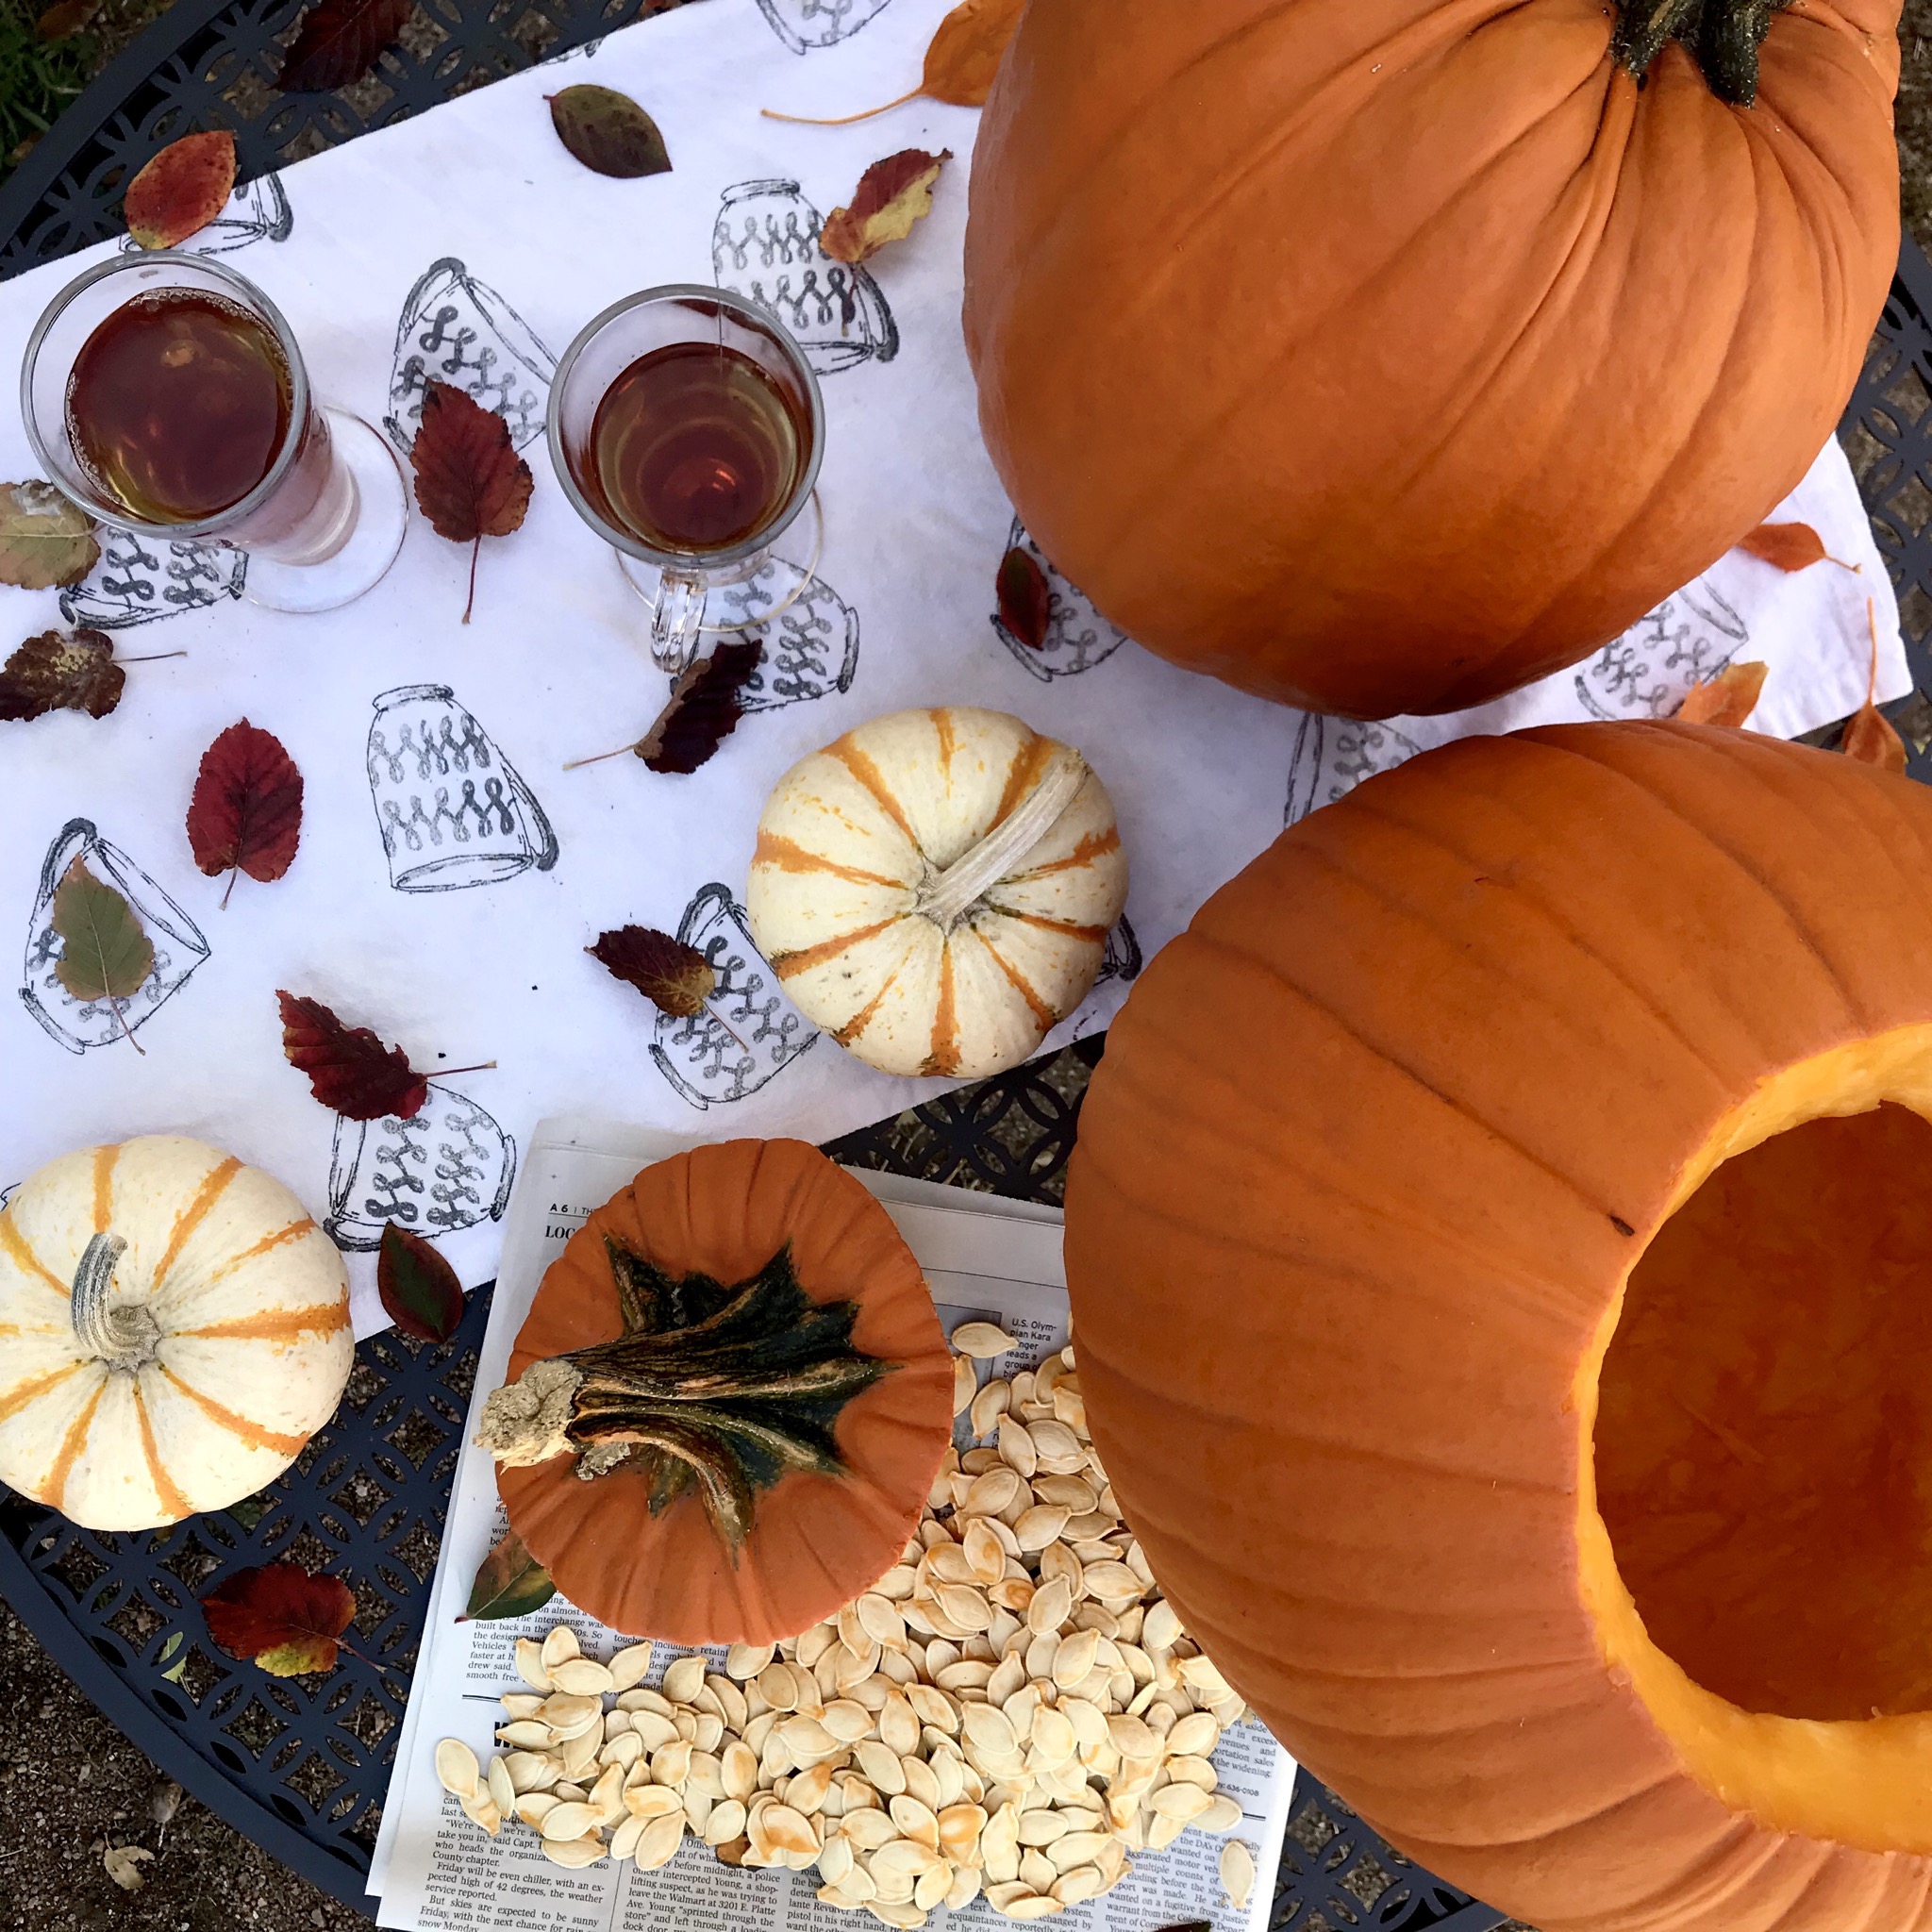
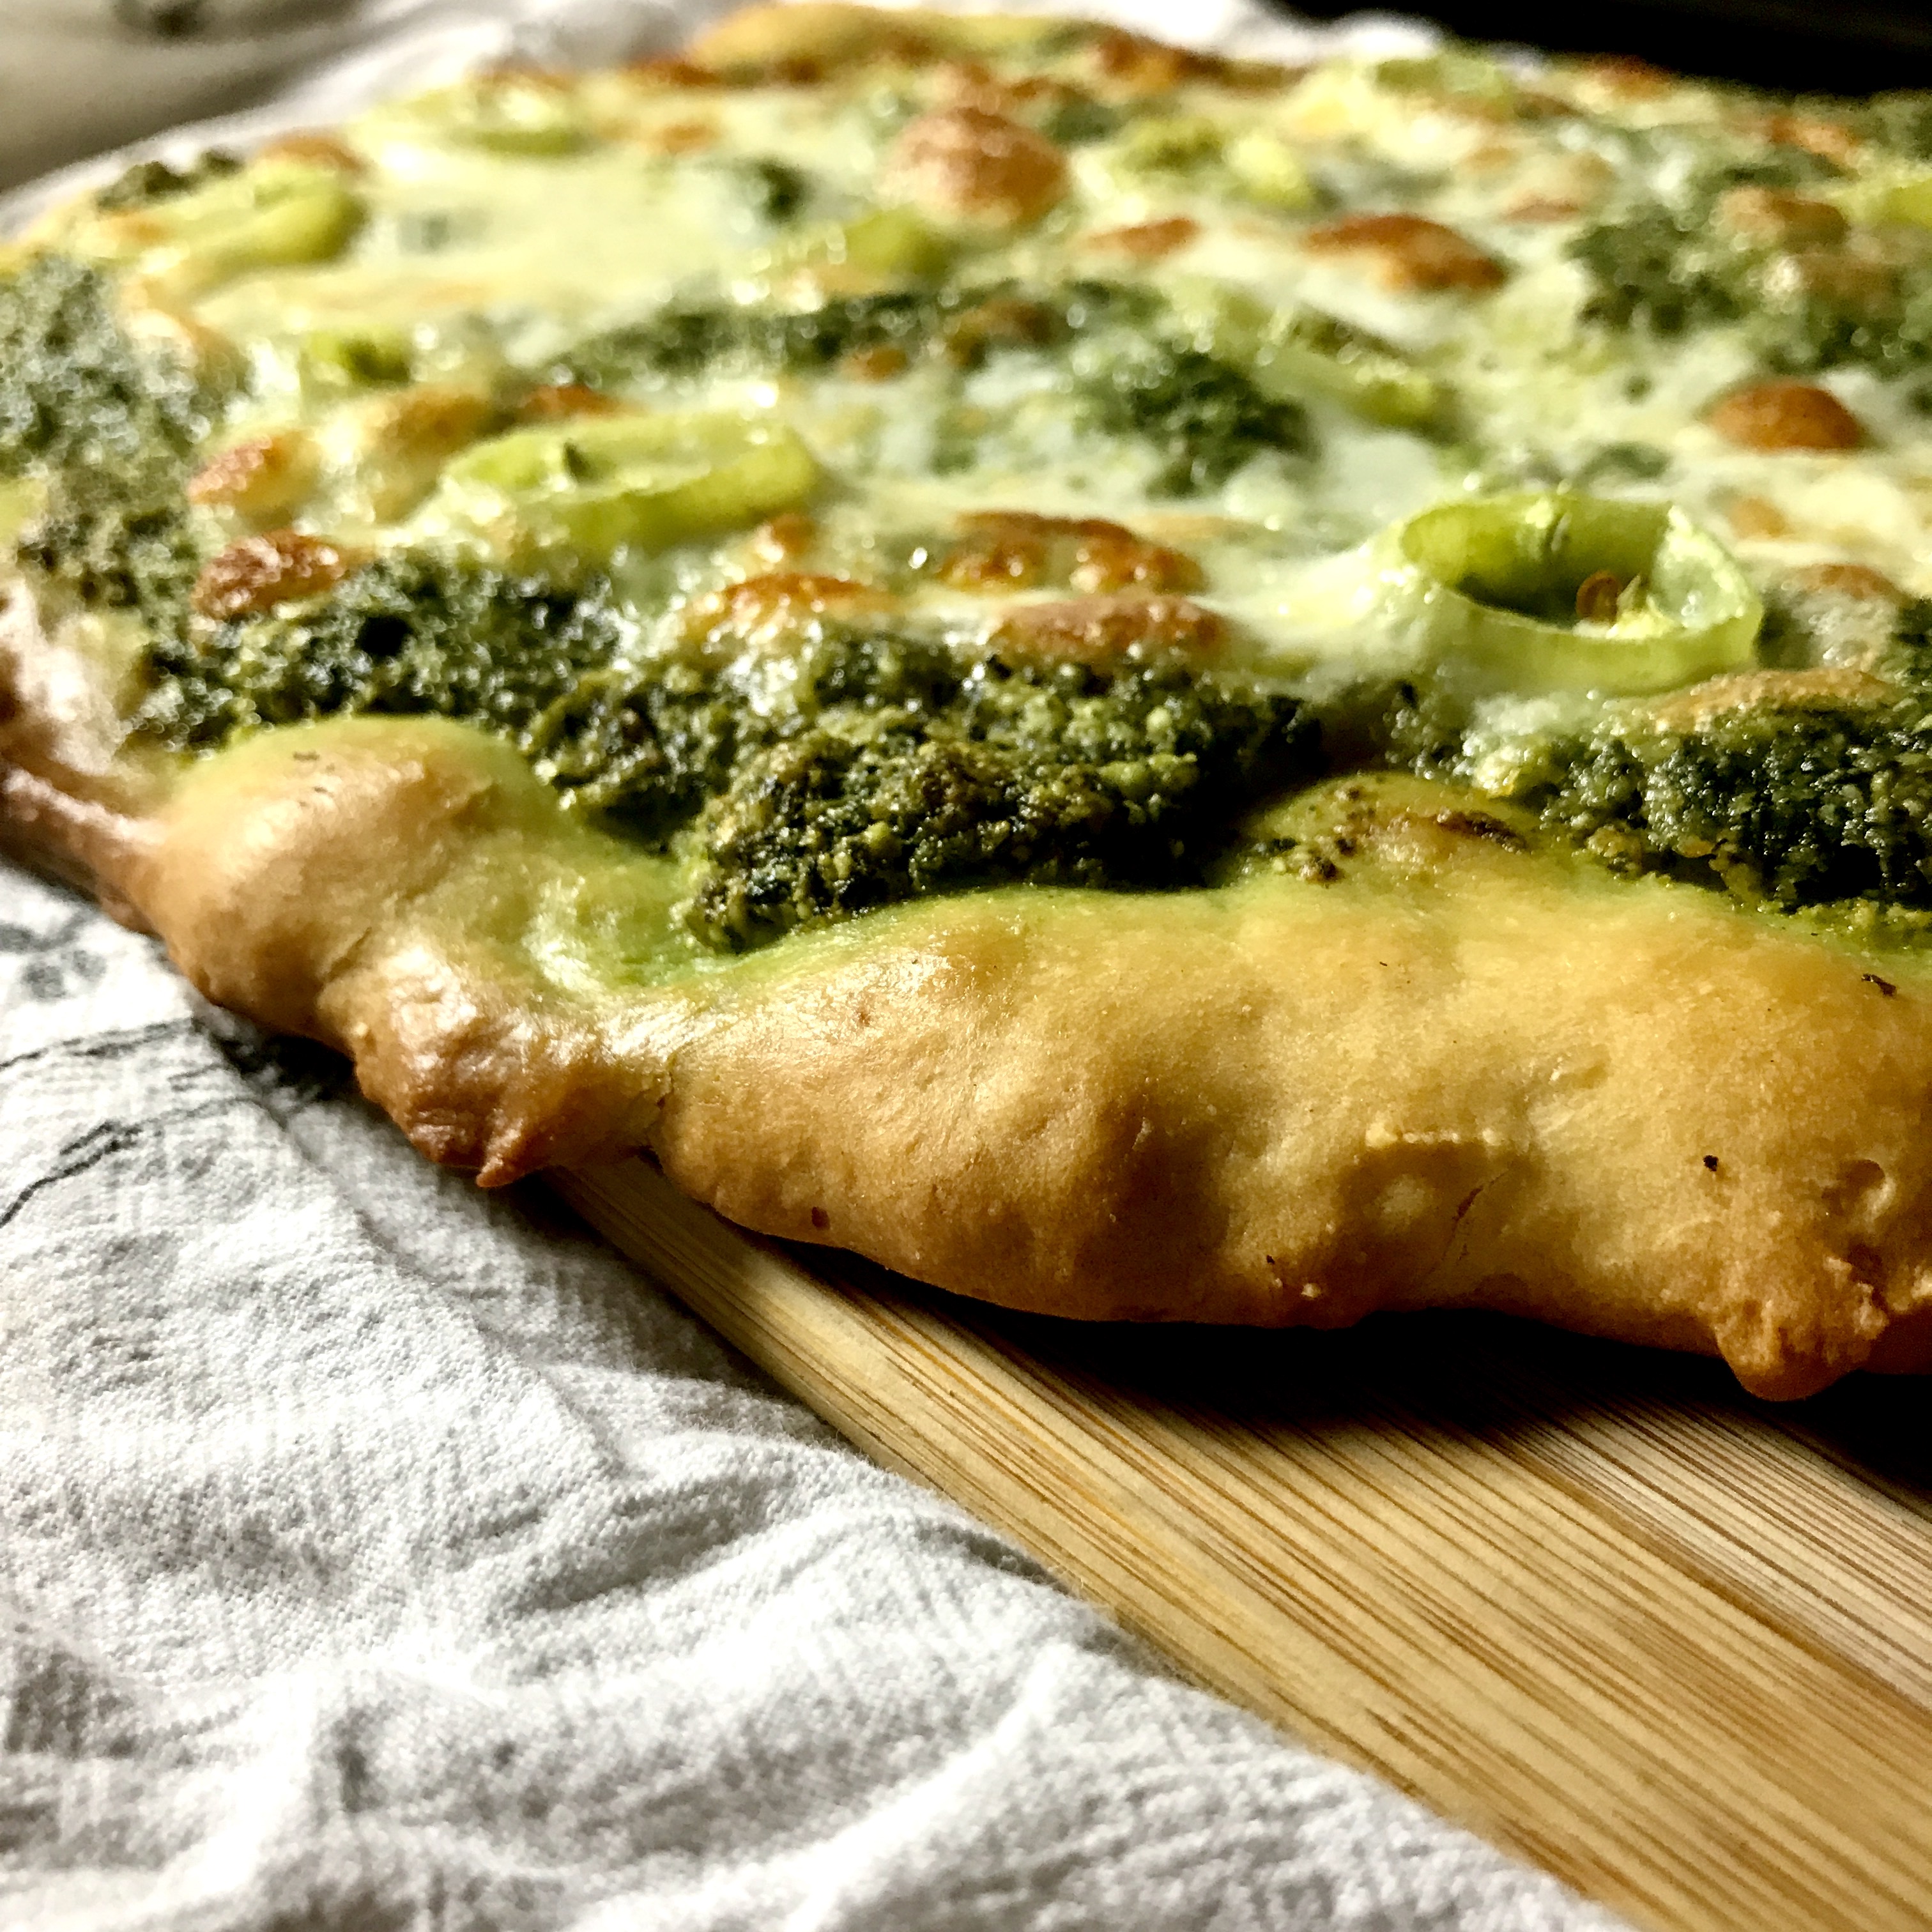
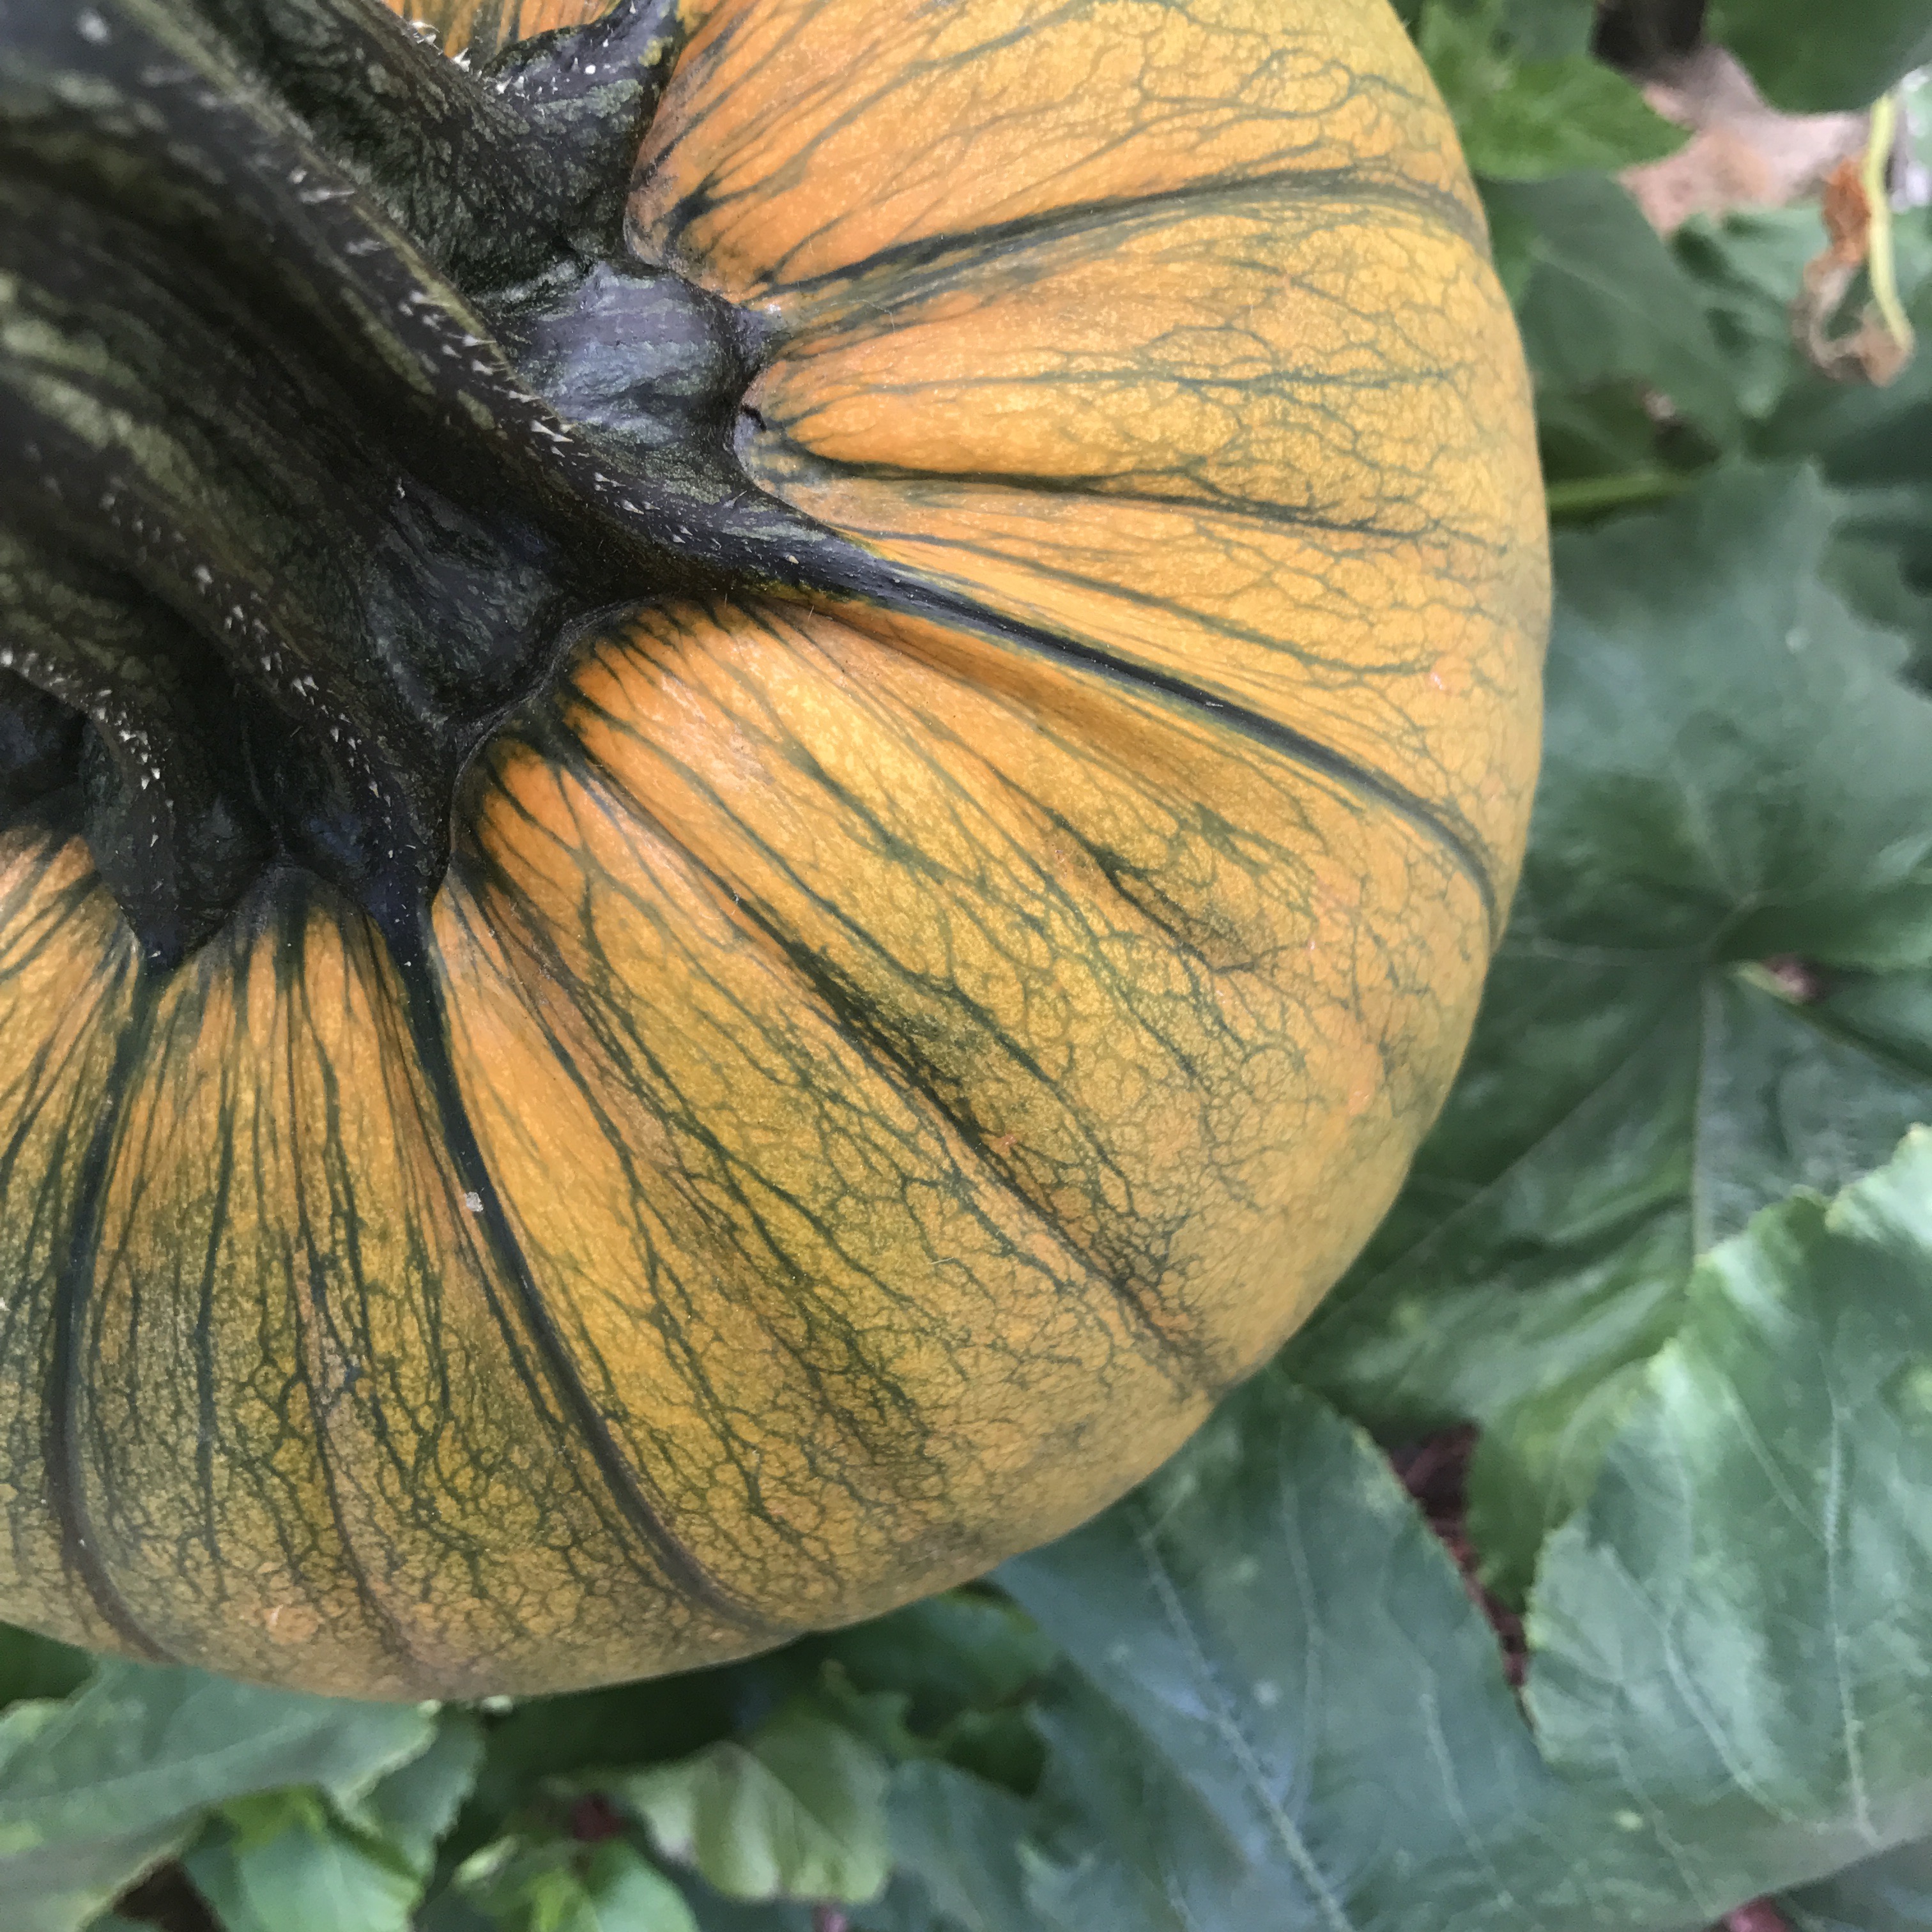
We plan to produce flour from the red corn once it’s ready, and the quinoa and root veggies will be harvested in the fall. Plus, the pumpkins are starting to ripen just in time for the autumn equinox. The squash is picked and eaten daily, and everything else will be pickled, canned, or dried for use throughout the year. 

How have you celebrated the Harvest Moon?

Rosemary Peach Jam

Rosemary. Such an amazing smell, and the heat-loving plant does so well in the summer, but the aroma usually takes my mind to colder seasons. Not anymore. I found a way to combine this savory herb with summer’s yummiest gift, peaches. I started making and canning jams last year, and they are always a favorite among my family and friends. Here is a recipe for rosemary peach jam, the best of both worlds:

  • 2 cups Peaches, Diced
  • 2 cups Stevia or Other Dry Sweetener
  • 2 tbsp Fresh Rosemary Sprigs
  • Champagne or Sparkling Wine

Combine the peaches and sugar in a saucepan and bring to a gentle boil over medium heat. Add a splash of the champagne while stirring frequently (I also add a little pectin if it’s not quite the consistency I want). Remove from heat when jam sets (scoop some up with a spoon and allow to cool slightly to test), carefully remove rosemary sprigs (optional) and pour into mason jars when almost cool.

Any healthy baked good recipes out there that you would serve with this jam?

Basil Pesto

Earlier this summer, my basil plants were looking super sad. I even thought they were done for good at one point. I tried altering my watering schedule, but to no avail. Then, one day, out of the blue, they were huge! I still have no idea what changed, but they are thriving now, and every time I clip them they basically grow back overnight. So what do I make with my new abundance of basil? Pesto, (what else?) and lots of it. This week I made my favorite pizza dough recipe, smothered it in this pesto, and added some fresh mozzarella and banana peppers from the garden. It’s so satisfying to create and cook with produce you’ve grown and nurtured yourself, and this pesto recipe is one of my favorites. Get it below:

  • 2 cups Fresh Basil
  • 2 Cloves Garlic
  • 1/3 cup Pine Nuts
  • 1/3 cup Parmesan Cheese (or vegan alternative)
  • 1/3 cup Olive Oil
  • Salt and Pepper to Taste

Combine all ingredients in a food processor, and that’s it! Pesto. 

Part three, coming up!

Garden Compost

The garden is getting huge. In late spring, we planted tomatoes, zucchini, yellow squash, beets, carrots, pumpkins, watermelons, corn, okra, quinoa, beans, berries, onions, and a variety of peppers including purple cayenne, habanero, and jalepeno. The list goes on and on, and we just harvested our first zucchini! Shortly after we planted, I began composting using an old compost spinner from my landlord. (I’ve also created one in the past by drilling holes into a plastic outdoor trashcan). Compost can be a great additive to any garden, but it took some research to learn the best (and worst) things to add to my compost. Below is a guide on what I usually toss in there:

I make sure to NEVER add animal products or waste, oil, or charcoal. Being vegetarian, it’s easy to monitor what goes into my compost by keeping a big, airtight jar on the kitchen counter for food scraps. I just empty it into the spinner when it gets full. I also toss weeds and greenery in the spinner pretty often. It’s been so exciting to watch the garden take off, and I can’t wait to share more with you as the harvest continues!

Growing an Herb Garden

After a few unexpected weeks of rain, wind, and even a little snow, the sun finally emerged and began to warm the earth around me. I graciously planted my bare feet in the dirt and, after much anticipation, started transplanting my herbs to the garden. Since I have been limited to small garden boxes or indoor pots in the past, I wanted to take advantage of all of the space in my new yard. I designated specific areas for different herbs based on the plants’ needs. Below is a guide on where to place plant babies and how to care for them.

Rosemary and lavender love the sun. They absolutely love it. Full sun is best for these plants. And they are definitely not needy when it comes to watering. Water is usually only necessary for these babes when the soil gets pretty dry.

I have a few basil plants as well as some varieties of mint. Basil plants can grow pretty large, so leave some room for them to spread out. Basil and mint prefer a lot of sunshine, but can also tolerate some shade. They’re a little more fussy and need to be watered regularly.

Dill enjoys full sun, but also doesn’t like to get too much heat. I’m still trying to find a balance for my dill plants. Dill also needs to be watered pretty regularly.

Sage, thyme, and cilantro prefer full sun and well-drained earth. Sage and cilantro may tolerate some shade. Make sure to provide plenty of room for plants, especially cilantro, to grow and grow.

Chamomile and lemon verbena seem to enjoy more shade than sunshine. They also don’t need a ton of water.

It always helps to do research before starting an herb garden. Some methods of growing and care may differ depending on types of herbs, as well as your zone.

As my herbs grow, I’ll be making all sorts of concoctions, potions, and recipes with them and sharing on the blog! See you soon, and happy planting!